The following function takes one argument – a text file. The text file should contain one word on each line. The function reads the text file (argument) line by line. Then it checks if the line has one word; if this is true, it splits the word in half. Finally, it prints the two new words with a space between them.
#!/bin/bash

splitWordsInHalf () {
  # This function takes one argument - a text file.
  # The text file contains one word on each line.
  # It reads the text file (argument) line by line.
  # Then it checks if the line contains one word, if this is true, it splits the word in half.
  # Finally, it prints the two new words with a space between them
  while read line
  do
    words=( $line )
    if [ ${#words[@]} == 1 ]
    then
      echo ${line:0:${#line}/2} ${line:${#line}/2}
    fi
  done < $1
}

splitWordsInHalf input.txt
Example
Using the following input file:
banana
apple
ball
car
door
We will get the following output when we execute splitWordsInHalf input.txt:
ban ana
ap ple
ba ll
c ar
do or
Notes
The following parts of the code are in charge of looping on the data of the incoming file. The parameter (the input file) given to the function is translated into the variable $1. The while loop gets one line of text on each iteration and assigns the text to the variable that is named line. You could have chosen any other name that suits you instead of the word line.
splitWordsInHalf () {
  while read line
  do
    ...
  done < $1
}
The next part of the code (words=( $line )) converts the string value that is contained in the line variable into an array of words, and it assigns that array to the variable named words. Then, it counts the number of elements in the array (the number of words in the line) using the following ${#words[@]} and it checks that there is only one item.
words=( $line )
if [ ${#words[@]} == 1 ]
then
  ...
fi
The following line will print two strings. The first string is a sub-string of variable line that is composed by the first half of the value. The second sub-string is the second half of the value contained in the variable named line.
echo ${line:0:${#line}/2} ${line:${#line}/2}
The ${#line} will return the length of the string contained in the variable.
The structure ${VARIABLE:START:END} defines the slice of the string that we want returned.
Recently, we installed the ewf-tools package from the Ubuntu repositories:
sudo apt-get install ewf-tools;
When we tried to use it, we got the following errors:
ewfmount ./DISK.E01 /tmp/disk/
ewfmount 20140807

Unable to open source image(s)
libcdata_internal_array_resize: invalid entries size value exceeds maximum.
libcdata_array_resize: unable to resize array.
libmfdata_list_resize: unable to resize elements array.
libewf_segment_file_read_volume_section: unable to resize chunk table list.
libewf_handle_open_read_segment_files: unable to read section: volume.
libewf_handle_open_file_io_pool: unable to read segment files.
libewf_handle_open: unable to open handle using a file IO pool.
mount_handle_open: unable to open file(s).
To fix the issue, we uninstalled ewf-tools then installed the following packages:
Finally, we reinstalled ewf-tools , and this time they worked!
Note
We also downloaded the latest version from the repository, built the code, and tried to use that package with the same result. The code from the repository had the same problem, which worked after we installed the packages mentioned above. For this reason, we believe the problem is not a matter of the version but rather a matter of configuration and dependencies.
First, we set up a static IP to our Ubuntu server using netplan. To do so, we created the following file:
/etc/netplan/01-netcfg.yaml
using the following command
sudo nano /etc/netplan/01-netcfg.yaml;
and added the following content to it:
# This file describes the network interfaces available on your system
# For more information, see netplan(5).
network:
  version: 2
  renderer: networkd
  ethernets:
    enp3s0f0:
      dhcp4: no
      addresses: [192.168.45.13/24]
      gateway4: 192.168.45.1
      nameservers:
          addresses: [1.1.1.1,8.8.8.8]
To apply the changes, we executed the following:
sudo netplan apply;
Update everything (the operating system and all packages)
Usually, it is a good idea to update your system before making significant changes to it:
In this setup we did not use the docker version that is available on the Ubuntu repositories, we went for the official ones from docker.com. To install it, we used the following commands:
Again, we installed the official docker-compose from github.com instead of the one available in the Ubuntu repositories. At the time that this post was created, version 1.29.2 was the recommended one:
We executed the following command to restart the docker daemon and get the network changes applied:
sudo systemctl restart docker;
Gave access to our user to manage docker
We added our user to the docker group so that we could manage the docker daemon without sudo rights.
sudo usermod -aG docker $USER;
Deploying
After we copied everything in place, we executed the following command to create our containers and start them with the appropriate networks and volumes:
export COMPOSE_HTTP_TIMEOUT=120;
docker-compose up -d --remove-orphans;
We had to increase the timeout as we were getting the following error:
ERROR: for container_a  UnixHTTPConnectionPool(host='localhost', port=None): Read timed out. (read timeout=60)
ERROR: An HTTP request took too long to complete. Retry with --verbose to obtain debug information.
If you encounter this issue regularly because of slow network conditions, consider setting COMPOSE_HTTP_TIMEOUT to a higher value (current value: 60).
Stopping all containers using a filter on the name
docker container stop $(docker container ls -q --filter name=_web);
The above command will find all containers whose names contain _web and stop them. That command is actually two commands where one is nested inside the other.
#This command finds all containers that their name contains _web, using the -q parameter, we only get back the container ID and not all information about them.
docker container ls -q --filter name=_web;
#The second command takes as input the output of the nested command and stops all containers that are returned.
docker container stop $(docker container ls -q --filter name=_web);
This guide will present the steps we followed on a GNU/Linux Ubuntu 20.04LTS to create a new project out of the Symfony website skeleton and then create a new docker application image of it.
Install core dependecies
Install php-cli instead of php as we do not want to install the additional dependencies of php like apache2. p7zip-full is needed for the package manager of composer later on. If it is missing, we will be getting one of the following errors:
Failed to download symfony/requirements-checker from dist: The zip extension and unzip/7z commands are both missing, skipping.
As there is no 'unzip' nor '7z' command installed zip files are being unpacked using the PHP zip extension.
php-xml will be required later on while creating the skeleton project for Symfony. If it is missing, you will get the following error:
symfony/framework-bundle requires ext-xml * -> it is missing from your system. Install or enable PHP's xml extension
sudo apt install php-cli php-xml p7zip-full;
Composer is a PHP utility for managing dependencies. It allows you to indicate the libraries your project relies on, and it will take care of installing and updating them. To fast install it, open a terminal and type the following command:
curl -Ss getcomposer.org/installer | php;
# Moving the composer into the /usr/local/bin/ folder will allow us to access it from any folder later on as that folder is in the default PATH variable.
sudo mv composer.phar /usr/local/bin/composer;
Symfony provides a tool to check if your operating system meets the required requirements rapidly. In addition, if suitable, the tool makes installation recommendations. To install the tool, run the following command:
composer require symfony/requirements-checker;
$ composer require symfony/requirements-checker;
Using version ^2.0 for symfony/requirements-checker
./composer.json has been updated
Running composer update symfony/requirements-checker
Loading composer repositories with package information
Updating dependencies
Lock file operations: 1 install, 0 updates, 0 removals
  - Locking symfony/requirements-checker (v2.0.1)
Writing lock file
Installing dependencies from lock file (including require-dev)
Package operations: 1 install, 0 updates, 0 removals
  - Installing symfony/requirements-checker (v2.0.1): Extracting archive
Generating autoload files
1 package you are using is looking for funding.
Use the `composer fund` command to find out more!
Once done, you can safely delete the requirements-checker:
composer remove symfony/requirements-checker;
Create the Symfony project
Using the basic skeleton, you can create a minimal Symfony project with the following command. We install the latest version of version 4.4 of the website skeleton project in this example. We found the list of versions here https://packagist.org/packages/symfony/website-skeleton.
When we got the following warning, we typed y, not sure what changes, so we stayed with the default option:
  -  WARNING  symfony/mailer (>=4.3): From github.com/symfony/recipes:master
    The recipe for this package contains some Docker configuration.

    This may create/update docker-compose.yml or update Dockerfile (if it exists).

    Do you want to include Docker configuration from recipes?
    [y] Yes
    [n] No
    [p] Yes permanently, never ask again for this project
    [x] No permanently, never ask again for this project
    (defaults to y): y
Then you need to run the following commands to install all dependencies and execute the project:
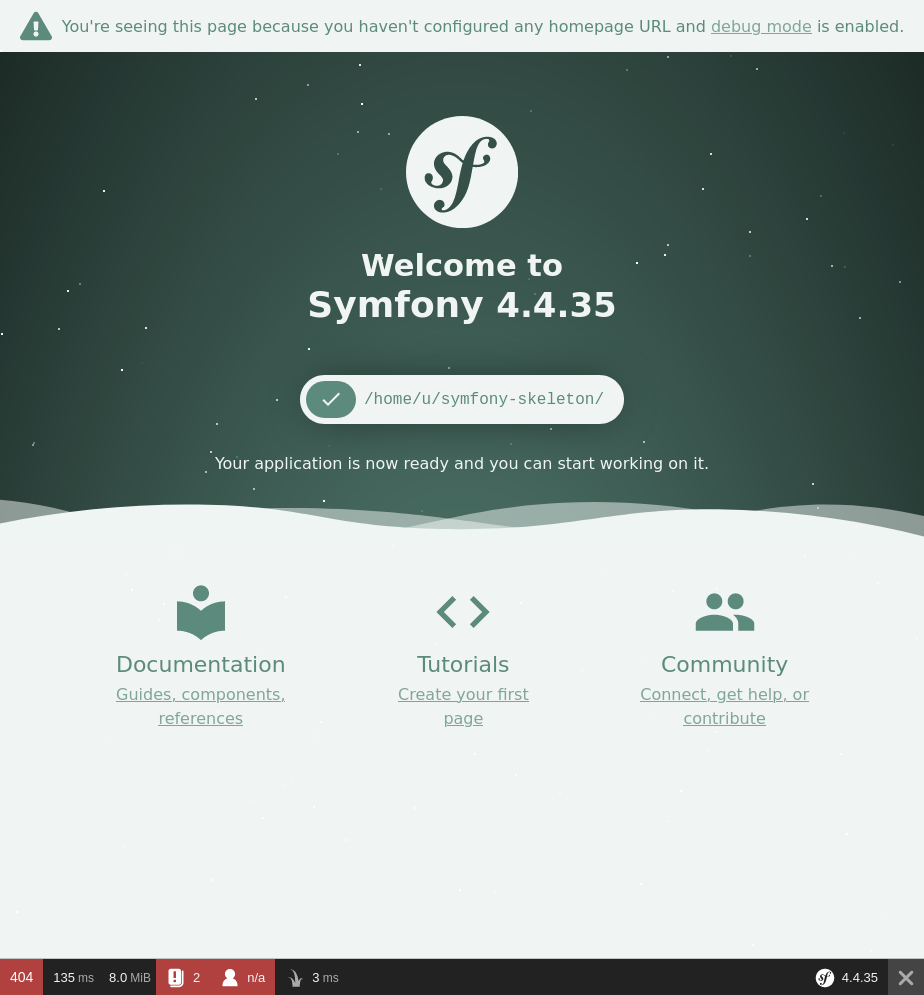
By now, you should see in a browser the landing page of your skeleton project.
# Stop the php webserver and release the port, we will need it later on.
php bin/console server:stop;
Install docker on Ubuntu
First of all, make sure your system is clean and remove any old versions:
sudo apt-get remove docker docker-engine docker.io containerd runc;
# You might want to execute `sudo apt autoremove -y;` as well to cleanup everything. We cannot ask everyone to do so as we are not sure of what complications it might have on each computer+software configurations.
We will be installing docker by adding its repositories to our system:
If the installation was OK, you should see the following message:
n$ sudo docker run hello-world
Unable to find image 'hello-world:latest' locally
latest: Pulling from library/hello-world
2db29710123e: Pull complete
Digest: sha256:cc15c5b292d8525effc0f89cb299f1804f3a725c8d05e158653a563f15e4f685
Status: Downloaded newer image for hello-world:latest

Hello from Docker!
This message shows that your installation appears to be working correctly.

To generate this message, Docker took the following steps:
 1. The Docker client contacted the Docker daemon.
 2. The Docker daemon pulled the "hello-world" image from the Docker Hub.
    (amd64)
 3. The Docker daemon created a new container from that image which runs the
    executable that produces the output you are currently reading.
 4. The Docker daemon streamed that output to the Docker client, which sent it
    to your terminal.

To try something more ambitious, you can run an Ubuntu container with:
 $ docker run -it ubuntu bash

Share images, automate workflows, and more with a free Docker ID:
 https://hub.docker.com/

For more examples and ideas, visit:
 https://docs.docker.com/get-started/
Make the docker application image
Execute the following command on a terminal to get your php version:
php --version;
In case you get something different than version 7.4, please note it and update the contents of the DockerFile below accordingly. In our case, the results for the version were the ones right below and that is why we used the line FROM php:7.4-cli in our DockerFile.
$ php --version
PHP 7.4.3 (cli) (built: Oct 25 2021 18:20:54) ( NTS )
Copyright (c) The PHP Group
Zend Engine v3.4.0, Copyright (c) Zend Technologies
    with Zend OPcache v7.4.3, Copyright (c), by Zend Technologies
If you are not already at the root of your project (e.g., the symfony-skeleton folder), go to that folder and create a new text file with the name Dockerfile in there. The contents of the file should be the following:
# Dockerfile
FROM php:7.4-cli

RUN apt-get update -y && apt-get install -y libmcrypt-dev

RUN curl -sS https://getcomposer.org/installer | php -- --install-dir=/usr/local/bin --filename=composer
RUN apt-get update && apt-get install -y libonig-dev
RUN docker-php-ext-install pdo

WORKDIR /app
COPY . /app

RUN composer install

EXPOSE 8000
CMD php bin/console server:run 0.0.0.0:8000
Once you have Docker and Docker Machine installed on your machine, creating the container is a breeze. The command below will seek your Dockerfile and download all of the layers required to execute your container image. It will then complete the commands in the Dockerfile, leaving you with a container that is ready to use.
You’ll use the docker build command to create your php Symfony docker container, and you’ll give it a tag or a name so you can refer to it later when you want to execute it. The command’s final component instructs Docker to build from a specific directory.
sudo docker build -t symfony-project .;
To execute the new application image:
sudo docker run -it -p 8000:8000 symfony-project;
To export the Docker image as a tar file:
sudo docker save -o ~/symfony-skeleton.tar symfony-project;