filter


ImageMagick apply blur to photo using a black and white mask

Recently, we were trying to apply blurriness to the frames of a video using a custom mask. Our needs would not be short of describing using geometric shapes, so we created the following image (blur.png) as a template for the blurring effect:

The above mask applies a blur effect to all black pixels and leaves all white pixels in the original image intact.

The command that we used was the following:

convert "${FILE}" -mask blur.png -blur 0x8 +mask "blur/${FILE}";

This command creates a new copy of the input file and places it into the folder named blur, so be sure to make the folder before using the above command (e.g., using the command mkdir blur).

Parameters and other information

  • -mask this flag assosiates the filename that is given with the mask of the command.
  • -blur defines the geometry that is used reduce image noise and reduce detail levels.
    To increase the blurriness you can increase the number in this variable 0x8.
  • +mask The ‘plus’ form of the operator +mask removes the mask from the input image.

The version of convert that we used for this example was the following:

Version: ImageMagick 6.9.10-23 Q16 x86_64 20190101 https://imagemagick.org
Copyright: © 1999-2019 ImageMagick Studio LLC

Below is a result frame from a video that we processed:

Additional material

To apply it to all video frames in the folder, we used the following command to make our life easier:

find . -maxdepth 1 -type f -name "*.ppm" -exec bash -c 'FILE="$1"; convert "${FILE}" -mask blur.png -blur 0x8 +mask "blur/${FILE}";' _ '{}' \;

The above command finds all frames in the current folder and executes the convert command described above. Since FFmpeg names the frames as PPM, we used that to filter our search. The blur folder is in the same folder as the original images. To avoid processing the pictures in that folder again, we defined the -maxdepth parameter in find that prevents it from navigating into child folders of the one we are working in.

Remove all non digit characters from String

The following Java snippet removes all non-digit characters from a String.
Non-digit characters are any characters that are not in the following set [0, 1, 2, 3, 4 ,5 ,6 ,7 ,8, 9].


myString.replaceAll("\\D", "");

For a summary of regular-expression constructs and information on the character classes supported by Java pattern visit the following link.

The \\D pattern that we used in our code is a predefined character class for non-digit characters. It is equivalent to [^0-9]that negates the predefined character class for digit characters [0-9].


Murloc

This slideshow requires JavaScript.


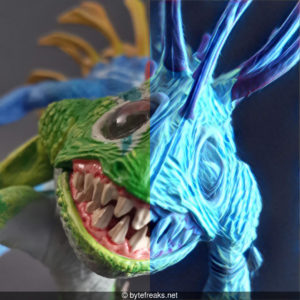
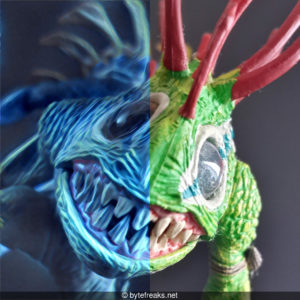
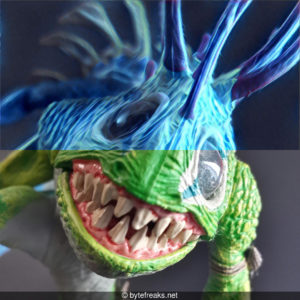
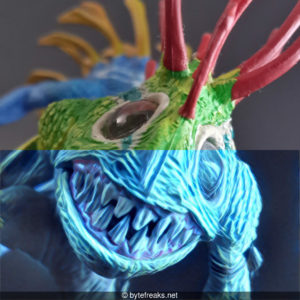
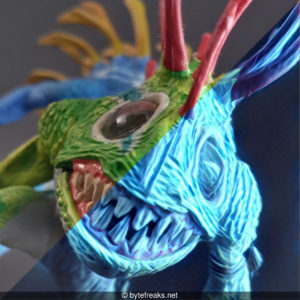
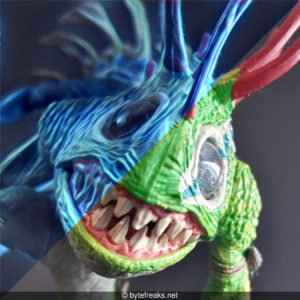
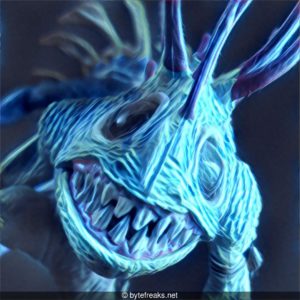
The blue filter observed in this picture is the Electric filter from the Prisma application of Prisma Labs.

Prisma is a photo-editing application that utilizes a neural network and artificial intelligence to transform the image into an artistic effect.
— From Wikipedia: https://en.wikipedia.org/wiki/Prisma_(app)

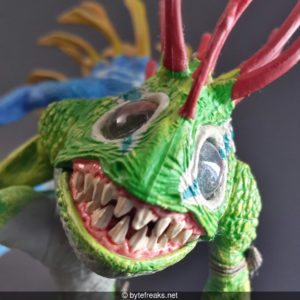
The scary looking creature photographed is a fictional character from the Warcraft franchise and it is called a Murloc:

The murlocs are amphibious bipedal fish-like creatures, which dwell along the coastlines of the Eastern Kingdoms, and few other locations. Little is known about this species, although they seemingly have enough intellect to form societies and tribes, even having their own faith system. They have their own spoken language, although it is unpronounceable in the common tongue.
— From Wikipedia: https://en.wikipedia.org/wiki/Races_and_factions_of_Warcraft#Murlocs

Useful links:

In this gallery we added along with the original and the filtered pictures some more that use half of the original picture and half of the filtered picture to better show how the effect altered the original picture.

Notes:

  • Prisma only accepts square images and it will resize the produced result to 1080px if the input image is larger than that.
  • The creation of the mixed images was done manually using Gimp.
  • We added the text at the end of the images using the following set of commands on a GNU/Linux environment (specifically Fedora) using bash shell and the imagemagick suite:
folder="modified";
mkdir "$folder";
for img in *.jpg;
do
  width=`identify -format %w "$img"`;
  convert -background '#0008' -fill white -gravity center -size ${width}x30 caption:"© bytefreaks.net" "$img" +swap -gravity south -composite "./$folder/$img";
done

The filtered images were added to the sub-folder called “modified” while the original images were not changed at all.