cuda


Compiling ffmpeg with NVIDIA GPU Hardware Acceleration on Ubuntu 20.04LTS

Please note that the following commands were executed on a system that already had CUDA support so we might be missing a step or two to enable NVIDIA CUDA support.

Install necessary packages

sudo apt-get install build-essential yasm cmake libtool libc6 libc6-dev unzip wget libnuma1 libnuma-dev nvidia-cuda-toolkit;

Clone and install ffnvcodec

git clone https://git.videolan.org/git/ffmpeg/nv-codec-headers.git;
cd nv-codec-headers;
sudo make install;
cd -;

Clone and compile FFmpeg’s public GIT repository with NVIDIA GPU hardware acceleration

git clone https://git.ffmpeg.org/ffmpeg.git ffmpeg/;
cd ffmpeg;
./configure --enable-nonfree --enable-cuda-nvcc --enable-libnpp --extra-cflags=-I/usr/local/cuda/include --extra-ldflags=-L/usr/local/cuda/lib64 --disable-static --enable-shared;
make -j 8;
sudo make install;

SUCCESS!

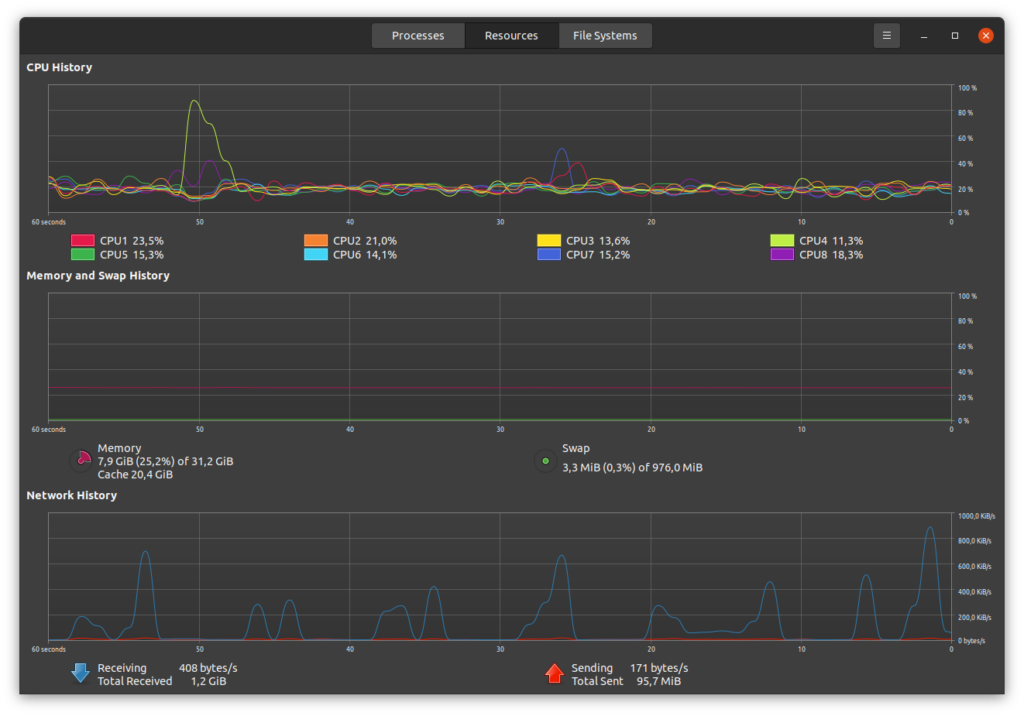
After performing the above steps, we were able to process media using ffmpeg without stressing our CPU! The workload was transferred to the GPU!


Rough notes on how to install CUDA on an Ubuntu 20.04LTS 1

To anyone coming across this post, please note that Canonical does not officially support CUDA. Not being supported formally means that you could face problems that we did not while setting up our machine.

Recently we wanted to use our GPU to execute various TensorFlow projects. We had to use version 1, specifically version 1.15 of TensorFlow, on one of our attempts. That setup was causing many problems even after version 2 was working perfectly. There must be something different with version 1, and it is not supported correctly anymore. We recommend avoiding using it unless needed.

Finding out what graphics card we have

Before getting started, we executed the following command that gave us the model of our graphics card:

lspci | grep -i nvidia;
$ lspci | grep -i nvidia
01:00.0 VGA compatible controller: NVIDIA Corporation TU104 [GeForce RTX 2080 Rev. A] (rev a1)
01:00.1 Audio device: NVIDIA Corporation TU104 HD Audio Controller (rev a1)
01:00.2 USB controller: NVIDIA Corporation TU104 USB 3.1 Host Controller (rev a1)
01:00.3 Serial bus controller [0c80]: NVIDIA Corporation TU104 USB Type-C UCSI Controller (rev a1)

Installing dependencies and NVidia repositories

Then we proceeded to install the headers of our Linux kernel, the repositories of NVidia, and finally install CUDA using apt-get.

sudo apt-get install linux-headers-$(uname -r);
wget https://developer.download.nvidia.com/compute/cuda/repos/ubuntu2004/x86_64/cuda-ubuntu2004.pin;
sudo mv cuda-ubuntu2004.pin /etc/apt/preferences.d/cuda-repository-pin-600;
sudo apt-key adv --fetch-keys https://developer.download.nvidia.com/compute/cuda/repos/ubuntu2004/x86_64/7fa2af80.pub;
sudo add-apt-repository "deb https://developer.download.nvidia.com/compute/cuda/repos/ubuntu2004/x86_64/ /";
sudo apt-get update;
sudo apt-get -y install cuda;
sudo apt-get install nvidia-gds;

After this step, we rebooted the computer to load the NVidia graphics driver.


How we accidentally fixed the black screen issue of OBS studio on Fedora 27 x64 3

As mentioned in a previous post, we installed OBS studio on our machine in order to make some desktop recordings.
What that post did not mention are two issues that we had:

  1. when recording using the Screen Capture (XSHM) source, the recording would only show a black screen and it would actually record the mouse only!
  2. when trying to record a LibreOffice application like Calc through the Window Capture (XComposite) source, Calc would not show in the properties dialog under the Window dropdown menu

The way we fixed these issues is not something that is always guaranteed to work but it is worth a try!
Initially we thought it would be a good idea to install the NVidia driver since we had a GeForce GTX 660M on the machine.
We hoped that the OBS studio black screen issue was a driver issue so we decided to follow the RPM Fusion guide on installing NVidia drivers.

We installed the NVidia driver, added the CUDA support and updated the system using these two commands:


dnf install xorg-x11-drv-nvidia akmod-nvidia xorg-x11-drv-nvidia-cuda;
dnf update -y;

and then we did a full reboot of the machine.

After the machine booted and the graphical interface came up, we noticed that the machine was too slow and there was 100% CPU utilization for over 15 minutes.
After some very efficient Google-Fu, we realised that this was some bug that we were not willing to deal with and so we had to remove the newly installed NVidia driver.
Again following the RPM Fusion guide, we executed the following command to remove the driver from our system:


dnf remove xorg-x11-drv-nvidia\*

Please note that we DID NOT execute the last step of the guide on how to Recover from NVIDIA installer.
As it is mentioned in the guide: the NVidia binary driver installer overwrites some configuration and libraries.
Since having a clean state did not work for us, we decided to give a go of this hybrid setup that we had.
Following another full restart we were able to see that OBS Studio was working as expected and it the black screen issue was no more!!
Also, we could choose LibreOffice from the Window dropdown and we could record that as well!

As implied, this guide is a hack, it could work for you as well or not.
Our opinion is that, it is worth to give it a go!
As a synopsis, what we did was to install the NVidia driver and uninstall it, the libraries that got overwritten by this process fixed the black screen issue of OBS studio.

Bonus: to find the model of your graphics card, execute the following


lspci |grep -E "VGA|3D";

In our machine we got the following output: 01:00.0 VGA compatible controller: NVIDIA Corporation GK107M [GeForce GTX 660M] (rev a1)