Qubes OS: Connect to Wi-Fi or Ethernet or another network 1
A couple of days ago we decided to give Qubes OS a go and see what it could do for a regular user. The installation was easy as it uses the same installer as Fedora, so we just created a live USB and formatted a laptop that had built in Wi-Fi.
To our surprise, we could not figure out how to change the network settings and activate an internet connection! Going to the NetworkManager (nm), even with root, would show us all fields as disabled when trying to create any new connection!
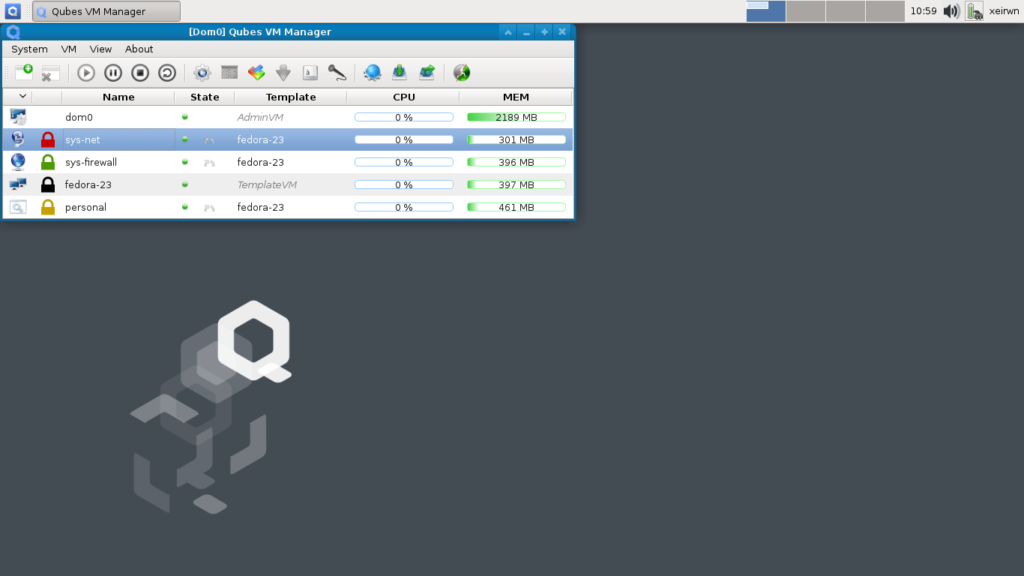
Some time passed before we realized that the NetworkManager of XFCE4 was not the way to go. After inspecting the Virtual Machines on the Qubes VM Manager, we saw that the sys-net VM was the only one that had in its hardware settings to access the Ethernet and Wi-Fi modules. So we got the hint, we needed to modify sys-net in order to connect the entire OS with its VMs to the network.
 To modify the settings of the
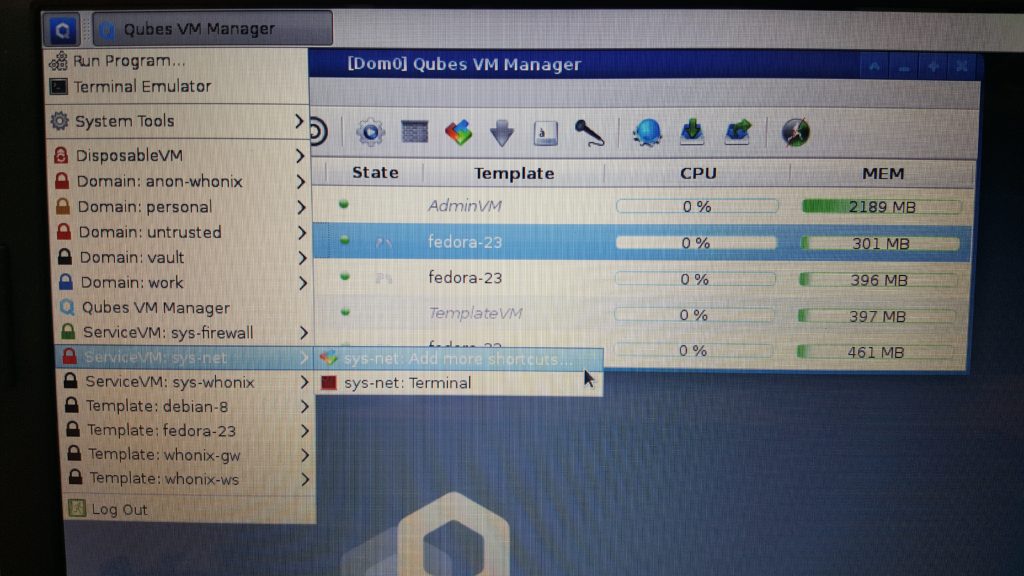
 sys-net VM we needed access to the Settings Application, which was not available in the application menu. So the first thing we did, was to use the sys-net: Add more shortcuts... option under the group ServiceVM: sys-net to enable the Settings application shortcut.
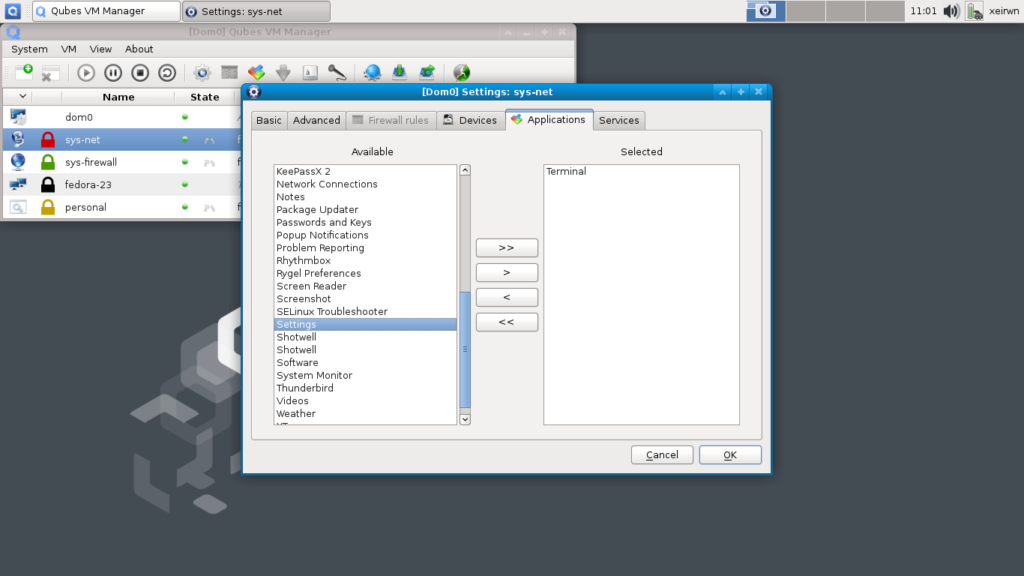
 In the
 [Dom0] Settings: sys-net window, we went to the Applications tab, on the left list we scrolled down to find the Settings option.
 After selecting the
 Settings option, we clicked on the > button to move the Settings option to the right list.
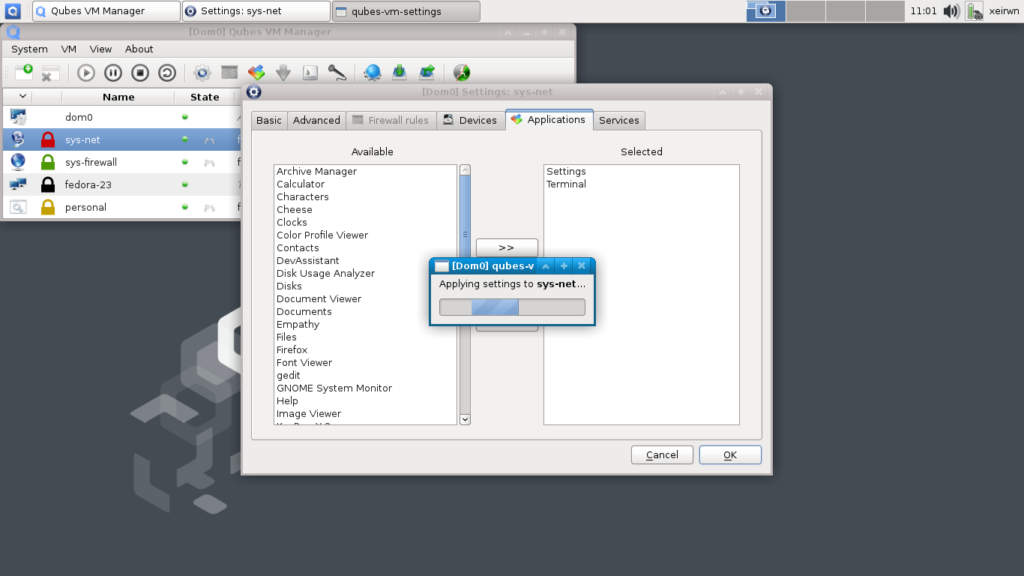
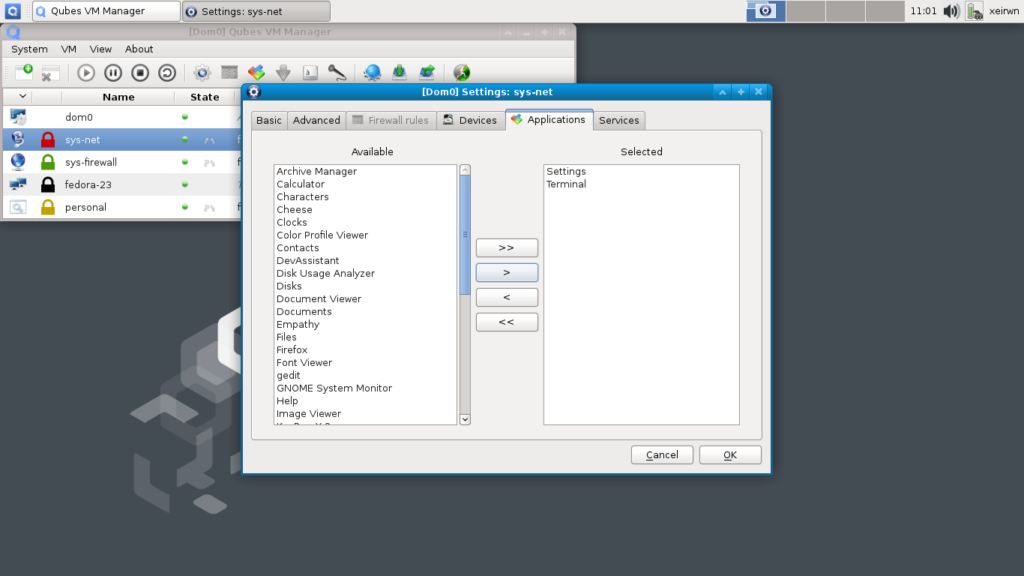 Then we clicked on the
 OK button to apply the changes.
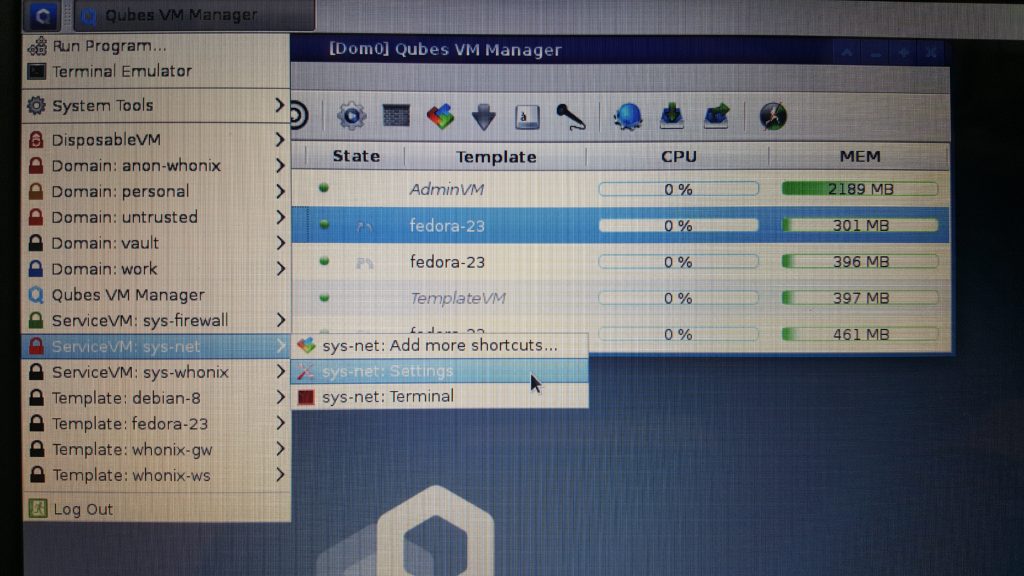
 Going back to the application menu and the group
 ServiceVM: sys-net we could see the new option for sys-net: Settings.
 Clicking on the
 sys-net: Settings showed us the usual settings manager for Gnome.
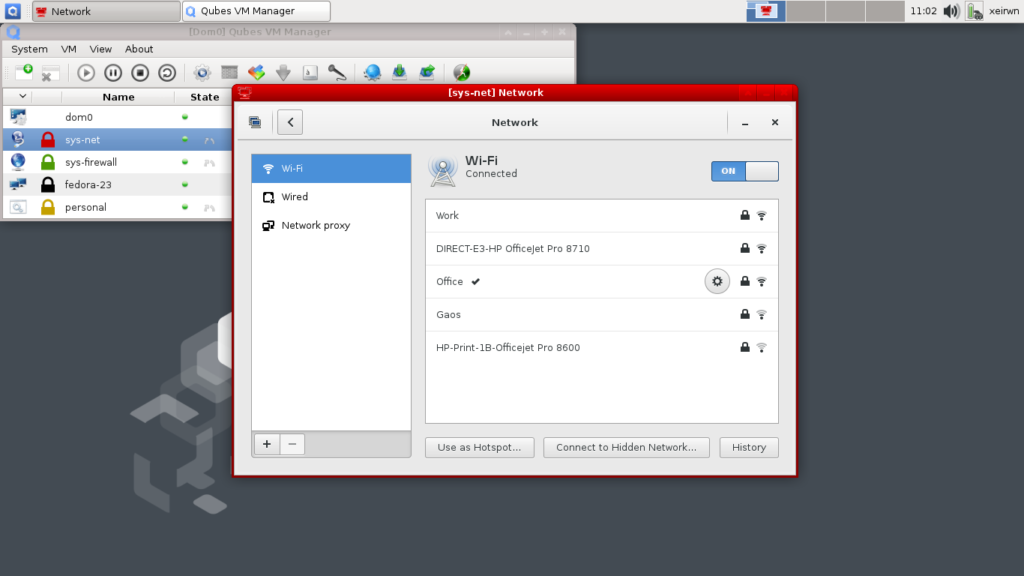
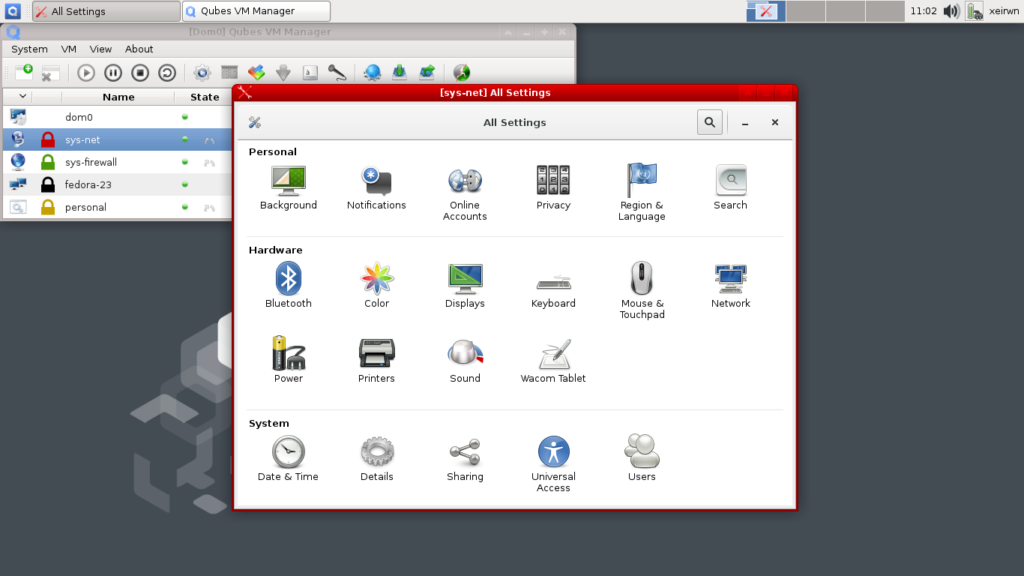 From there on, our job was easy, we just clicked on the
 Network option that gave us the window to modify all network settings. Then we selected the Wi-Fi network that we wanted to connect to, which worked without a hitch!
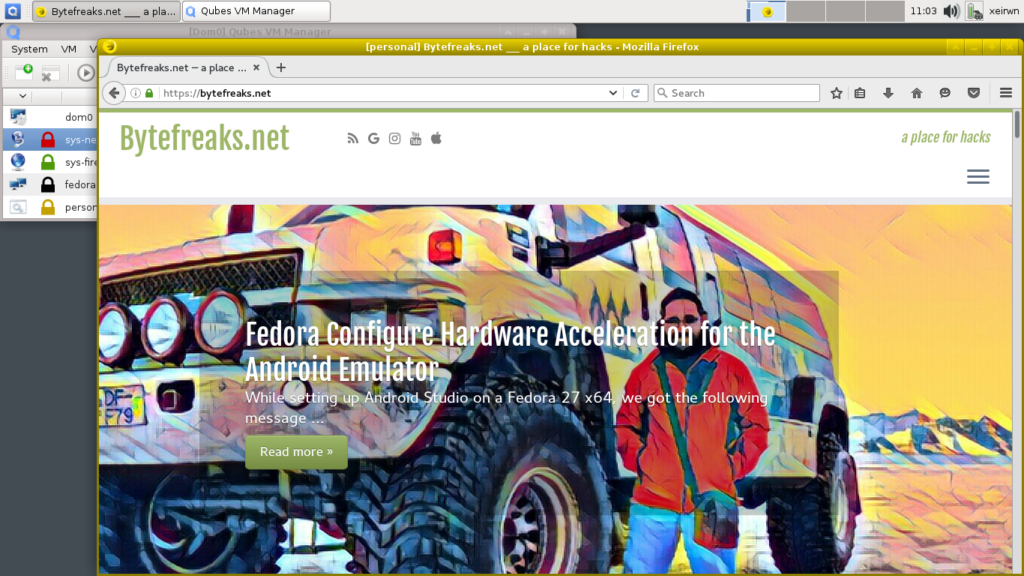
 Finally, we had to test if the configuration was working as expected. From the application menu, under the group
 Domain: personal, we selected the option personal: Firefox to start the Firefox application on the personal VM.
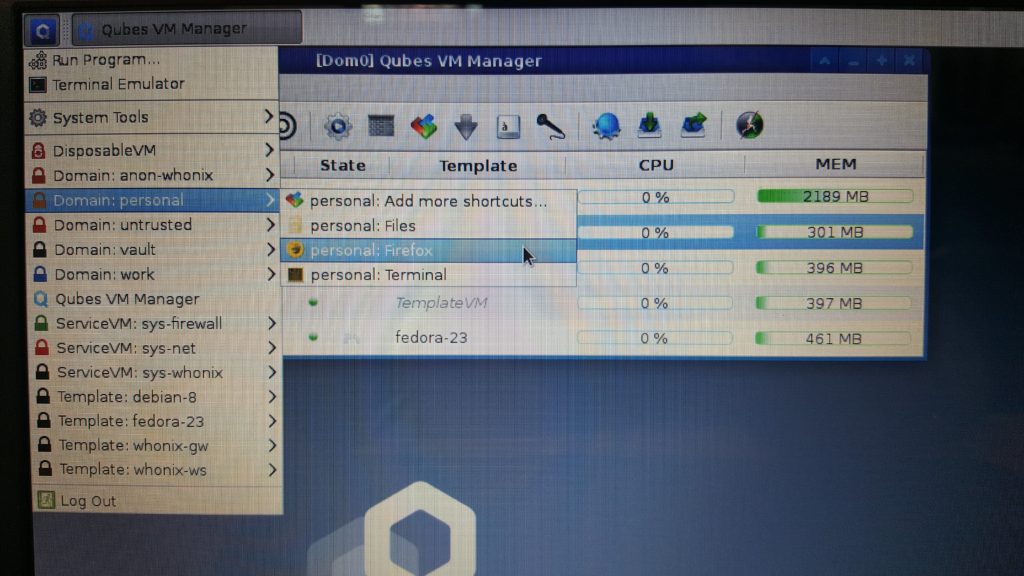 Once Firefox started we could see that internet connection was active and everything was working as expected!