Navigating Google Sites: The Challenge of Setting Up a Naked Domain for Free

In the digital realm, setting up a website is akin to opening the doors to your virtual storefront. For many, Google Sites offers a simple, user-friendly platform to create and host websites. However, businesses and individuals looking to establish a professional online presence often prefer using a naked domain (e.g., example.com) over a subdomain (e.g., www.example.com). A naked domain, free of any prefix, not only provides a cleaner URL but also lends an air of credibility and brand strength. Unfortunately, due to Google’s policies, those hoping to use a naked domain with Google Sites for free will find themselves at a crossroads.
The Google Sites Conundrum
Google Sites, part of Google’s suite of tools, allows users to create and host websites without diving deep into the complexities of web development. While it simplifies the website creation process, Google imposes certain limitations regarding domain customization, especially concerning naked domains.
Google’s primary resource on this topic is a support guide detailing how to associate custom domains with Google Sites through the Google Admin Console (https://support.google.com/a/answer/2518373). The catch? Access to the Google Admin Console is gatekept behind G Suite (now Google Workspace) subscriptions, which do not offer free packages. This effectively means that Google does not support setting up a naked domain on Google Sites without incurring direct costs.
A Clever Workaround: Cloudflare to the Rescue
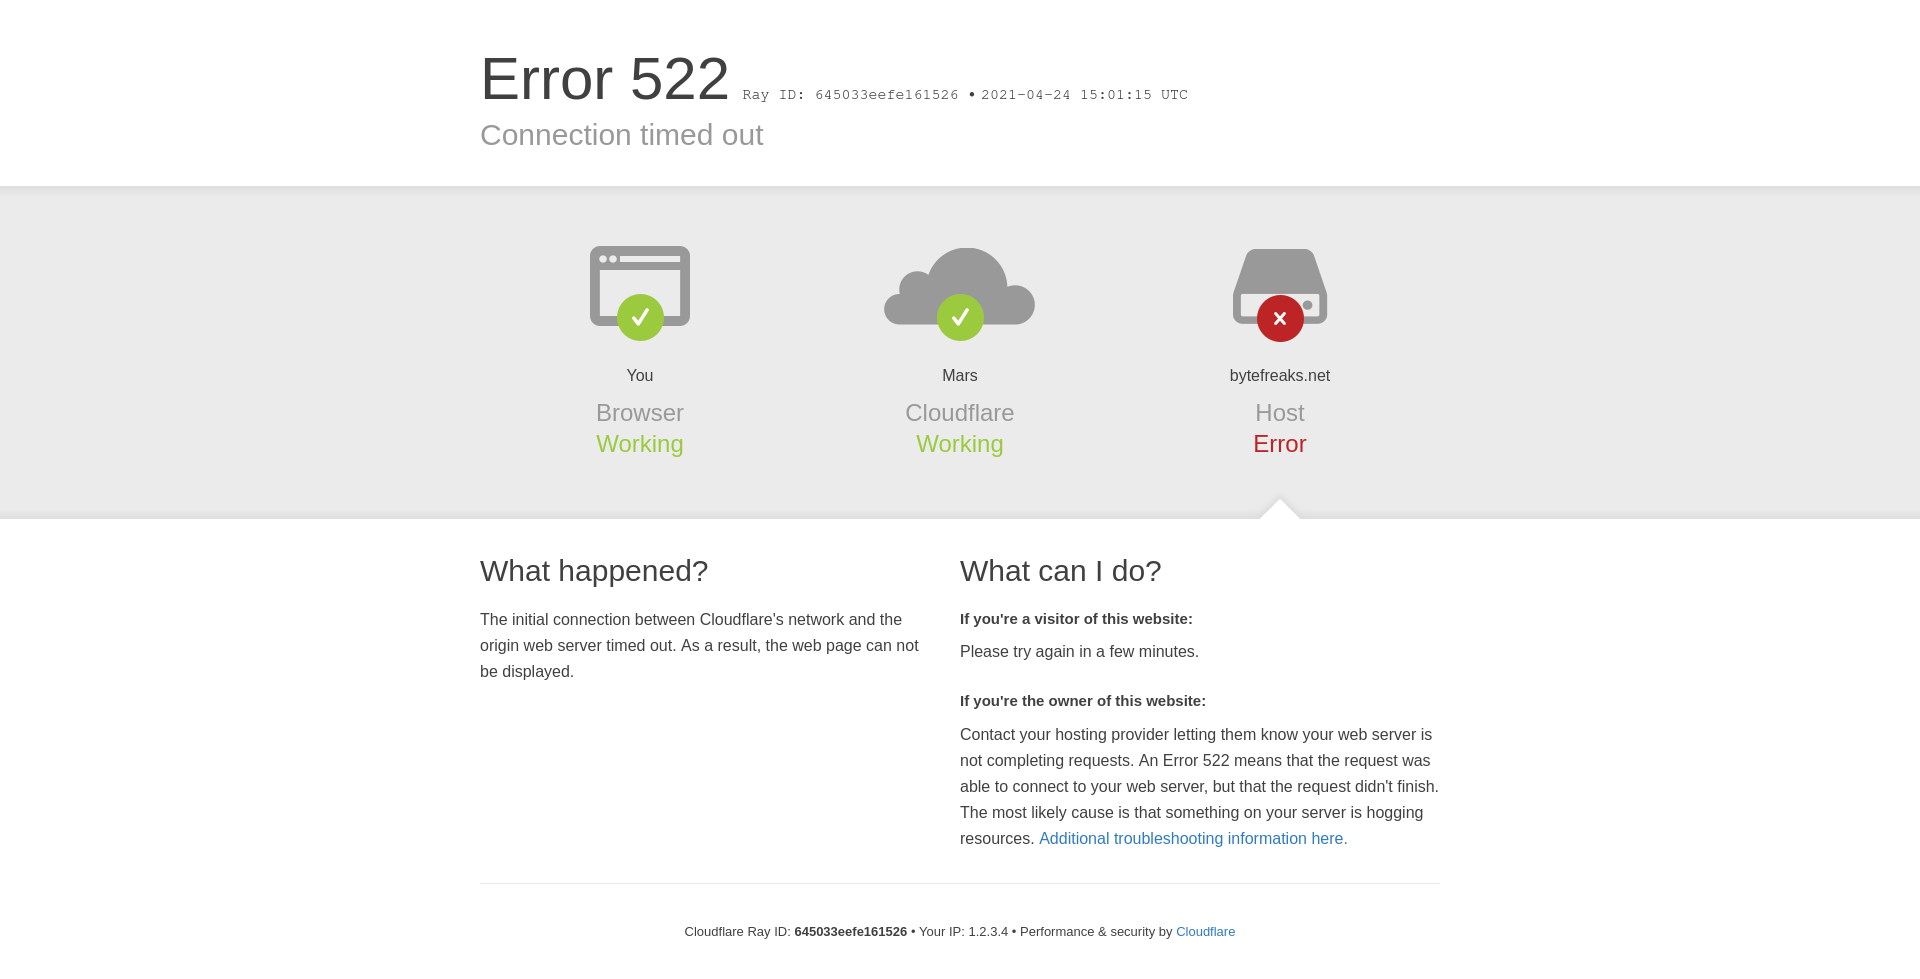
Facing this limitation does not mean the end of the road for those determined to use a naked domain with Google Sites at no extra cost. A workaround exists, thanks to Cloudflare, a web performance and security company that offers CDN services, DDoS mitigation, Internet security, and distributed domain name server services.
Step 1: Setting Up with Cloudflare
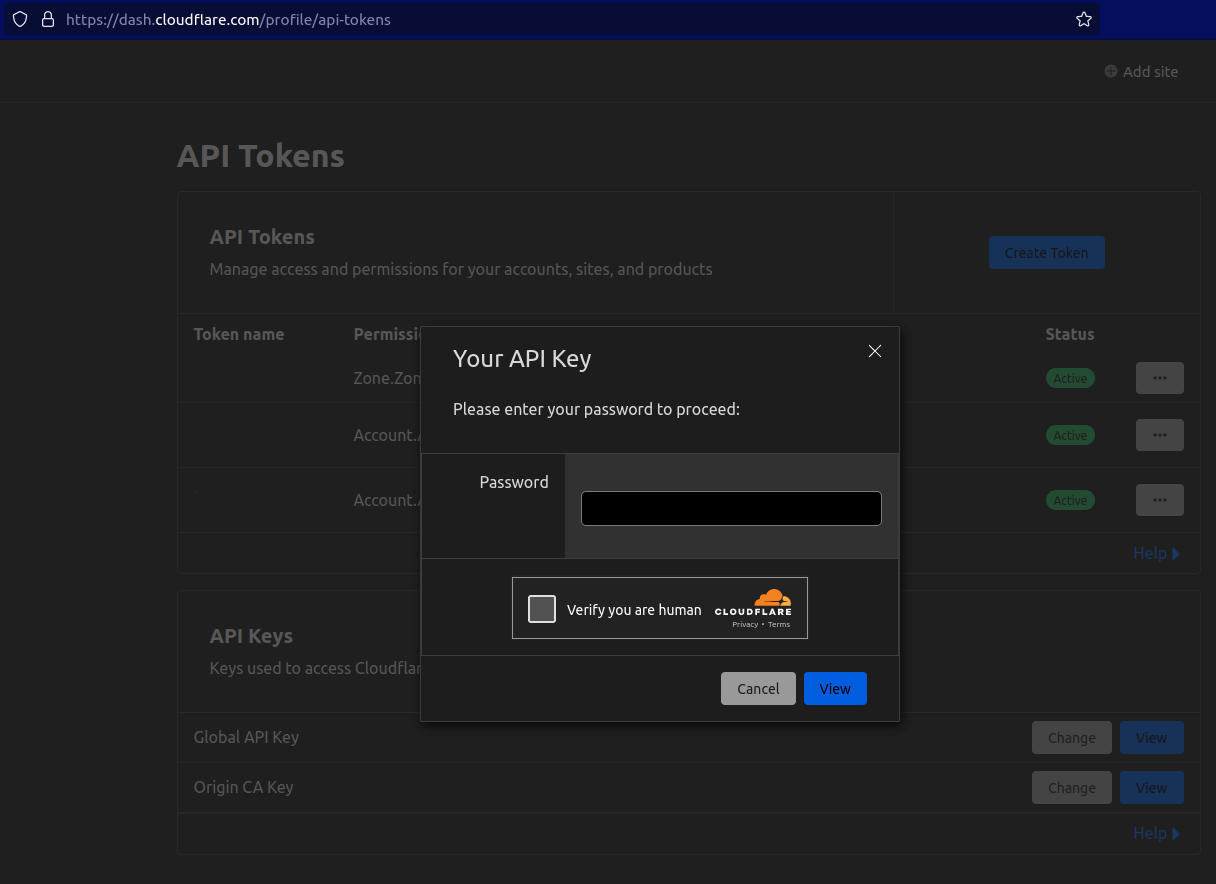
The first step in this workaround involves creating a Cloudflare account and adding your domain to it. Cloudflare provides a range of free services, including the ability to redirect traffic, which is crucial for our purpose.
Step 2: Configuring Page Rules
Once your domain is under Cloudflare’s management, the key to redirecting your naked domain to the www version (or any other subdomain) lies in Cloudflare’s Page Rules feature. Setting up a specific Page Rule allows you to redirect all traffic from your naked domain to the desired destination. Here’s how we did it for bytefreaks.net:
- We created a Page Rule for
bytefreaks.net/*. - In the settings, we selected the “Forwarding URL” option.
- We configured it to redirect to
https://www.bytefreaks.net/.
This approach effectively routes visitors from the naked domain to the www subdomain without manual intervention, ensuring that the website remains accessible via the desired URL format.
Conclusion
While Google’s policies may limit the direct use of naked domains with Google Sites for free, innovative solutions like the one involving Cloudflare, highlight the possibilities of overcoming these restrictions. By leveraging Cloudflare’s Page Rules for URL forwarding, individuals and businesses can achieve their desired domain setup without incurring additional costs. This workaround exemplifies the creativity within the tech community and underscores the importance of flexibility in navigating the ever-evolving landscape of web development and hosting.