Cloudflare Origin Server Certificate for IIS 10 Server on Windows Server 2016 to allow Full (strict) mode SSL/TLS encryption mode 8
Create a Certificate Request from your Windows Server
- Open Internet Information Services (IIS) Manager from the Windows Server 2016 through Control Panel -> Administrative Tools
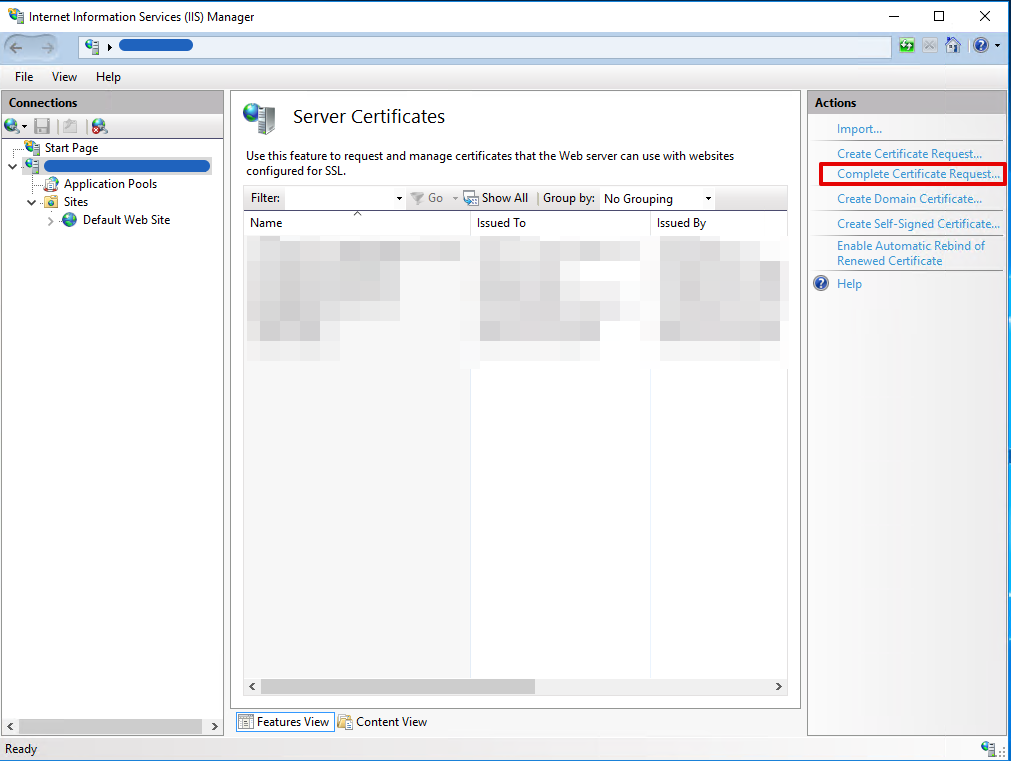
- Select your server from the Connections and open Server Certificates
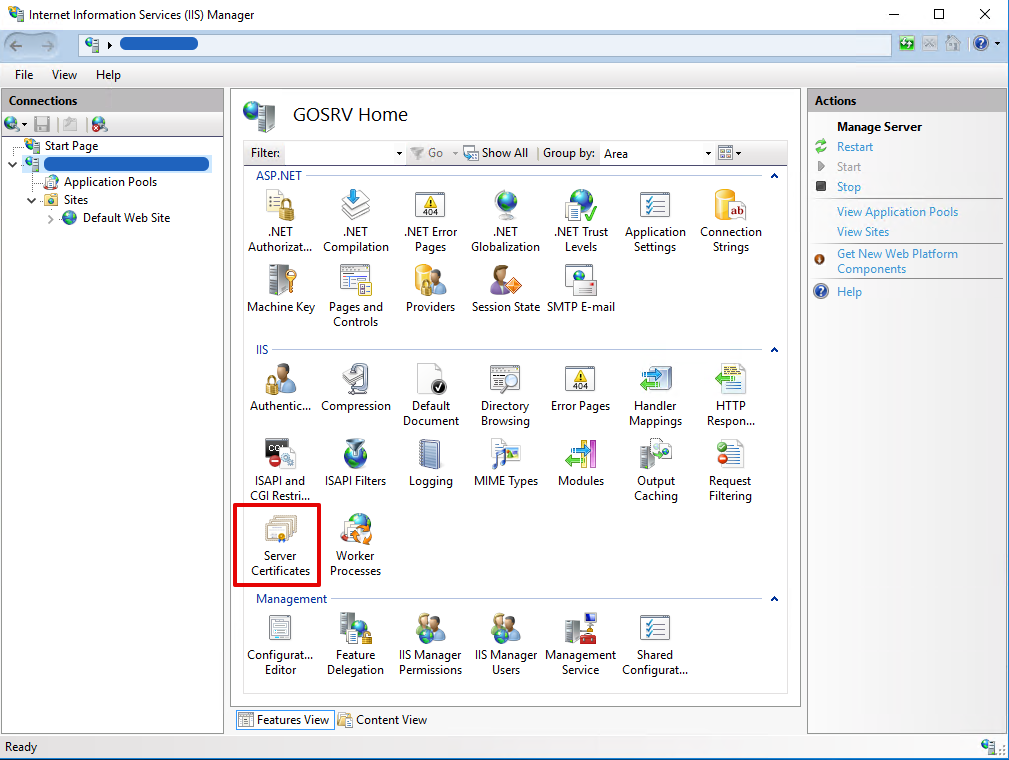
- From the Server Certificates Actions select Create Certificate Request
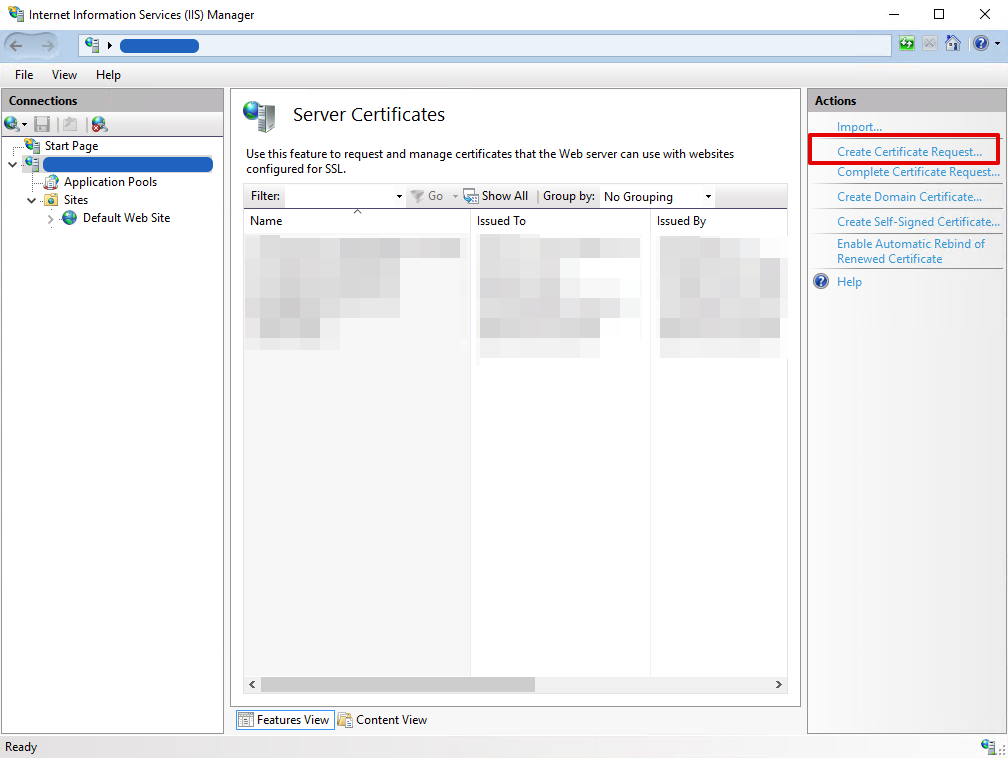
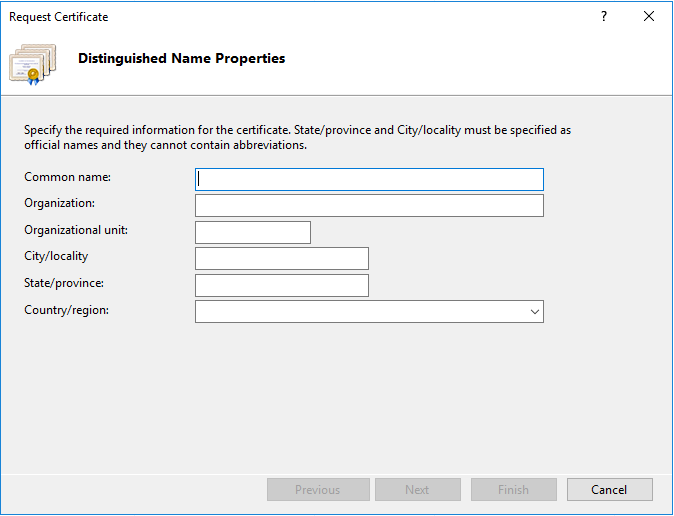
- Fill in the following form with your details:
Common name: [your domain]
Organization: [your organization name]
etc.
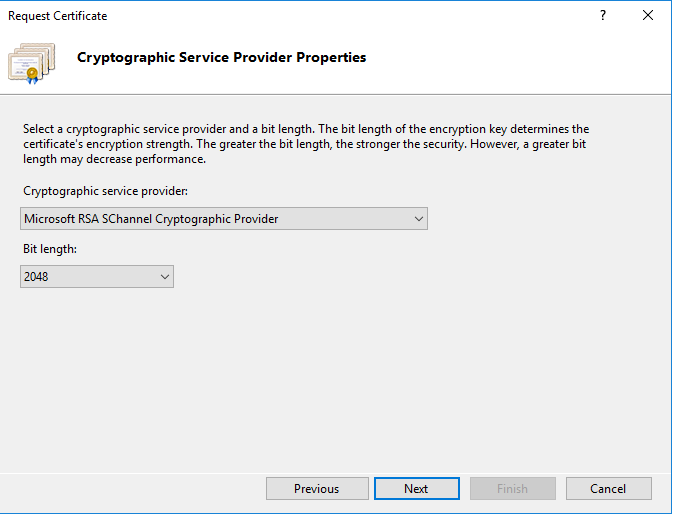
- Set the settings for the Cryptographic service provider of the certificate, the bigger the length of the certificate the better the security but it makes the server slower.
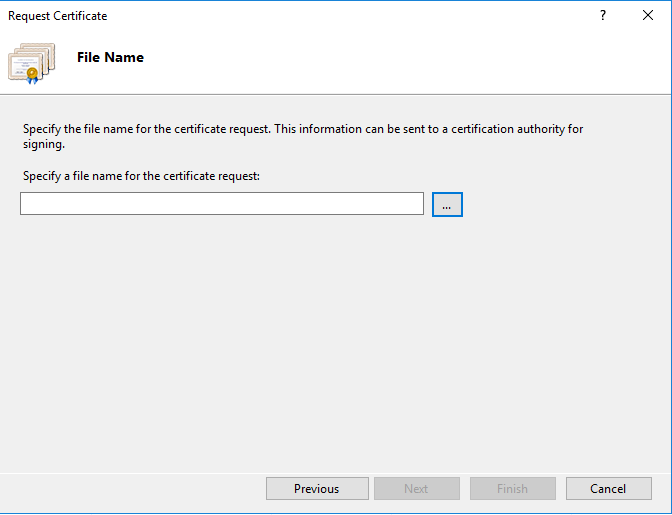
- Specify the filename of the txt file where you will save the certificate request
Create the certificate from Cloudflare using your own certificate request that you created from your Windows Server
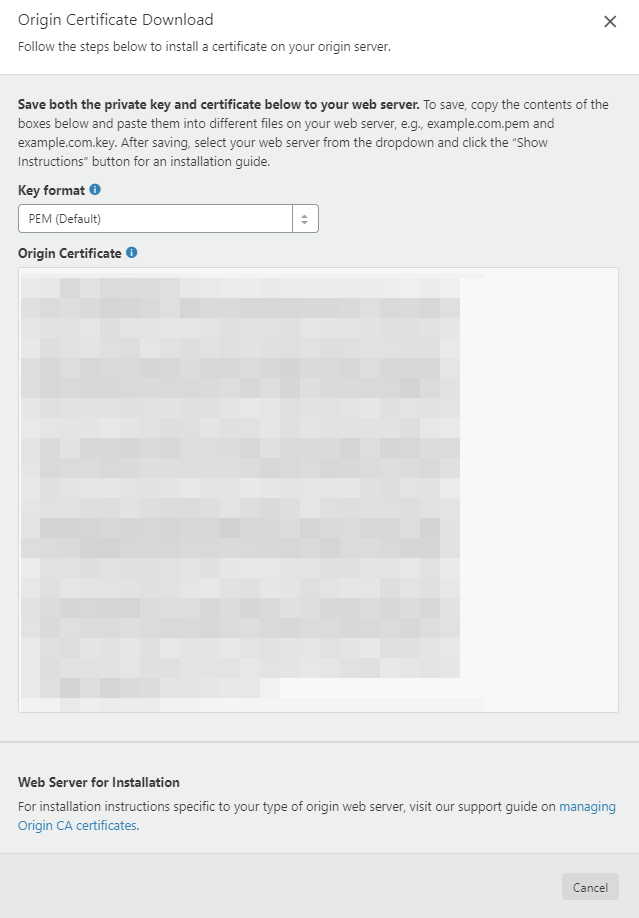
- Open your Cloudflare account, select your domain, open
SSL/TLStab and click onOrigin Serverin order to create the certificate

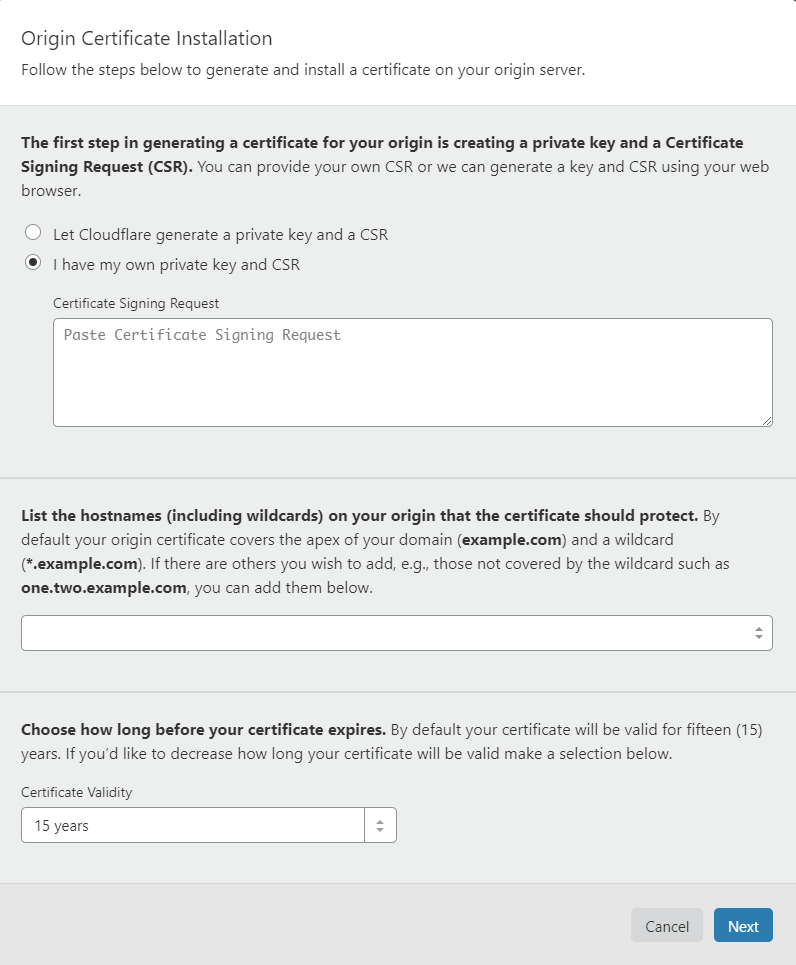
- Select the option ‘I have my own private key and CSR’ where you will Copy-Paste the certificate you saved on the txt file from your Windows Server, fill in the hostnames, select the expiration years and press Next
- Copy-Paste in PEM key format the certificate in a text file and save the file
Add the public certificate from Cloudflare at your Windows Server
- Copy the file with the PEM certificate from Cloudflare at your Windows Server
- Select ‘Complete Certificate Request’ from the IIS Manager Server Certificates Actions
- Select the PEM certificate you copied at the server and add a friendly name (e.g. the domain it covers and the expiration date of it):
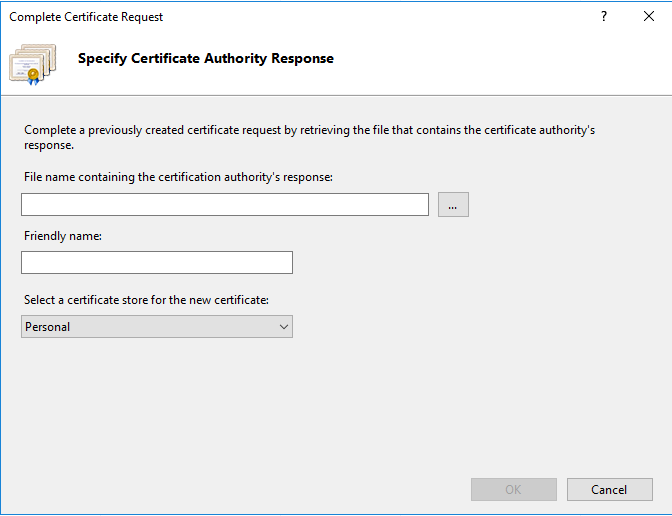
- The certificate will appear at the list of the Server Certificates with the Friendly name you added at the form before
Import Cloudflare Origin CA root certificate at your Windows server
- Copy the Cloudflare Origin CA — RSA Root certificate from Cloudflare website, save to a file and transfer it to your Windows Server
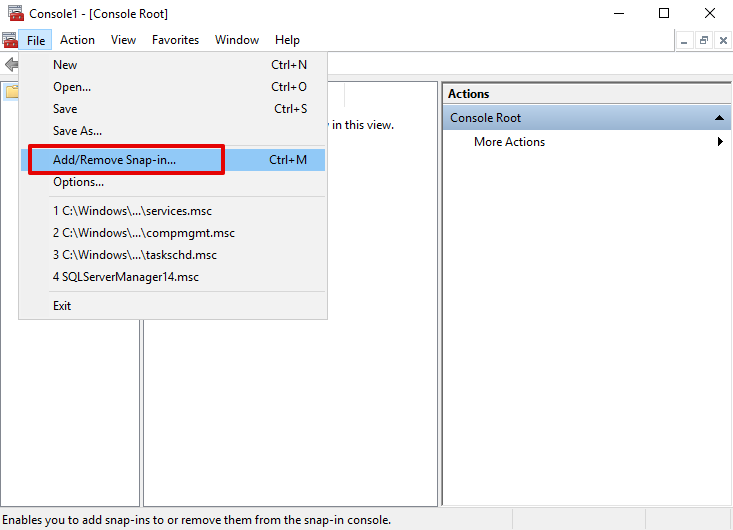
- Open the Certificates Microsoft Management Console (MMC) snap-in by typing
mmc.exeat the command prompt (or at the run dialog that you can open by pressing the buttonsWin+R) - On the
Filemenu, selectAdd/Remove Snap-in
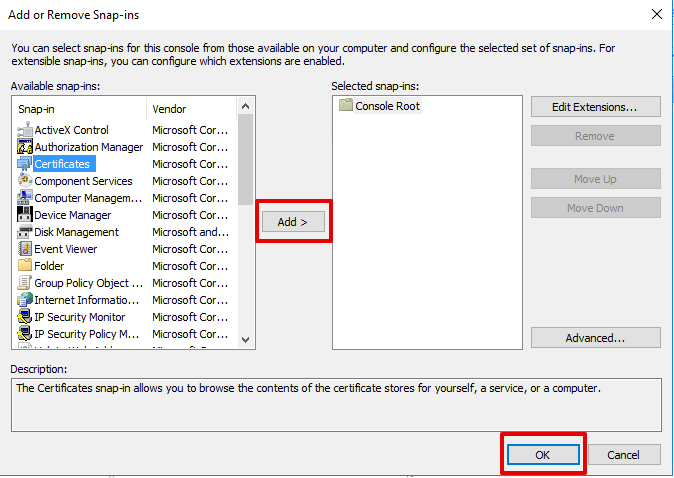
- In the Add or Remove Snap-ins dialog box, select
Certificatessnap-in in the Available snap-ins list, clickAdd, and then selectOK
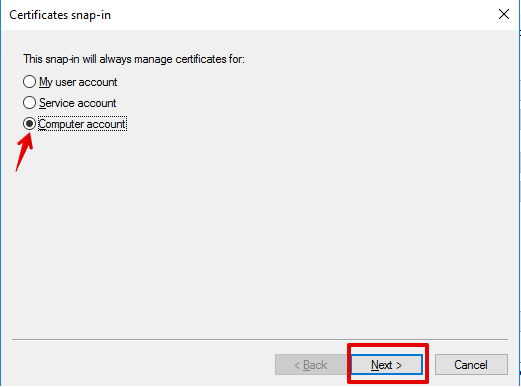
- In the Certificates snap-in dialog-box, select
Computer account, and then selectNext
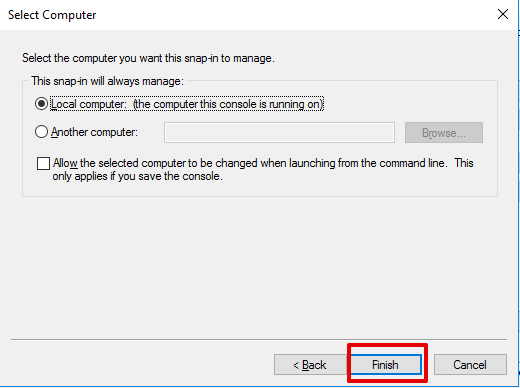
- In the
Select computerdialog box, click onFinish
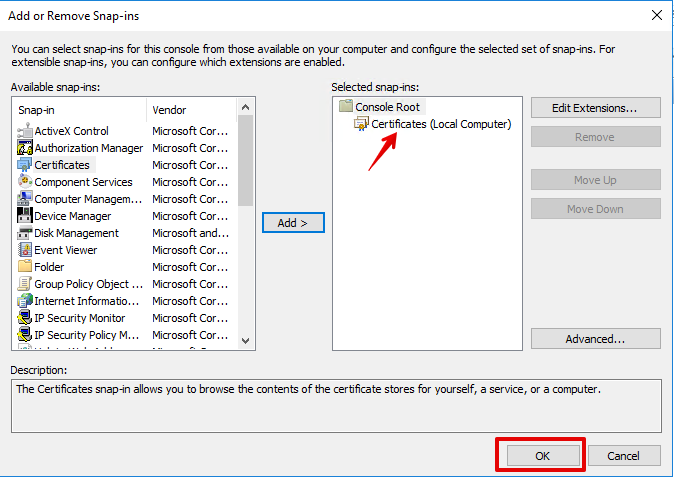
- In the Add or Remove Snap-ins dialog box, select
OK
- In the Certificates MMC snap-in, expand
Certificates, right-clickIntermediate Certification Authorities, point toAll Tasks, and then selectImport

- In the Certificate Import Wizard, select
Next

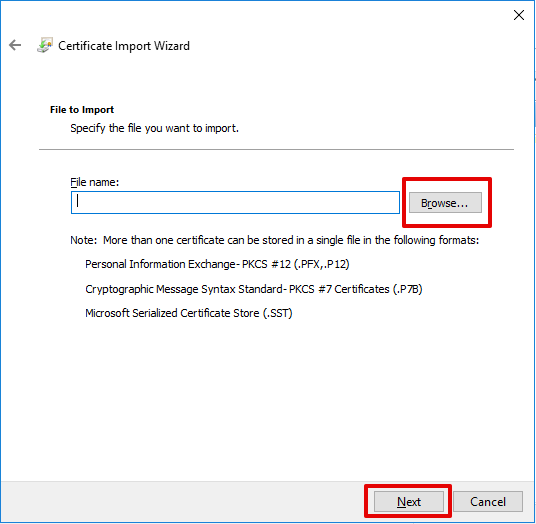
- In the File to Import page, select the file with the Cloudflare origin CA root certificate you saved before, and then select
Next
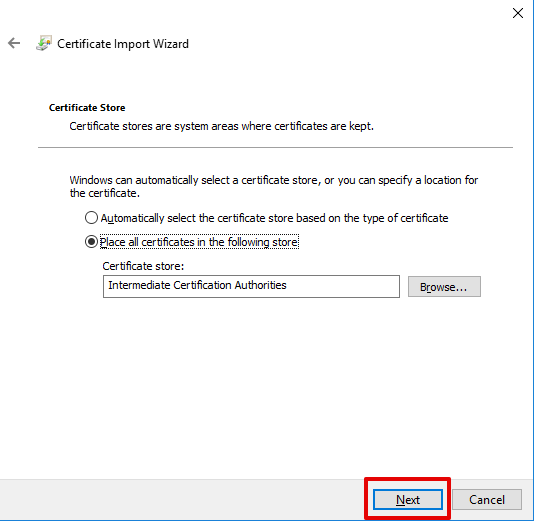
- Select Next at the Certificate Import Wizard
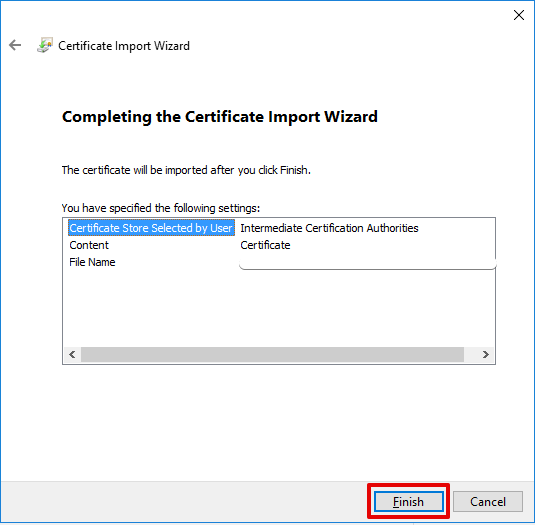
- Select Finish at the Certificate Import Wizard
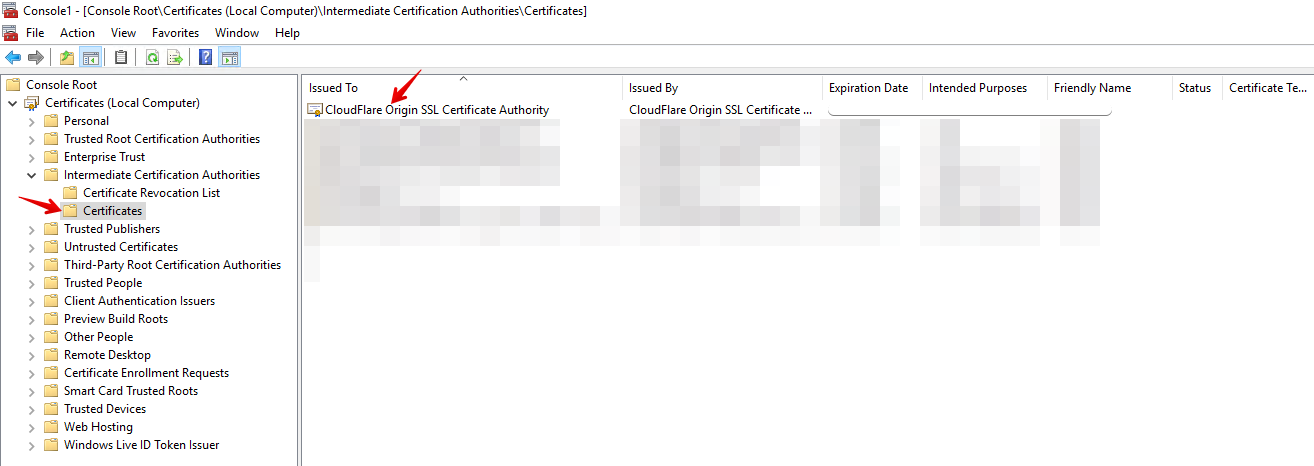
- The certificate will appear at the Certificates list
Use the newly created server origin certificate from Cloudflare for your website
- Select
Bindingsfrom the IIS Manager Web Site Actions
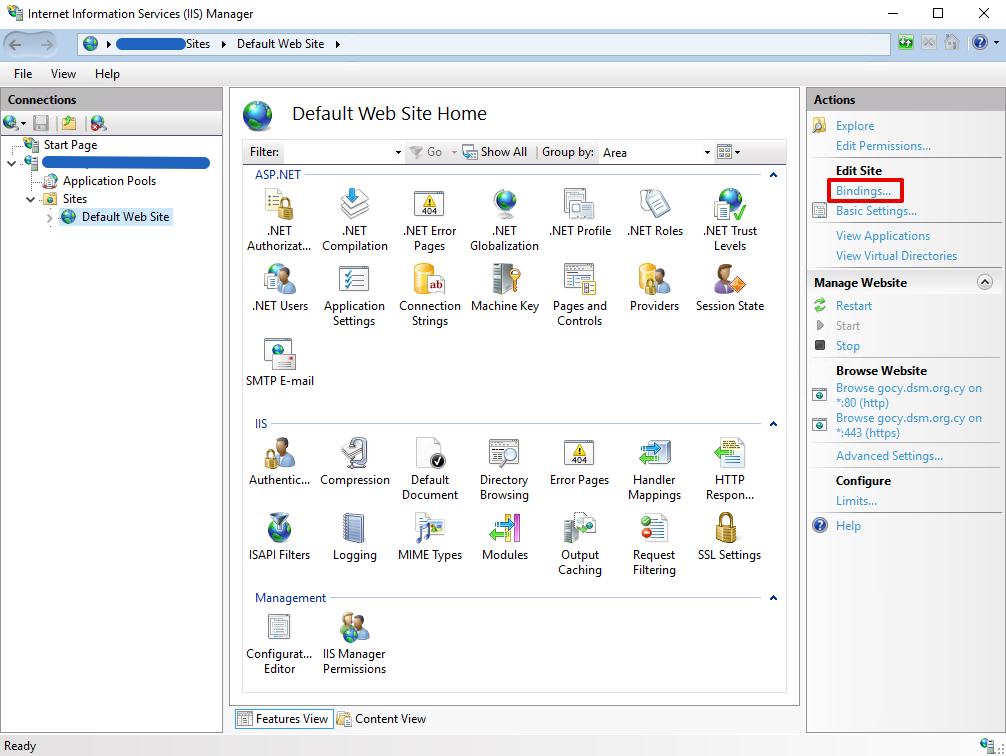
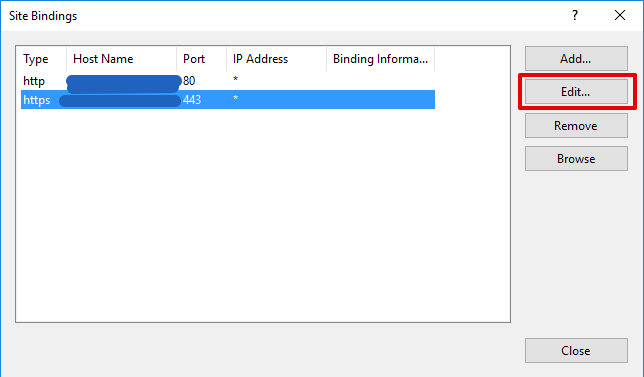
- Select the https binding and click
Edit. If you do not have an https binding, pressAdd...to create one like in the second screen down
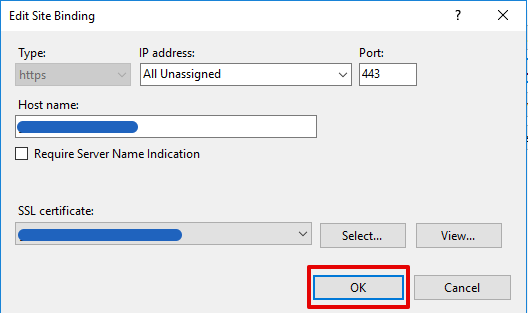
- At the SSL certificate dropdown list Select the new certificate and press
OK
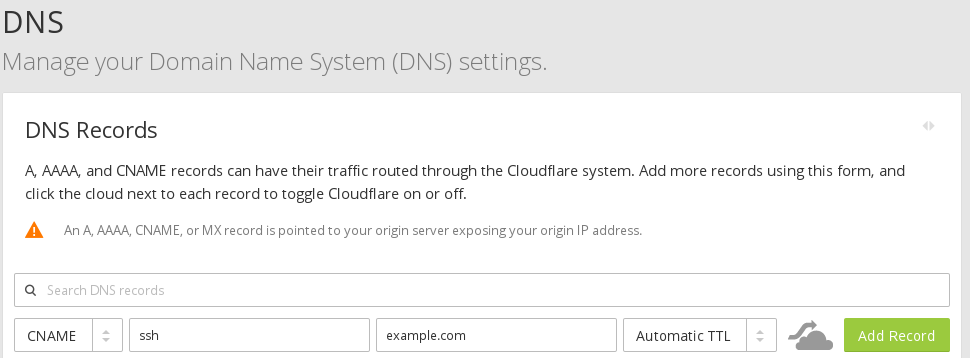
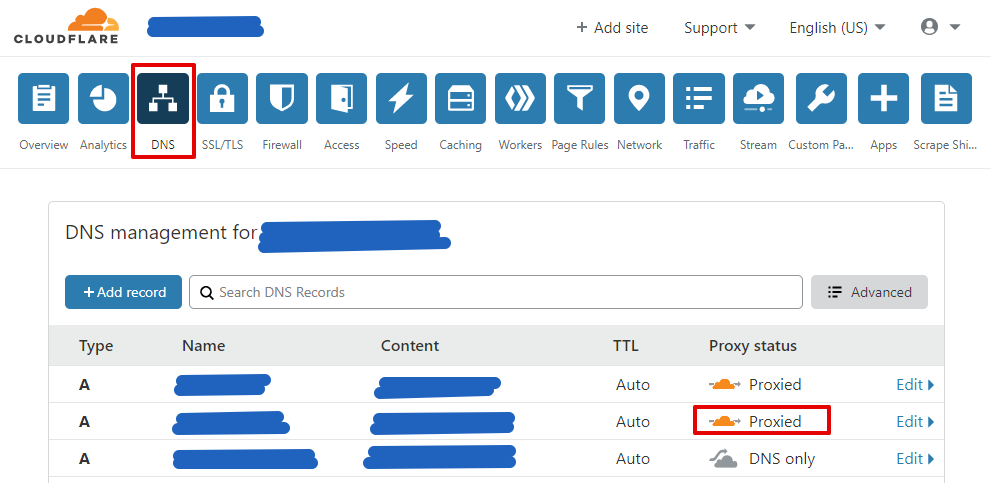
Force your website domain to pass through Cloudflare
- Open your Cloudflare account, select your domain, go to DNS option and change the Proxy status for your website from
DNS onlytoProxiedby click it
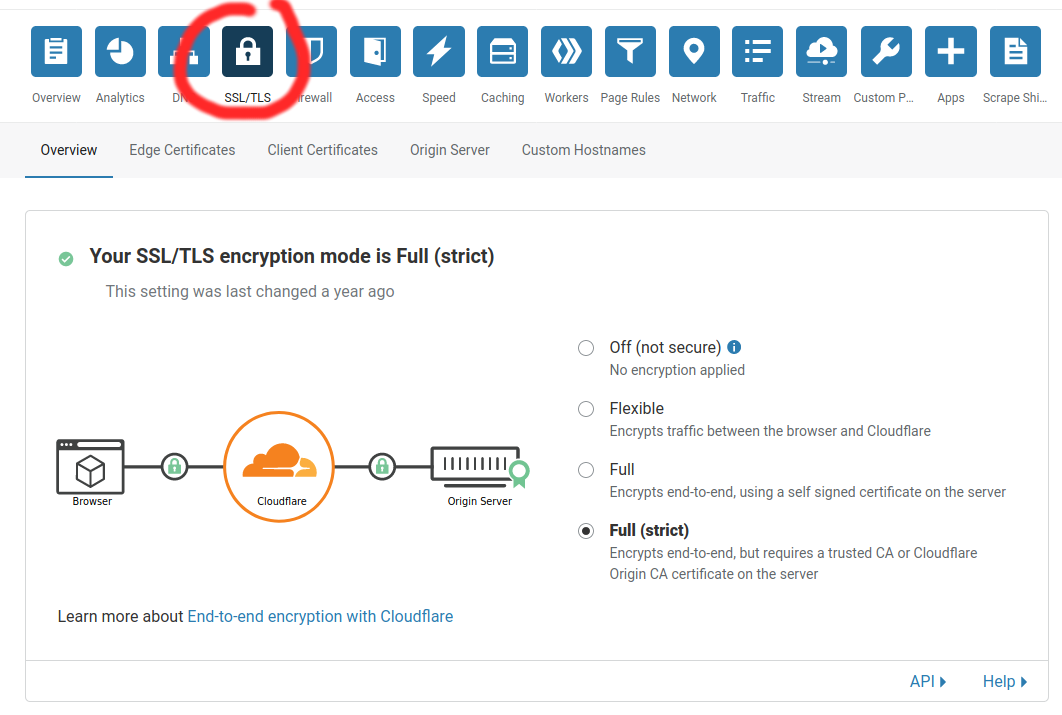
- Enable Cloudflare full (strict) SSL TLS encryption mode in the
SSL/TLStab