
How to access VMFS Datastore from Ubuntu GNU/Linux
Suppose the ESXi host fails, but the server’s local disk or disks are still operational. In that case, it is always possible to copy the virtual machine files (both data drives and configuration files) from the VMFS datastore and run the VM on a different server. This is true even if the ESXi host fails (even on VMware Workstation or Hyper-V). The most significant issue is that the widely used operating systems, such as Windows and Linux, do not have a VMFS driver, which causes them to be unable to recognize a partition that automatically has the VMFS file system.
To mount a VMFS file system on an Ubuntu, we will need to install the vmfs-tools package.
sudo apt-get install vmfs-tools;
Then, we need to create a folder where we will perform the mount later on:
# The folders does not have to be in the /mnt path, it can be anywhere on your file system where you have access.
sudo mkdir /mnt/vmfs;
Following that, we need to identify the disk we want to mount. There are two popular ways to do so, and the first is by executing the command fdisk -l on the terminal, which will show all physical disks attached to your system. You will get results that are similar to the ones below:
sudo fdisk -l;

...

Disk /dev/loop51: 884,85 GiB, 950075898880 bytes, 1855616990 sectors
Units: sectors of 1 * 512 = 512 bytes
Sector size (logical/physical): 512 bytes / 512 bytes
I/O size (minimum/optimal): 512 bytes / 512 bytes
From these results, the drive’s path is essential information for us. In this case, it was /dev/loop51.
The second method is to use the Gnome Disks Utility:

When you start the application, you will get an image similar to this:
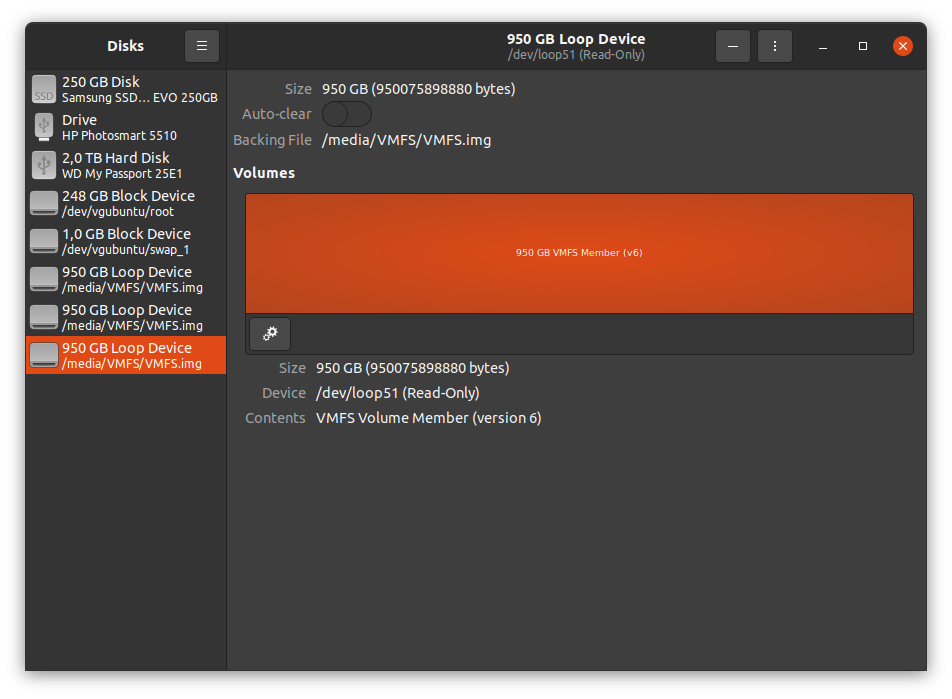
If you have a physical VMFS datastore hard drive, it will appear on the list on the left. You will get more information on the right panel by clicking on it. The critical information is the value after the label Device. In this case, the vital value was /dev/loop51.
If you do not have a physical drive but an image of a drive, you can attach it by clicking on the menu button with the three lines on the top left and then selecting the Attach Disk Image... (.iso, .img) option. A new window will open, allowing you to navigate and find your image file.

After we acquire the path to the physical drive or the image file, we can mount it using the following command:
sudo vmfs-fuse /dev/loop51 /mnt/vmfs;
In case you get the following error:
VMFS: Unsupported version 6
Unable to open device/file "/dev/loop51".
Unable to open filesystem
Then, you need to install the package that can handle VMFS version 6. To install, use the following command:
sudo apt-get install vmfs6-tools;
Trying again to mount, this time with the tools that are appropriate for version 6, should do the trick:
sudo vmfs6-fuse /dev/loop51 /mnt/vmfs;
To unmount, we need to execute the following:
sudo umount /mnt/vmfs;

