
Gaming with PlayStation Controllers of Android
Recently we decided to try and game on Android (specifically on a OnePlus 6T) using the controllers of Sony Playstation (Sony DualShock 4 wireless controller and Sony Dualsense wireless controller).
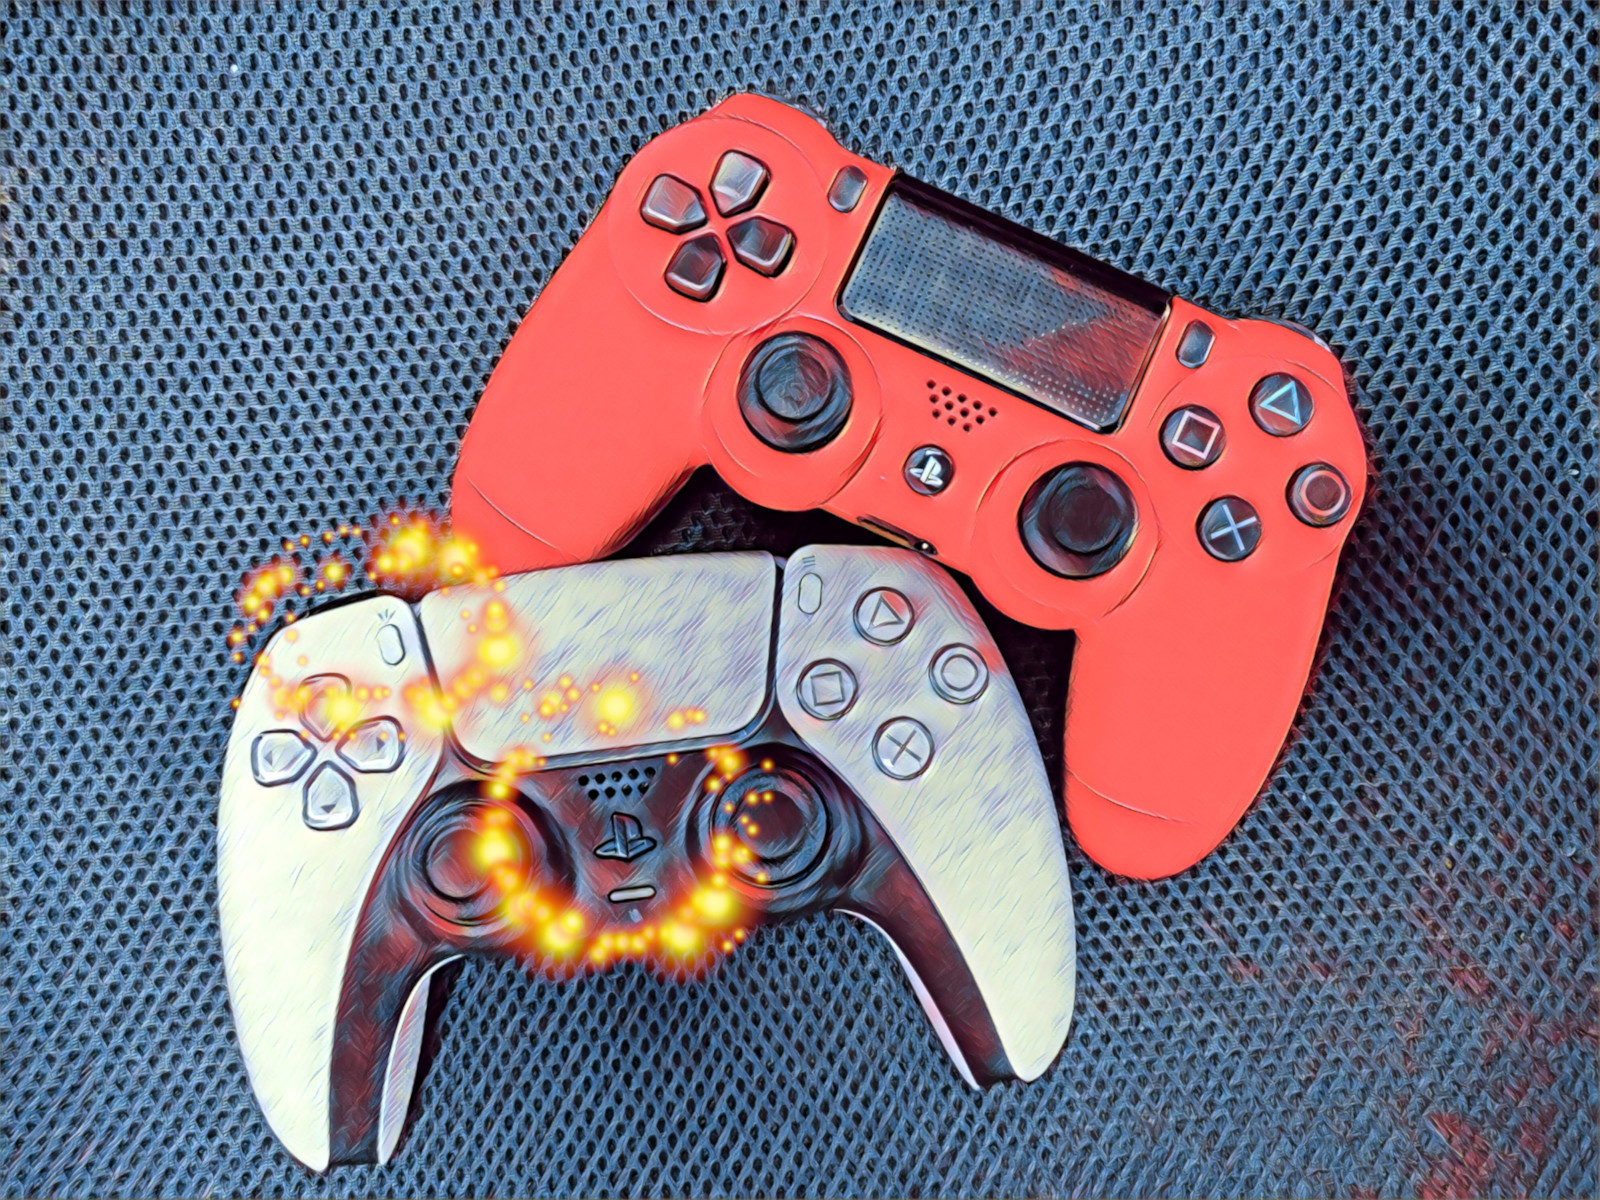
Sony DualShock 4 wireless controller
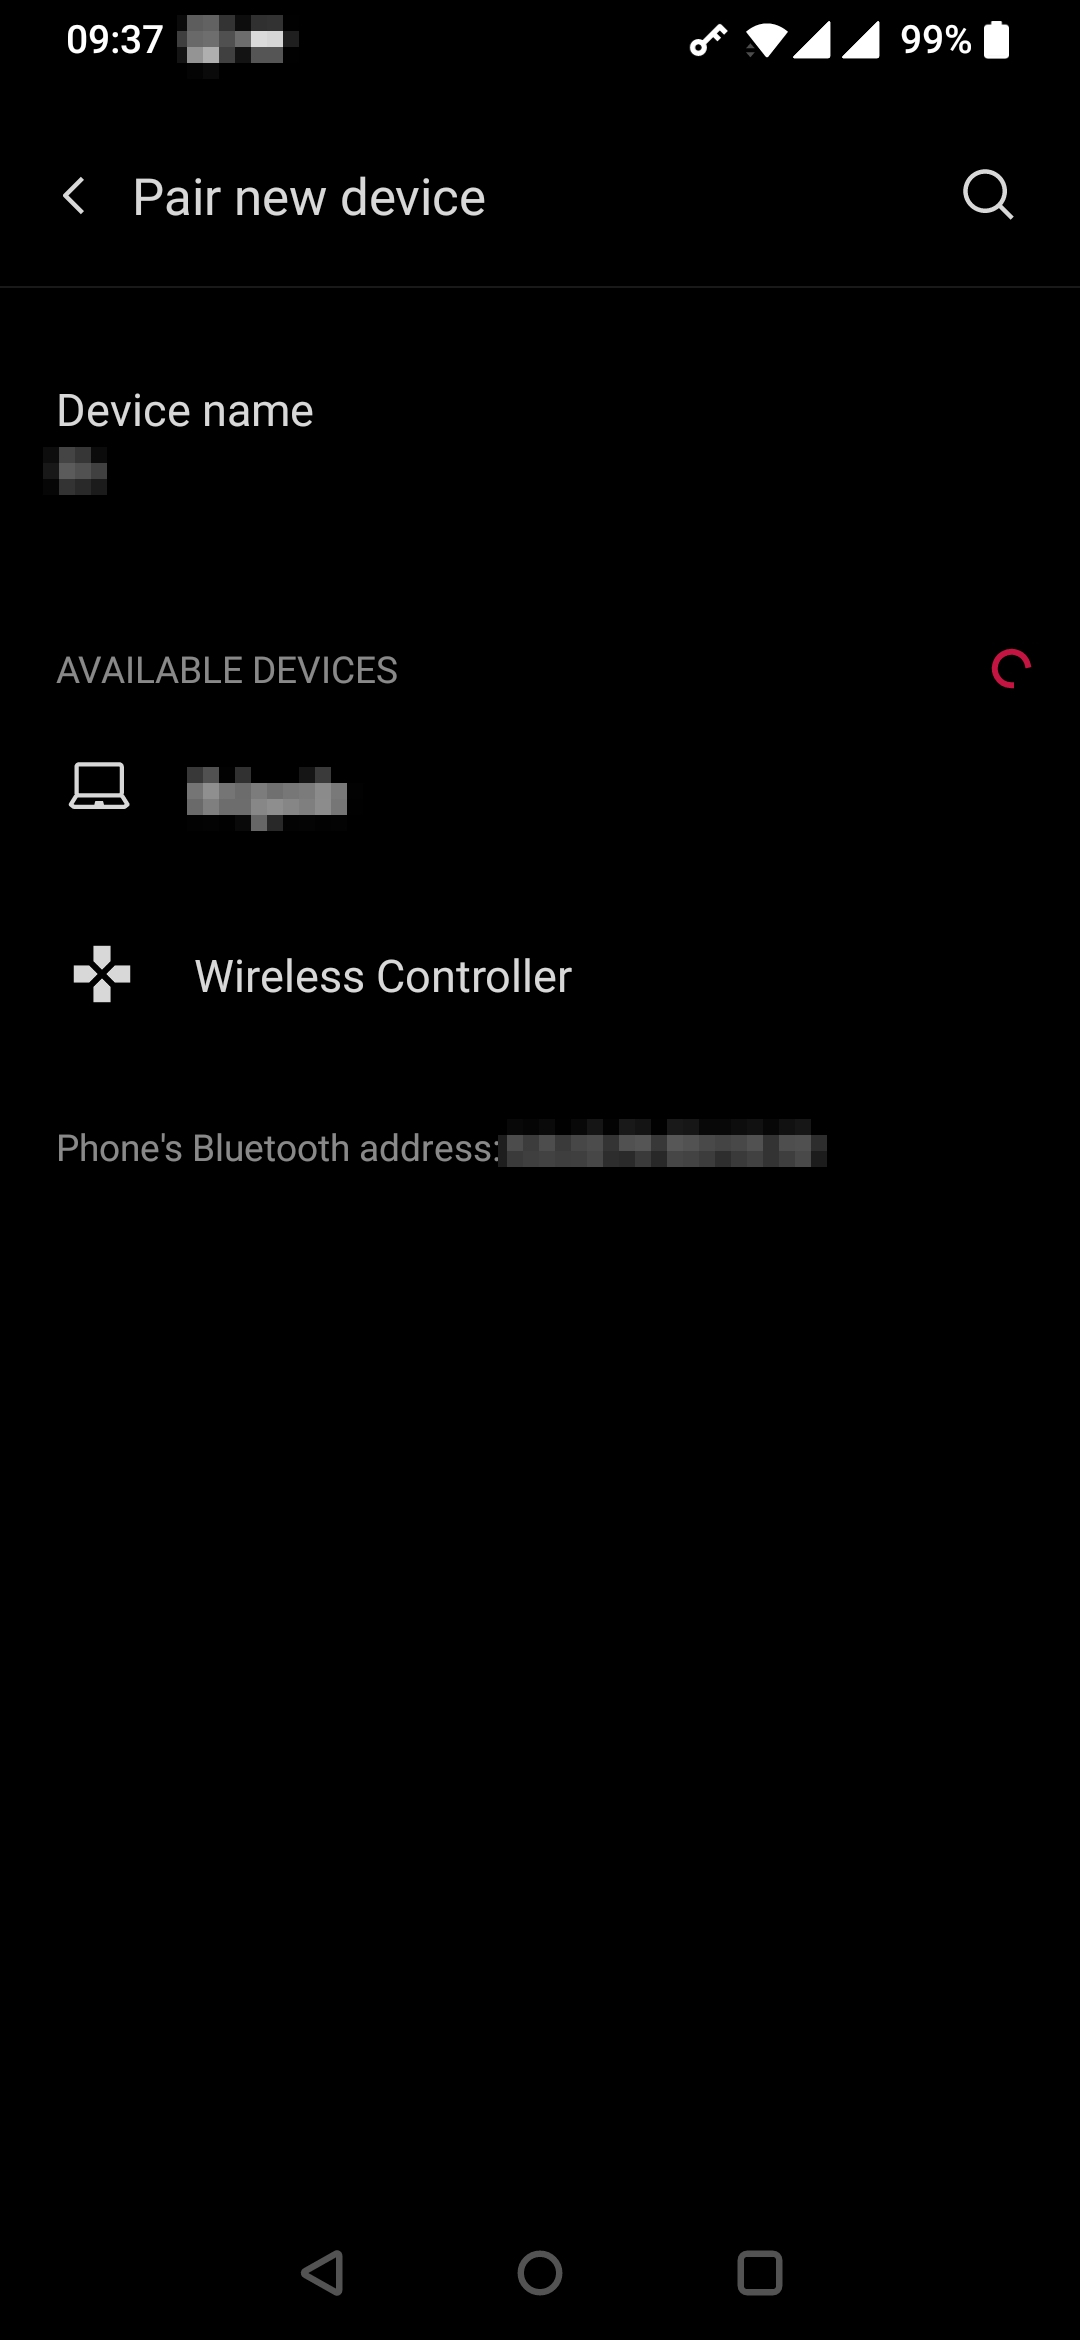
To use the Sony DualShock 4 wireless controller (https://www.playstation.com/en-us/accessories/dualshock-4-wireless-controller/), we paired the device using Bluetooth technology. To do so, we pressed the PlayStation logo button and the Share button to set the controller into pairing mode. Then, from our Android device, we paired the new device that appeared to have the name Wireless Controller.

We tried to play the game of Doom which worked like a charm! We had all functionality and the button mapping seemed very convenient.
Sony Dualsense wireless controller
To use the Sony Dualsense wireless controller (https://www.playstation.com/en-us/accessories/dualsense-wireless-controller/), we paired the device using Bluetooth technology again. To do so, we pressed the PlayStation logo button and the Create button to set the controller into pairing mode. Then, from our Android device, we paired the new device that appeared to have the name Wireless Controller.
To our disappointment, when we loaded the game of Doom we realized that the button mapping was very weird and not functional. The Slayer would spin all the time (you could prevent it by spinning in the other direction) and there was no button mapped to firing.
Conclusion
Sony DualShock 4 wireless controller worked like a charm on Android while Sony Dualsense wireless controller had some weird button mapping configuration making it unusable to play.
More results
After some additional investigation, we post the following:
We could not get the Dualsense controller to work as expected on any version of Android.
On the other hand, the Dualshock controller worked correctly on the following configurations:
- OnePlus 6T + Android version 11
- Samsung Galaxy S9 + Android version 9
- Samsung Galaxy S9 + Android version 10
The Sony Dualshock controller failed as well on the following setup
- Samsung Galaxy S9 + Android version 8
From these results, we can assume something was created or fixed in Android 9 and higher that allows Sony Dualshock wireless controller to work properly on Android devices.

