Yearly Archives: 2022


Incorrect definition of table mysql.column_stats: expected column 1

2022-06-07  7:17:02 3051 [ERROR] Incorrect definition of table mysql.column_stats: expected column 'hist_type' at position 9 to have type enum('SINGLE_PREC_HB','DOUBLE_PREC_HB','JSON_HB'), found type enum('SINGLE_PREC_HB','DOUBLE_PREC_HB').
2022-06-07  7:17:02 3051 [ERROR] Incorrect definition of table mysql.column_stats: expected column 'histogram' at position 10 to have type longblob, found type varbinary(255).

While checking the logs of a MariaDB docker container, we found the above error lines repeating thousands of times. It appears that there was an issue during the migration of the database to a newer version. The solution was to manually execute the command mysql_upgrade. To execute it, we first had to gain access to a shell inside the container, we did that using docker exec -it CONTAINER_NAME /bin/bash as below:

# Gain shell access to the database container
docker exec -it mariadb_alpha /bin/bash;
# In the shell of the container, we executed the following to automatically fix a variety of problems/errors
mysql_upgrade --user=root --password;

Unknown/unsupported storage engine: InnoDB

2022-05-30 06:09:48+00:00 [Note] [Entrypoint]: Entrypoint script for MariaDB Server 1:10.8.3+maria~jammy started.
2022-05-30 06:09:48+00:00 [Note] [Entrypoint]: Switching to dedicated user 'mysql'
2022-05-30 06:09:48+00:00 [Note] [Entrypoint]: Entrypoint script for MariaDB Server 1:10.8.3+maria~jammy started.
2022-05-30 06:09:49+00:00 [Note] [Entrypoint]: MariaDB upgrade information missing, assuming required
2022-05-30 06:09:49+00:00 [Note] [Entrypoint]: MariaDB upgrade (mariadb-upgrade) required, but skipped due to $MARIADB_AUTO_UPGRADE setting
2022-05-30  6:09:49 0 [Note] mariadbd (server 10.8.3-MariaDB-1:10.8.3+maria~jammy) starting as process 1 ...
2022-05-30  6:09:49 0 [Note] InnoDB: Compressed tables use zlib 1.2.11
2022-05-30  6:09:49 0 [Note] InnoDB: Number of transaction pools: 1
2022-05-30  6:09:49 0 [Note] InnoDB: Using crc32 + pclmulqdq instructions
2022-05-30  6:09:49 0 [Note] mariadbd: O_TMPFILE is not supported on /tmp (disabling future attempts)
2022-05-30  6:09:49 0 [Warning] mariadbd: io_uring_queue_init() failed with ENOSYS: check seccomp filters, and the kernel version (newer than 5.1 required)
2022-05-30  6:09:49 0 [Warning] InnoDB: liburing disabled: falling back to innodb_use_native_aio=OFF
2022-05-30  6:09:49 0 [Note] InnoDB: Initializing buffer pool, total size = 128.000MiB, chunk size = 2.000MiB
2022-05-30  6:09:49 0 [Note] InnoDB: Completed initialization of buffer pool
2022-05-30  6:09:49 0 [Note] InnoDB: File system buffers for log disabled (block size=512 bytes)
2022-05-30  6:09:49 0 [ERROR] InnoDB: Upgrade after a crash is not supported. The redo log was created with MariaDB 10.5.4.
2022-05-30  6:09:49 0 [ERROR] InnoDB: Plugin initialization aborted with error Generic error
2022-05-30  6:09:49 0 [Note] InnoDB: Starting shutdown...
2022-05-30  6:09:49 0 [ERROR] Plugin 'InnoDB' init function returned error.
2022-05-30  6:09:49 0 [ERROR] Plugin 'InnoDB' registration as a STORAGE ENGINE failed.
2022-05-30  6:09:49 0 [Note] Plugin 'FEEDBACK' is disabled.
2022-05-30  6:09:49 0 [ERROR] Unknown/unsupported storage engine: InnoDB
2022-05-30  6:09:49 0 [ERROR] Aborting

Recently, we were working on a MariaDB installation in Docker which was using the latest version of the container. The definition in our configuration file was as follows:

# An excerpt from our docker-compose.yml
mariadb_alpha:
    depends_on:
      - another_container
    image: mariadb
    container_name: mariadb_alpha
    networks:
      - mariadb_alpha
    volumes:
      - /alpha/mysql:/var/lib/mysql
    restart: unless-stopped
    environment:
      MYSQL_ROOT_PASSWORD: qwerty
      MYSQL_DATABASE: aplha
      MYSQL_USER: user
      MYSQL_PASSWORD: password

After an update, the database stopped working and the logs were giving the above errors. Specifically, we got the error that InnoDB was an unknown or unsupported storage engine which is really bad! The command we used to view the logs is the following:

# We used the following docker command to view the logs of the container
docker container logs mariadb_alpha;

We noticed the following line from the records, which was extremely useful:

InnoDB: Upgrade after a crash is not supported. The redo log was created with MariaDB 10.5.4.

From this information, we were able to understand that the last time the database functioned properly, it was using MariaDB version 10.5.4. By visiting the official docker image website for MariaDB, we were able to see that there was a version tagged 10.5. We modified our YML file and changed the image of the container to the one below which uses the 10.5 tagged image:

# An excerpt from our docker-compose.yml
mariadb_alpha:
    ...
    image: mariadb:10.5
    ...

Then, we rebuilt our container using the docker-compose command:

#We increase the timeout to avoid issues
export COMPOSE_HTTP_TIMEOUT=180;
docker-compose up -d --remove-orphans;

After the setup was complete, we were able to see that the container was working as expected! We reverted the change in the YML file back to image: mariadb and executed docker-compose once more. The MariaDB container was updated to the latest version and was working as expected again!


Using Revolut Metal in Cyprus

In this entry, we will briefly describe our experience with “Revolut Metal” as a customer that resides in Cyprus. We will update this post as time passes and new data are collected.

Day 0

Pros

It was straightforward to change our plan and upgrade.

With a click, we could also convert the plan to an annual instead of a monthly one, which gave us a reasonably good discount!

In the tab “Accounts,” under the category “Net worth,” the “Savings” option, we can see some money being accumulated that is marked as “Metal cashback.”

The new metal card was immediately available to use online.

Cons

Under the “Accounts” tab, we clicked on the “Discover discounts” option, which popped up a video. At the bottom of the video, there was a button labeled “View my Rewards” we clicked on it, but nothing showed up. We could not find a page with rewards available for people residing in Cyprus.

Day 11

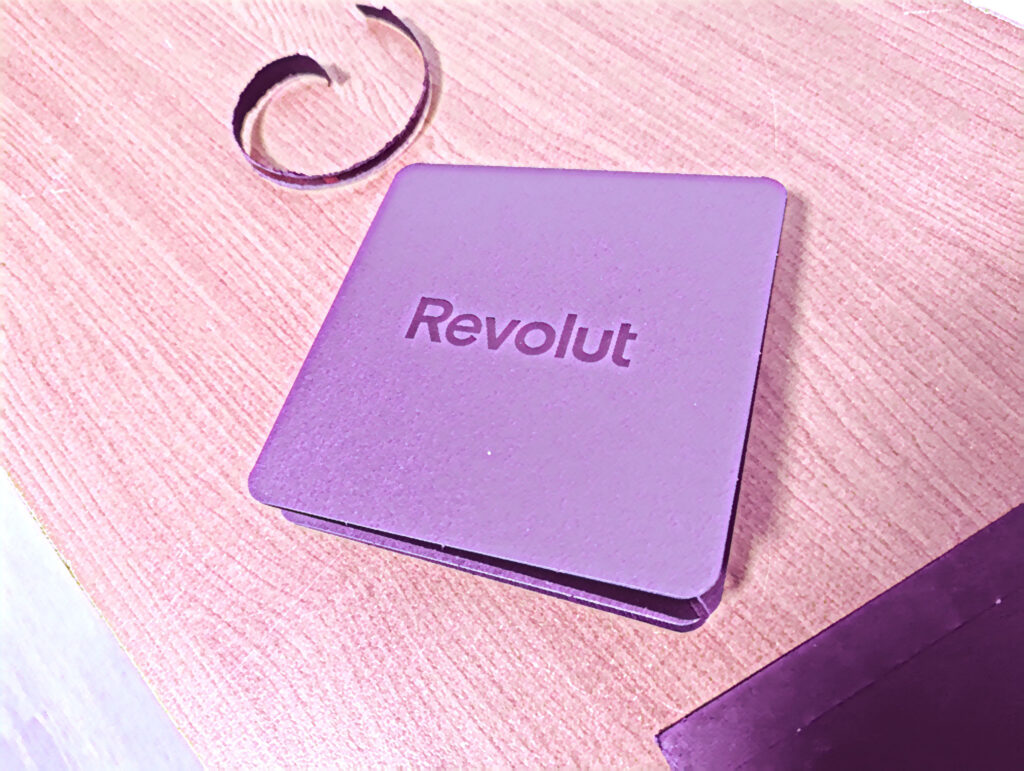
The metal card arrived at our door in a black envelope!

Day 12

The maximum cap for Revolut Metal Cashback is 13.99 euros per month.

Day 20

Revolut credit cards cannot be used with the Bank of Cyprus wallet application, nor can they be used with Google Pay for people that reside in Cyprus, as Google Pay is not available to Cypriot citizens.

Day 53

The maximum number of disposable virtual cards daily is six (6)!

Day 90

We used the travel insurance of the Metal plan, the reimbursement was not as much as we would hope, but at least it covered a large portion of our expenses.

Day 103

Our metal card information was copied, and someone tried to use it illegally. Revolut spotted it early on and froze the transactions. Then we were notified, and once we declined the transactions, they issued a new metal card with customization for free.

Day 140

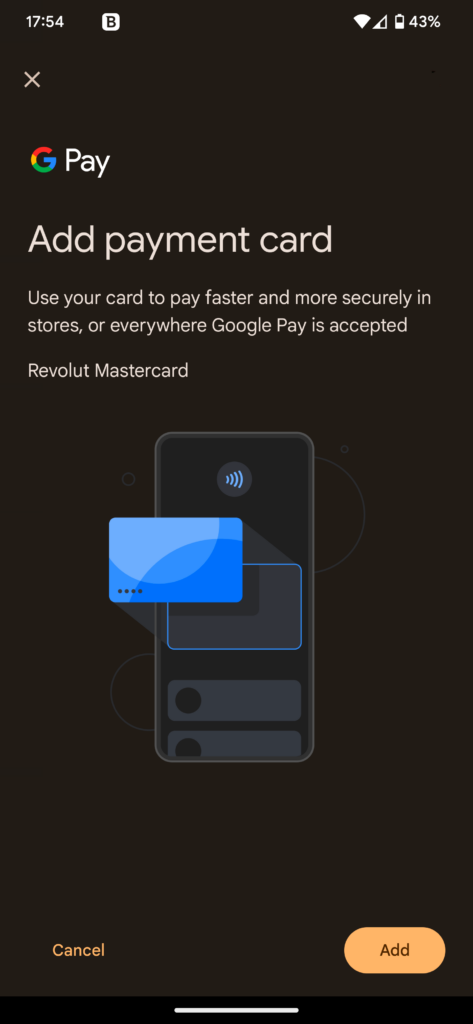
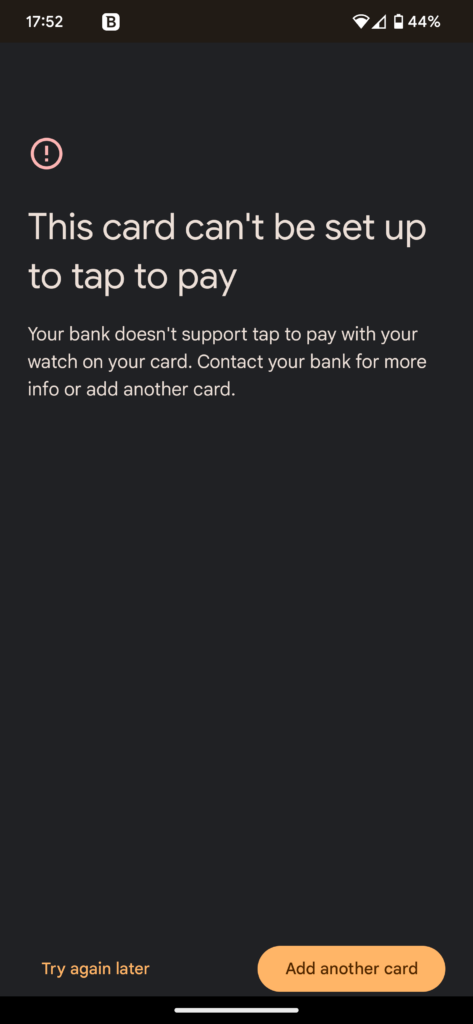
Even though we got a notification that we could add a Revolut card to Google Pay, it still did not work:

Your bank doesn’t support tap to pay with your watch on your card. Contact your bank fro more info or add another card.

The error we got when trying to add the card to Google Pay

We tried to add a card while no watch was connected to the phone and still got the same error.

Day 173

Apparently, if you have multiple requests on a “Single-use virtual card” and authorize all of them before the first one is billed, you can perform multiple transactions on a single “Single-use virtual card”! We accidentally did this with two transactions on one “Single-use virtual card.”


Rough notes on setting up an Ubuntu server with docker

Static IP

First, we set up a static IP to our Ubuntu server using netplan. To do so, we created the following file:

/etc/netplan/01-netcfg.yaml

using the following command

sudo nano /etc/netplan/01-netcfg.yaml;

and added the following content to it:

# This file describes the network interfaces available on your system
# For more information, see netplan(5).
network:
  version: 2
  renderer: networkd
  ethernets:
    enp3s0f0:
      dhcp4: no
      addresses: [192.168.45.13/24]
      gateway4: 192.168.45.1
      nameservers:
          addresses: [1.1.1.1,8.8.8.8]

To apply the changes, we executed the following:

sudo netplan apply;

Update everything (the operating system and all packages)

Usually, it is a good idea to update your system before making significant changes to it:

sudo apt update -y; sudo apt upgrade -y; sudo apt autoremove -y;

Install docker

In this setup we did not use the docker version that is available on the Ubuntu repositories, we went for the official ones from docker.com. To install it, we used the following commands:

sudo apt-get install ca-certificates curl gnupg lsb-release;
curl -fsSL https://download.docker.com/linux/ubuntu/gpg | sudo gpg --dearmor -o /usr/share/keyrings/docker-archive-keyring.gpg;
echo   "deb [arch=$(dpkg --print-architecture) signed-by=/usr/share/keyrings/docker-archive-keyring.gpg] https://download.docker.com/linux/ubuntu $(lsb_release -cs) stable" | sudo tee /etc/apt/sources.list.d/docker.list > /dev/null;
sudo apt-get update;
sudo apt-get install docker-ce docker-ce-cli containerd.io;

Install docker-compose

Again, we installed the official docker-compose from github.com instead of the one available in the Ubuntu repositories. At the time that this post was created, version 1.29.2 was the recommended one:

sudo curl -L "https://github.com/docker/compose/releases/download/1.29.2/docker-compose-$(uname -s)-$(uname -m)" -o /usr/local/bin/docker-compose;
sudo chmod +x /usr/local/bin/docker-compose;

Increase network pool for docker daemon

To handle the following problem:

ERROR: could not find an available, non-overlapping IPv4 address pool among the defaults to assign to the network

We created the following file,

/etc/docker/daemon.json

using the command:

sudo nano /etc/docker/daemon.json;

and added the following content to it:

{
  "default-address-pools": [
    {
      "base": "172.80.0.0/16",
      "size": 24
    },
    {
      "base": "172.90.0.0/16",
      "size": 24
    }
  ]
}

We executed the following command to restart the docker daemon and get the network changes applied:

sudo systemctl restart docker;

Gave access to our user to manage docker

We added our user to the docker group so that we could manage the docker daemon without sudo rights.

sudo usermod -aG docker $USER;

Deploying

After we copied everything in place, we executed the following command to create our containers and start them with the appropriate networks and volumes:

export COMPOSE_HTTP_TIMEOUT=120;
docker-compose up -d --remove-orphans;

We had to increase the timeout as we were getting the following error:

ERROR: for container_a  UnixHTTPConnectionPool(host='localhost', port=None): Read timed out. (read timeout=60)
ERROR: An HTTP request took too long to complete. Retry with --verbose to obtain debug information.
If you encounter this issue regularly because of slow network conditions, consider setting COMPOSE_HTTP_TIMEOUT to a higher value (current value: 60).

Stopping all containers using a filter on the name

docker container stop $(docker container ls -q --filter name=_web);

The above command will find all containers whose names contain _web and stop them. That command is actually two commands where one is nested inside the other.

#This command finds all containers that their name contains _web, using the -q parameter, we only get back the container ID and not all information about them.
docker container ls -q --filter name=_web;
#The second command takes as input the output of the nested command and stops all containers that are returned.
docker container stop $(docker container ls -q --filter name=_web);