Tux


Neural Style Transfer – Candy Style Source

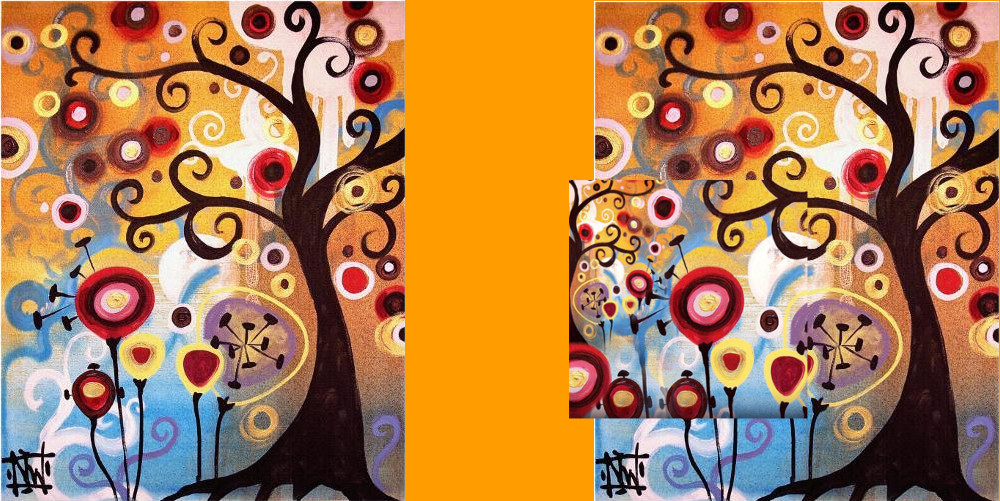
While looking for the source of the Candy style for neural style transfer we came across the following image that was apparently used by several people as input.

We tried to identify the painter of the above piece but we were not able to pinpoint the exact painting. What we found was a painting called “June Tree” by Natasha Wescoat which has looks extremely similar to this so we assume that the input must be a paint by mrs. Wescoat.

This an audio-less re-production of the “Elephants Dream” by Blender Foundation after it was parsed using a neural network that attempts to transfer the same style as what seems to be a variation of the “June Tree” by Natasha Wescoat to each frame of the video.
Audio will be added at a later stage.


Some rough notes on merging videos side by side with ffmpeg 2

ffmpeg \
-i "v1.mp4" \
-i "v2.mp4" \
-filter_complex " \
nullsrc=size=1900x950 [base]; \
[0:v] setpts=PTS-STARTPTS, scale=950x950 [left]; \
[1:v] setpts=PTS-STARTPTS, scale=950x950 [right]; \
[base][left] overlay=shortest=1 [tmp1]; \
[tmp1][right] overlay=shortest=1:x=950 \
" \
-c:v libx264 output2.mkv

ffmpeg \
-i "v1.mp4" \
-i "v2.mp4" \
-i "v3.mp4" \
-i "v4.mp4" \
-filter_complex " \
nullsrc=size=1900x1900 [base]; \
[0:v] setpts=PTS-STARTPTS, scale=950x950 [upperleft]; \
[1:v] setpts=PTS-STARTPTS, scale=950x950 [upperright]; \
[2:v] setpts=PTS-STARTPTS, scale=950x950 [lowerleft]; \
[3:v] setpts=PTS-STARTPTS, scale=950x950 [lowerright]; \
[base][upperleft] overlay=shortest=1 [tmp1]; \
[tmp1][upperright] overlay=shortest=1:x=950 [tmp2]; \
[tmp2][lowerleft] overlay=shortest=1:y=950 [tmp3]; \
[tmp3][lowerright] overlay=shortest=1:x=950:y=950 \
" \
-c:v libx264 output4.mkv

ffmpeg \
-i "video.mp4" \
-i "drones/0/video.mp4" \
-i "drones/1/video.mp4" \
-i "drones/2/video.mp4" \
-i "drones/3/video.mp4" \
-i "drones/4/video.mp4" \
-filter_complex " \
nullsrc=size=2850x1900 [base]; \
[0:v] setpts=PTS-STARTPTS, scale=950x950 [upperleft]; \
[1:v] setpts=PTS-STARTPTS, scale=950x950 [uppermiddle]; \
[2:v] setpts=PTS-STARTPTS, scale=950x950 [upperleft]; \
[3:v] setpts=PTS-STARTPTS, scale=950x950 [lowerleft]; \
[4:v] setpts=PTS-STARTPTS, scale=950x950 [lowermiddle]; \
[5:v] setpts=PTS-STARTPTS, scale=950x950 [lowerright]; \
[base][upperleft] overlay=shortest=1 [tmp1]; \
[tmp1][uppermiddle] overlay=shortest=1:x=950 [tmp2]; \
[tmp2][upperleft] overlay=shortest=1:x=1900 [tmp3]; \
[tmp3][lowerleft] overlay=shortest=1:y=950 [tmp4]; \
[tmp4][lowermiddle] overlay=shortest=1:y=950:x=950 [tmp5]; \
[tmp5][lowerright] overlay=shortest=1:y=950:x=1900 \
" \
-c:v libx264 output6.mkv

Create an encrypted 7zip archive with encrypted header as well (no filenames are visible)

In case you come to a scenario where you need to encrypt, password protect the contents of a 7zip archive and make sure that not even the filenames of the contents are visible, 7zip has your back! As you can see in the following example you can implement the above requirements very easily.

7z a -p"pbVfdPs27Dc" -mhe hello.7z file1.bin file2.doc files.*

The structure of the above 7z command is the following:

#Based on: 7z <command> [<switches>...] <archive_name> [<file_names>...]
7z a -p"Some Password!.32@" -mhe <archive_name> [<file_names>...]

To break it down, it goes like this:

  • We used the <command> a, which instructs the tool to add the listed files to the listed archive (if the archive does not exist, it will create it).
  • The <switch> -p, allows you to set the password for the archive.
  • The second <switch> -mhe (or -mhe=on) it enables data and header archive encryption.
    In case you cannot find this switch at the manual, check the examples in the man page (This command works on GNU/Linux, it was tested on Fedora).