Μηνιαία αρχεία: Σεπτέμβριος 2021


Audacity – Automatically split an audio file into multiple files using at the quiet/silenced parts

This video demonstrates how we were able to automatically split a large audio file into multiple smaller files at the quiet parts of the audio using Audacity.

The steps to follow after you open your audio file are:

  1. Select the part of the audio that you want to automatically split to multiple parts or press ctrl + A to select all the track.
  2. Go to menu Analyze and select the option Label Sounds....
  3. Set the settings that best suit you. For example the noise level or the minimum duration of silence that should indicate a new part, etc.
  4. Press OK and give it some time to process the file and add labels around the new parts.
  5. You will see a new row appearing that will demonstrate in ranges the new parts that were created. If the file was not split as you expected, press ctrl + Z to undo the operation, then go to step 2 again and try with different settings.
  6. Once you are happy with the results, go to the menu File then select the category Export and finally the option Export Multiple....
  7. Unless you need specific settings, select the folder where you want the new file parts to be created and hit the Export button.
  8. In the following pop-up windows, which will be one per audio track segment, if you do not need to make changes just hit the OK button enough times to get the export process going.

A note on using Audacity on large audio files (which we assume applies to many other serious audio processing applications): When you open the audio file, Audacity will pre-process it, and it will take several GBs of disk space to use for its metadata. It will delete them as soon as you close the project, but it is good to keep it in mind before trying to work and then failing to perform an export.


Quote from the book “What’s Wrong with the World” by G. K. Chesterton


.. if a thing is worth doing, it is worth doing badly.

— G. K. Chesterton, Writer

Our take on this quote is to: Try your best, even if it is not enough. Sometimes making an effort is worth more than doing nothing at all, even if the result is not perfect.


Ubuntu – Overwrite dockerd default settings

Trying to create a new bridge on docker, we got the following error

$ docker-compose up -d;
Creating network "docker-compose_new_bridge" with driver "bridge"
ERROR: could not find an available, non-overlapping IPv4 address pool among the defaults to assign to the network

After investigating, we realized that it was due to some default limitations of docker that did not allow more virtual networks to be created. To overcome the problem, we read that we had to give access to more address space using the /etc/docker/daemon.json.

On Ubuntu that file did not exist so we created it and copied the following content to it:

{
  "default-address-pools": [
    {
      "base": "172.80.0.0/16",
      "size": 24
    },
    {
      "base": "172.90.0.0/16",
      "size": 24
    }
  ]
}

Source: https://docs.docker.com/engine/reference/commandline/dockerd/

This configuration allowed Docker to reserve the network address space 172.80.[0-255].0/24 and 172.90.[0-255].0/24, that provided the daemon a total of 512 networks each owning 256 addresses.

To apply the changes to the daemon, we restarted it:

sudo systemctl restart docker.service;

and then we applied our changes to our docker ecosystem:

docker-compose up -d;

Gaming with PlayStation Controllers of Android

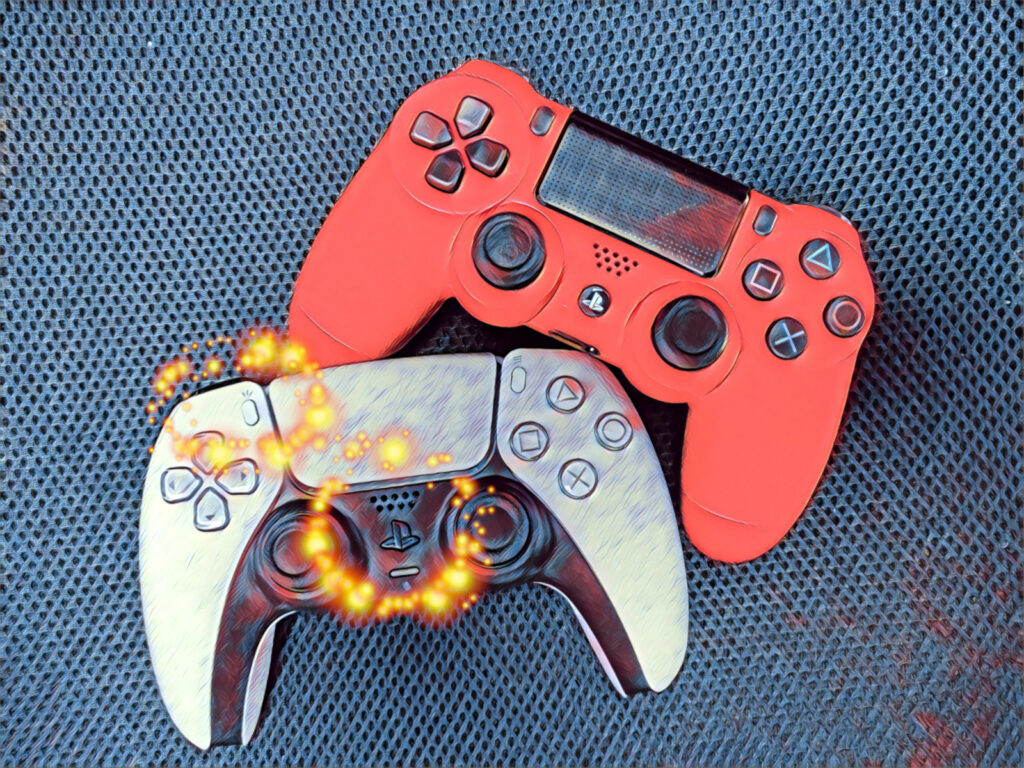
Recently we decided to try and game on Android (specifically on a OnePlus 6T) using the controllers of Sony Playstation (Sony DualShock 4 wireless controller and Sony Dualsense wireless controller).

Sony DualShock 4 wireless controller

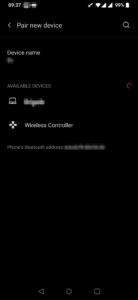
To use the Sony DualShock 4 wireless controller (https://www.playstation.com/en-us/accessories/dualshock-4-wireless-controller/), we paired the device using Bluetooth technology. To do so, we pressed the PlayStation logo button and the Share button to set the controller into pairing mode. Then, from our Android device, we paired the new device that appeared to have the name Wireless Controller.

We tried to play the game of Doom which worked like a charm! We had all functionality and the button mapping seemed very convenient.

Sony Dualsense wireless controller

To use the Sony Dualsense wireless controller (https://www.playstation.com/en-us/accessories/dualsense-wireless-controller/), we paired the device using Bluetooth technology again. To do so, we pressed the PlayStation logo button and the Create button to set the controller into pairing mode. Then, from our Android device, we paired the new device that appeared to have the name Wireless Controller.

To our disappointment, when we loaded the game of Doom we realized that the button mapping was very weird and not functional. The Slayer would spin all the time (you could prevent it by spinning in the other direction) and there was no button mapped to firing.

Conclusion

Sony DualShock 4 wireless controller worked like a charm on Android while Sony Dualsense wireless controller had some weird button mapping configuration making it unusable to play.

More results

After some additional investigation, we post the following:
We could not get the Dualsense controller to work as expected on any version of Android.
On the other hand, the Dualshock controller worked correctly on the following configurations:

  • OnePlus 6T + Android version 11
  • Samsung Galaxy S9 + Android version 9
  • Samsung Galaxy S9 + Android version 10

The Sony Dualshock controller failed as well on the following setup

  • Samsung Galaxy S9 + Android version 8

From these results, we can assume something was created or fixed in Android 9 and higher that allows Sony Dualshock wireless controller to work properly on Android devices.