If your Optigrill goes to manual settings only, it probably means that you have placed the meat inside the grill before allowing the device to perform pre heat. If that is the case, remove the food from the grill, close the lid, and shut down the machine. Powering on the device now should allow you to select one of the preset items.
If you still cannot select a preset, power off the machine and check that the grill plates are correctly placed and that nothing is preventing them from closing up entirely.
In this video, we demonstrate to the user where they can find their JetBrains fallback license and the fallback versions of the products they had purchased in the past.
After finding the list, the user has a couple of options to proceed. They can either download the archives from the website or install the correct version using a package manager like snap.
To install using snap, the first thing to do is call the snap info command and get the list of available versions or the available channels as they are called in snap.
From there, the user needs to select any of the versions available up to the version number that their JetBrains profile mentions they can get. For this demo, we chose version 2020.3/stable (2020.3/stable: 2020.3.3 2021-03-16 (208) 425MB classic), which was the maximum version allowed for our license. The installation command of that specific version using snap is as follows:
We had to add the classic flag as instructed by the version we decided to install.
This revision of snap "phpstorm" was published using classic confinement and thus may perform arbitrary system changes outside of the security sandbox that snaps are usually confined to, which may put your system at risk.
We used this batch of notes to encrypt email communication between us and the https://www.offensive-security.com/ website contact. Precisely, we needed to encrypt some email attachments with sensitive data.
After receiving the plaintext version of the registrar.asc file, we were able to proceed with the encryption steps. The first thing we did was to import their key:
gpg --import registrar.asc;
$ gpg --import registrar.asc
gpg: key 6C12FFD0BFCBFAE2: 9 signatures not checked due to missing keys
gpg: key 6C12FFD0BFCBFAE2: public key "Offensive Security (Offensive Security Registrar) <[email protected]>" imported
gpg: Total number processed: 1
gpg:               imported: 1
gpg: marginals needed: 3  completes needed: 1  trust model: pgp
gpg: depth: 0  valid:   2  signed:   0  trust: 0-, 0q, 0n, 0m, 0f, 2u
gpg: next trustdb check due at 2023-12-13
Using the following command, we were able to encrypt the sensitive data and send them to via mail:
The PGP command automatically used the public key that we imported in the previous step to perform the encryption. PGP named the encrypted file sensitive.mp4.gpg. We only needed to send that file, and the corresponding party had all other information to decrypt it.
Bonus: Create our own public Key so that people can contact you with encryption
gpg --gen-key;
Executing the above command asked us to provide a name, an email, and a password to encrypt the data. Below is the sample output generated for us:
$ gpg --gen-key
gpg (GnuPG) 2.2.19; Copyright (C) 2019 Free Software Foundation, Inc.
This is free software: you are free to change and redistribute it.
There is NO WARRANTY, to the extent permitted by law.

Note: Use "gpg --full-generate-key" for a full featured key generation dialog.

GnuPG needs to construct a user ID to identify your key.

Real name: John Doe
Email address: [email protected]
You selected this USER-ID:
    "John Doe <[email protected]>"

Change (N)ame, (E)mail, or (O)kay/(Q)uit? O
We need to generate a lot of random bytes. It is a good idea to perform
some other action (type on the keyboard, move the mouse, utilize the
disks) during the prime generation; this gives the random number
generator a better chance to gain enough entropy.
We need to generate a lot of random bytes. It is a good idea to perform
some other action (type on the keyboard, move the mouse, utilize the
disks) during the prime generation; this gives the random number
generator a better chance to gain enough entropy.
gpg: key A53FEA7768D67D2A marked as ultimately trusted
gpg: revocation certificate stored as '/home/john/.gnupg/openpgp-revocs.d/D1660B83341AEF2852A2A4C6A53FEA7768D67D2A.rev'
public and secret key created and signed.

pub   rsa3072 2021-12-13 [SC] [expires: 2023-12-13]
      D1660B83341AEF2852A2A4C6A53FEA7768D67D2A
uid                      John Doe <[email protected]>
sub   rsa3072 2021-12-13 [E] [expires: 2023-12-13]
Then, we exported our public key using the command below.
This guide will present the steps we followed on a GNU/Linux Ubuntu 20.04LTS to create a new project out of the Symfony website skeleton and then create a new docker application image of it.
Install core dependecies
Install php-cli instead of php as we do not want to install the additional dependencies of php like apache2. p7zip-full is needed for the package manager of composer later on. If it is missing, we will be getting one of the following errors:
Failed to download symfony/requirements-checker from dist: The zip extension and unzip/7z commands are both missing, skipping.
As there is no 'unzip' nor '7z' command installed zip files are being unpacked using the PHP zip extension.
php-xml will be required later on while creating the skeleton project for Symfony. If it is missing, you will get the following error:
symfony/framework-bundle requires ext-xml * -> it is missing from your system. Install or enable PHP's xml extension
sudo apt install php-cli php-xml p7zip-full;
Composer is a PHP utility for managing dependencies. It allows you to indicate the libraries your project relies on, and it will take care of installing and updating them. To fast install it, open a terminal and type the following command:
curl -Ss getcomposer.org/installer | php;
# Moving the composer into the /usr/local/bin/ folder will allow us to access it from any folder later on as that folder is in the default PATH variable.
sudo mv composer.phar /usr/local/bin/composer;
Symfony provides a tool to check if your operating system meets the required requirements rapidly. In addition, if suitable, the tool makes installation recommendations. To install the tool, run the following command:
composer require symfony/requirements-checker;
$ composer require symfony/requirements-checker;
Using version ^2.0 for symfony/requirements-checker
./composer.json has been updated
Running composer update symfony/requirements-checker
Loading composer repositories with package information
Updating dependencies
Lock file operations: 1 install, 0 updates, 0 removals
  - Locking symfony/requirements-checker (v2.0.1)
Writing lock file
Installing dependencies from lock file (including require-dev)
Package operations: 1 install, 0 updates, 0 removals
  - Installing symfony/requirements-checker (v2.0.1): Extracting archive
Generating autoload files
1 package you are using is looking for funding.
Use the `composer fund` command to find out more!
Once done, you can safely delete the requirements-checker:
composer remove symfony/requirements-checker;
Create the Symfony project
Using the basic skeleton, you can create a minimal Symfony project with the following command. We install the latest version of version 4.4 of the website skeleton project in this example. We found the list of versions here https://packagist.org/packages/symfony/website-skeleton.
When we got the following warning, we typed y, not sure what changes, so we stayed with the default option:
  -  WARNING  symfony/mailer (>=4.3): From github.com/symfony/recipes:master
    The recipe for this package contains some Docker configuration.

    This may create/update docker-compose.yml or update Dockerfile (if it exists).

    Do you want to include Docker configuration from recipes?
    [y] Yes
    [n] No
    [p] Yes permanently, never ask again for this project
    [x] No permanently, never ask again for this project
    (defaults to y): y
Then you need to run the following commands to install all dependencies and execute the project:
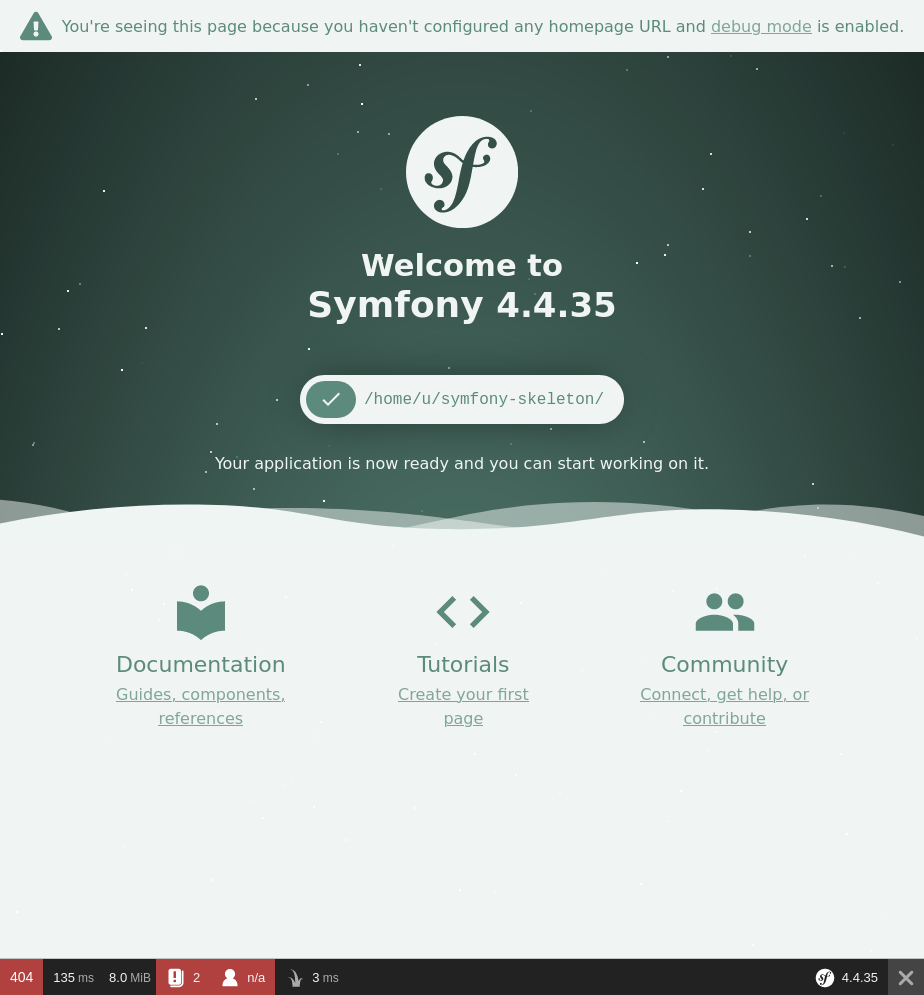
By now, you should see in a browser the landing page of your skeleton project.
# Stop the php webserver and release the port, we will need it later on.
php bin/console server:stop;
Install docker on Ubuntu
First of all, make sure your system is clean and remove any old versions:
sudo apt-get remove docker docker-engine docker.io containerd runc;
# You might want to execute `sudo apt autoremove -y;` as well to cleanup everything. We cannot ask everyone to do so as we are not sure of what complications it might have on each computer+software configurations.
We will be installing docker by adding its repositories to our system:
If the installation was OK, you should see the following message:
n$ sudo docker run hello-world
Unable to find image 'hello-world:latest' locally
latest: Pulling from library/hello-world
2db29710123e: Pull complete
Digest: sha256:cc15c5b292d8525effc0f89cb299f1804f3a725c8d05e158653a563f15e4f685
Status: Downloaded newer image for hello-world:latest

Hello from Docker!
This message shows that your installation appears to be working correctly.

To generate this message, Docker took the following steps:
 1. The Docker client contacted the Docker daemon.
 2. The Docker daemon pulled the "hello-world" image from the Docker Hub.
    (amd64)
 3. The Docker daemon created a new container from that image which runs the
    executable that produces the output you are currently reading.
 4. The Docker daemon streamed that output to the Docker client, which sent it
    to your terminal.

To try something more ambitious, you can run an Ubuntu container with:
 $ docker run -it ubuntu bash

Share images, automate workflows, and more with a free Docker ID:
 https://hub.docker.com/

For more examples and ideas, visit:
 https://docs.docker.com/get-started/
Make the docker application image
Execute the following command on a terminal to get your php version:
php --version;
In case you get something different than version 7.4, please note it and update the contents of the DockerFile below accordingly. In our case, the results for the version were the ones right below and that is why we used the line FROM php:7.4-cli in our DockerFile.
$ php --version
PHP 7.4.3 (cli) (built: Oct 25 2021 18:20:54) ( NTS )
Copyright (c) The PHP Group
Zend Engine v3.4.0, Copyright (c) Zend Technologies
    with Zend OPcache v7.4.3, Copyright (c), by Zend Technologies
If you are not already at the root of your project (e.g., the symfony-skeleton folder), go to that folder and create a new text file with the name Dockerfile in there. The contents of the file should be the following:
# Dockerfile
FROM php:7.4-cli

RUN apt-get update -y && apt-get install -y libmcrypt-dev

RUN curl -sS https://getcomposer.org/installer | php -- --install-dir=/usr/local/bin --filename=composer
RUN apt-get update && apt-get install -y libonig-dev
RUN docker-php-ext-install pdo

WORKDIR /app
COPY . /app

RUN composer install

EXPOSE 8000
CMD php bin/console server:run 0.0.0.0:8000
Once you have Docker and Docker Machine installed on your machine, creating the container is a breeze. The command below will seek your Dockerfile and download all of the layers required to execute your container image. It will then complete the commands in the Dockerfile, leaving you with a container that is ready to use.
You’ll use the docker build command to create your php Symfony docker container, and you’ll give it a tag or a name so you can refer to it later when you want to execute it. The command’s final component instructs Docker to build from a specific directory.
sudo docker build -t symfony-project .;
To execute the new application image:
sudo docker run -it -p 8000:8000 symfony-project;
To export the Docker image as a tar file:
sudo docker save -o ~/symfony-skeleton.tar symfony-project;