DNS


Cloudflare API DNS Update

Cloudflare is a content delivery network (CDN) that provides a wide range of services, including domain name system (DNS) management. The Cloudflare API allows developers to programmatically manage DNS records, making it possible to automate updating DNS records. This blog post will explain how to use the Cloudflare API to update a DNS record.

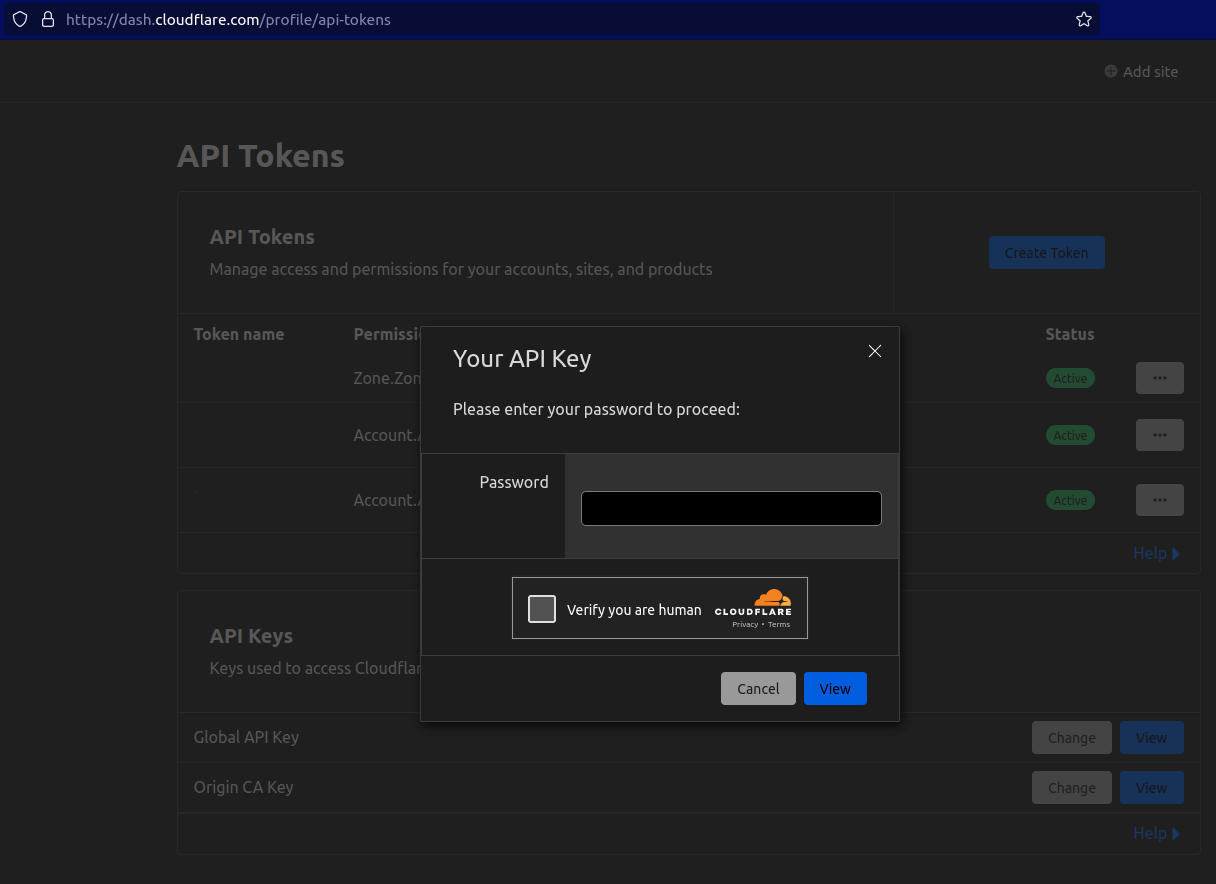
Log in to Cloudflare and get your Global API Key

First, log in to your Cloudflare account and obtain your Global API Key. You can obtain your Global API Key by navigating to the URL: https://dash.cloudflare.com/profile/api-tokens. Once logged in, you should see a section called “API Tokens.” Click on the “View” button to see your Global API Key.

Find the Zone ID

The next step is to find the Zone ID of the domain you want to update. You can find the Zone ID by following the instructions provided in the Cloudflare documentation: https://developers.cloudflare.com/fundamentals/get-started/basic-tasks/find-account-and-zone-ids/.

  1. Click on the domain you want to manage.
  2. In the left-hand sidebar, click on “Overview.”
  3. Scroll to the “API” section and click “Get your API key.”
  4. Click on the “View” button next to the Global API Key.
  5. Copy the key and keep it somewhere safe.

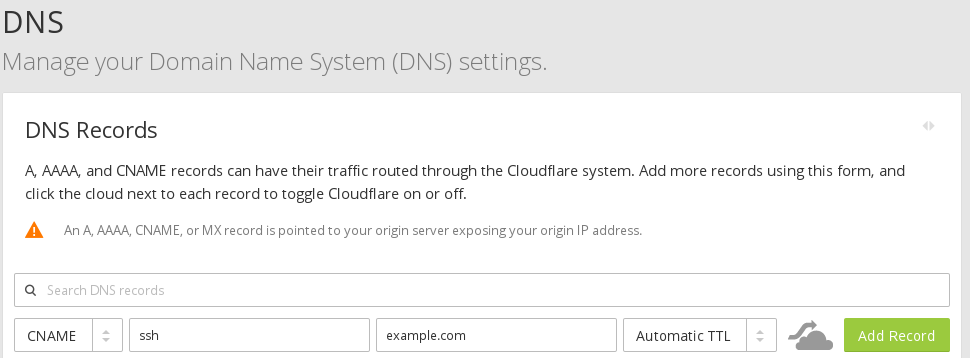
Get the DNS Record Identifiers

Once you have obtained the Zone ID, you can use it to get the identifiers for the DNS records associated with that domain. You can do this by making a GET request to the Cloudflare API, specifying the Zone ID, and providing your email address and API key. The response will contain information about all of the DNS records associated with the domain, including their identifiers.

Here is an example command that you can use to get the DNS record identifiers:

curl --request GET \
  --url https://api.cloudflare.com/client/v4/zones/<zone_id>/dns_records \
  --header 'Content-Type: application/json' \
  --header 'X-Auth-Email: <email_address>' \
  --header 'X-Auth-Key: <api_key>' 

Replace <zone_id>, <email_address>, and <api_key> with your actual values.

Update the DNS Record

Finally, you can use the DNS record identifier to update the DNS record. The following is an example bash script that you can use to update a DNS record:

#!/bin/bash

ip=`curl https://bytefreaks.net/what-is-my-ip | grep '<h1 style="text-align: center;"' | cut -d '>' -f 2 | cut -d '<' -f 1`;

ip=`echo $ip | cut -d, -f1`;

comment=`date +%Y-%m-%d\ %H:%M`;

curl --request PUT \
  --url https://api.cloudflare.com/client/v4/zones/<zone_id>/dns_records/<dns_record_id> \
  --header 'Content-Type: application/json' \
  --header 'X-Auth-Email: <email_address>' \
  --header 'X-Auth-Key: <api_key>' \
  --data '{
  "content": "'$ip'",
  "name": "www.bytefreaks.net",
  "proxied": true,
  "type": "A",
  "comment": "'"$comment"'",
  "tags": [],
  "ttl": 3600
}'

Replace <zone_id>, <dns_record_id>, <email_address>, and <api_key> with your actual values. You should also update the "name" field to match the name of the DNS record you want to update.

This script is used to update a DNS record using the Cloudflare API. It retrieves the current public IP address of the device running the script and then updates the specified DNS record on Cloudflare with the new IP address.

Here is a breakdown of each command in the script:

  • ip=curl https://bytefreaks.net/what-is-my-ip | grep ‘<h1 style=”text-align: center;”‘ | cut -d ‘>’ -f 2 | cut -d ‘<‘ -f 1“: This command uses the curl command to retrieve the public IP address of the device running the script from the website https://bytefreaks.net/what-is-my-ip. The output of this command is then piped through grep to find the line that contains the IP address. The cut command is then used to extract the IP address from the line.
  • ip=echo $ip | cut -d, -f1“: This command removes any commas from the IP address, which may be present if the IP address is in a format that includes additional information.
  • comment=date +%Y-%m-%d\ %H:%M“: This command generates a comment for the DNS record update. The comment includes the current date and time in the format YYYY-MM-DD HH:MM.
  • curl --request PUT \: This command sends an HTTP PUT request to update the specified DNS record.
  • --url https://api.cloudflare.com/client/v4/zones/<zone_id>/dns_records/<dns_record_id> \: This specifies the URL for the Cloudflare API endpoint for updating a DNS record. The <zone_id> and <dns_record_id> placeholders should be replaced with the actual zone ID and DNS record ID, respectively.
  • --header 'Content-Type: application/json' \: This specifies that the content type of the request is JSON.
  • --header 'X-Auth-Email: <email_address>' \: This specifies the Cloudflare account email address associated with the API key. The <email_address> placeholder should be replaced with the actual email address.
  • --header 'X-Auth-Key: <api_key>' \: This specifies the Cloudflare API key for the account. The <api_key> placeholder should be replaced with the actual API key.
  • --data '{ ... }': This specifies the JSON data to be sent in the request body. This includes the new IP address in the content field, the domain name in the name field, the record type in the type field, the comment in the comment field, and other optional parameters like the ttl. Note that the domain name at.put.cy is hardcoded in the script, and should be replaced with the actual domain name to be updated.

Ubuntu Pi-hole DNS Fix: Pi-hole could not start DNS service after upgrading Ubuntu

Ubuntu is a widespread Linux distribution that has gained popularity over the years. One of the advantages of Ubuntu is its Long-Term Support (LTS) releases, which have been supported for several years and receive regular updates and security patches. Upgrading from one LTS release to another is a common task for Ubuntu users. However, sometimes things don’t go as planned, and some services may fail to start after the upgrade. In this blog post, we will explore one issue that Ubuntu users may encounter when upgrading from 18.04LTS to 20.04LTS or 22.04LTS and how to fix it.

The problem we will discuss is related to Pi-hole, a popular network-level advertisement and Internet tracker blocking application. Pi-hole uses DNS (Domain Name System) to stop unwanted traffic on your network. After upgrading from Ubuntu 18.04LTS to 20.04LTS or 22.04LTS, some users may encounter an issue where the DNS service for Pi-hole fails to start. The reason behind this is a broken symbolic link at /etc/dnsmasq.d/lxd.

LXD is a system container manager that allows users to run multiple isolated Linux systems (containers) on a single host. During the upgrade process, the symbolic link for LXD may become broken, causing the DNS service for Pi-hole to fail to start. Fortunately, the solution to this problem is simple. Users can remove the broken symbolic link by running the following command in the terminal:

sudo rm /etc/dnsmasq.d/lxd;

Once the broken symbolic link is removed, users can restart the DNS service for Pi-hole by running the following command:

pihole restartdns;

This command will restart the Pi-hole FTL (Faster Than Light) daemon, which handles DNS requests and blocks unwanted traffic.

In conclusion, upgrading from one LTS release to another is a common task for Ubuntu users. However, sometimes things may not go as planned, and some services may fail to start after the upgrade. One such issue that users may encounter is related to Pi-hole, where the DNS service fails to start due to a broken symbolic link at /etc/dnsmasq.d/lxd. Fortunately, the solution to this problem is simple, and users can fix it by removing the broken symbolic link and restarting the Pi-hole FTL daemon.


How to Create a Custom Local DNS Entry on a Ubiquity Dream Machine Pro

DNS (Domain Name System) is an essential part of the internet infrastructure that translates domain names into IP addresses. However, you can also use DNS for internal networks to assign custom hostnames to specific IP addresses. In this post, we will discuss how to create a custom local DNS entry on a Ubiquity Dream Machine Pro.

The first step is to assign a static IP address to the machine you want to create a custom DNS entry for. To do this, log in to the Dream Machine Pro’s web interface and navigate to https://10.1.1.254/network/default/clients. Find the machine you want to assign a static IP address to and click the “Static” button. Enter the IP address you want to assign and click “Save”.

Next, you need to assign a specific hostname to the machine. However, you might run into an error message that says “An error occurred while changing your settings”. This error occurs when you use a specific domain name like “bytefreaks.lcl”. To work around this issue, you can use a different TLD like “.net” instead.

If you still want to use the “.lcl” TLD, you will need to SSH into the Dream Machine Pro to modify the configuration files. Use the following SSH command to log in as root:

ssh -p 22 -o HostKeyAlgorithms=+ssh-rsa -o PubkeyAcceptedKeyTypes=+ssh-rsa [email protected];

If the default SSH command produces an error, you can use the above custom SSH command to log in successfully.

Once you have logged in via SSH, you will need to modify the following files:

  • /run/dnsmasq.conf.d/dns.conf
  • /mnt/data/udapi-config/ubios-udapi-server/ubios-udapi-server.state

The /run/dnsmasq.conf.d/dns.conf and /mnt/data/udapi-config/ubios-udapi-server/ubios-udapi-server.state files contain information about the local DNS entries. Use the “vi” editor to modify the /run/dnsmasq.conf.d/dns.conf file and replace the “.net” TLD with the “.lcl” TLD.

After you have made the necessary changes, exit the editor and kill the dnsmasq process using the following command:

pkill dnsmasq;

This command will stop the dnsmasq process, which is responsible for the DNS resolution. Then, execute dnsmasq again to ensure that it is running properly.

Now, you should be able to view your machine using the custom “.lcl” TLD from a browser. By creating a custom local DNS entry, you can simplify your local network administration and access your devices more easily.


CloudFlare does not allow port 22 (usual SSH port) on domain 3

When you try to connect via ssh on a domain for which you are using CloudFlare as a HTTP proxy, you will get the following error:

$ ssh [email protected]
 ssh_exchange_identification: Connection closed by remote host

You have a few options to resolve for this issue:

  1. Either connect directly to the IP of the machine.
  2. Or, setup a CNAME record with no HTTP proxy for the SSH (so that you do not need to remember the IP).
    This solution does not offer any additional benefits than connecting directly to the IP of the server.
    To do that, you need to visit the configure DNS page for your site: e.g. https://www.cloudflare.com/a/dns/example.com,
    then create the CNAME named ssh, use as target your domain (e.g. example.com) and disable HTTP proxy by clicking on the orange cloud and making it gray before pressing the Add Record button.

    Then, you will be able to connect via ssh [email protected].
  3. Last solution but not least is configuring your server to listen for SSH on one of the ports of CloudFlare that are open.
    When this post was written, the following ports were available/open for any site in CloudFlare:
    For requests made via HTTP:

    80
    8080
    8880
    2052
    2082
    2086
    2095

    For requests made via HTTPS:

    443
    2053
    2083
    2087
    2096
    8443

    At the time, we were using an Ubuntu GNU/Linux server, to instruct Ubuntu SSHD to listen to multiple ports we edited the file /etc/ssh/sshd_config and right after the lines:

    # What ports, IPs and protocols we listen for
    Port 22

    we added another line with the new port we wanted to use:

    # What ports, IPs and protocols we listen for
    Port 22
    Port 2053

    After restarting the service
    service ssh restart;
    we were able to connect to our page as follows:
    ssh -p 2053 [email protected];