ImageMagick


Automatic generation of phone background images using ImageMagick

#!/bin/bash

#Once upon a time, there was a script that had a mission to create some wallpapers. First, it created a variable called "EXPORT_FOLDER" and assigned it the value "Wallpapers". Then, it made a new directory called "Wallpapers" where it would save the wallpapers it creates.

EXPORT_FOLDER="Wallpapers";

mkdir "$EXPORT_FOLDER";

#The script defined two variables, "FLOOR" and "CEILING" and assigned them the values of -180 and 180 respectively. It also created a variable "RANGE" which was the difference between CEILING and FLOOR + 1. Additionally, it created two variables "WALLPAPER_WIDTH" and "WALLPAPER_HEIGHT" and assigned them 1440 and 3040 respectively, which would be the size of the wallpapers it creates.

FLOOR=-180;
CEILING=180;
RANGE=$(($CEILING-$FLOOR+1));

WALLPAPER_WIDTH=1440;
WALLPAPER_HEIGHT=3040;

#The script then began its main task: a loop that would run 10 times. Within the loop, it would create a variable "RESULT" and assign it a random number using the $RANDOM variable. Then, it would use the modulo operator to calculate the remainder of dividing "RESULT" by "RANGE", and assigns the result back to "RESULT". Next, it would add "FLOOR" to "RESULT" and assigns it back to "RESULT".

for i in {1..10}
do
 RESULT=$RANDOM;
 let "RESULT %= $RANGE";
 RESULT=$(($RESULT+$FLOOR));

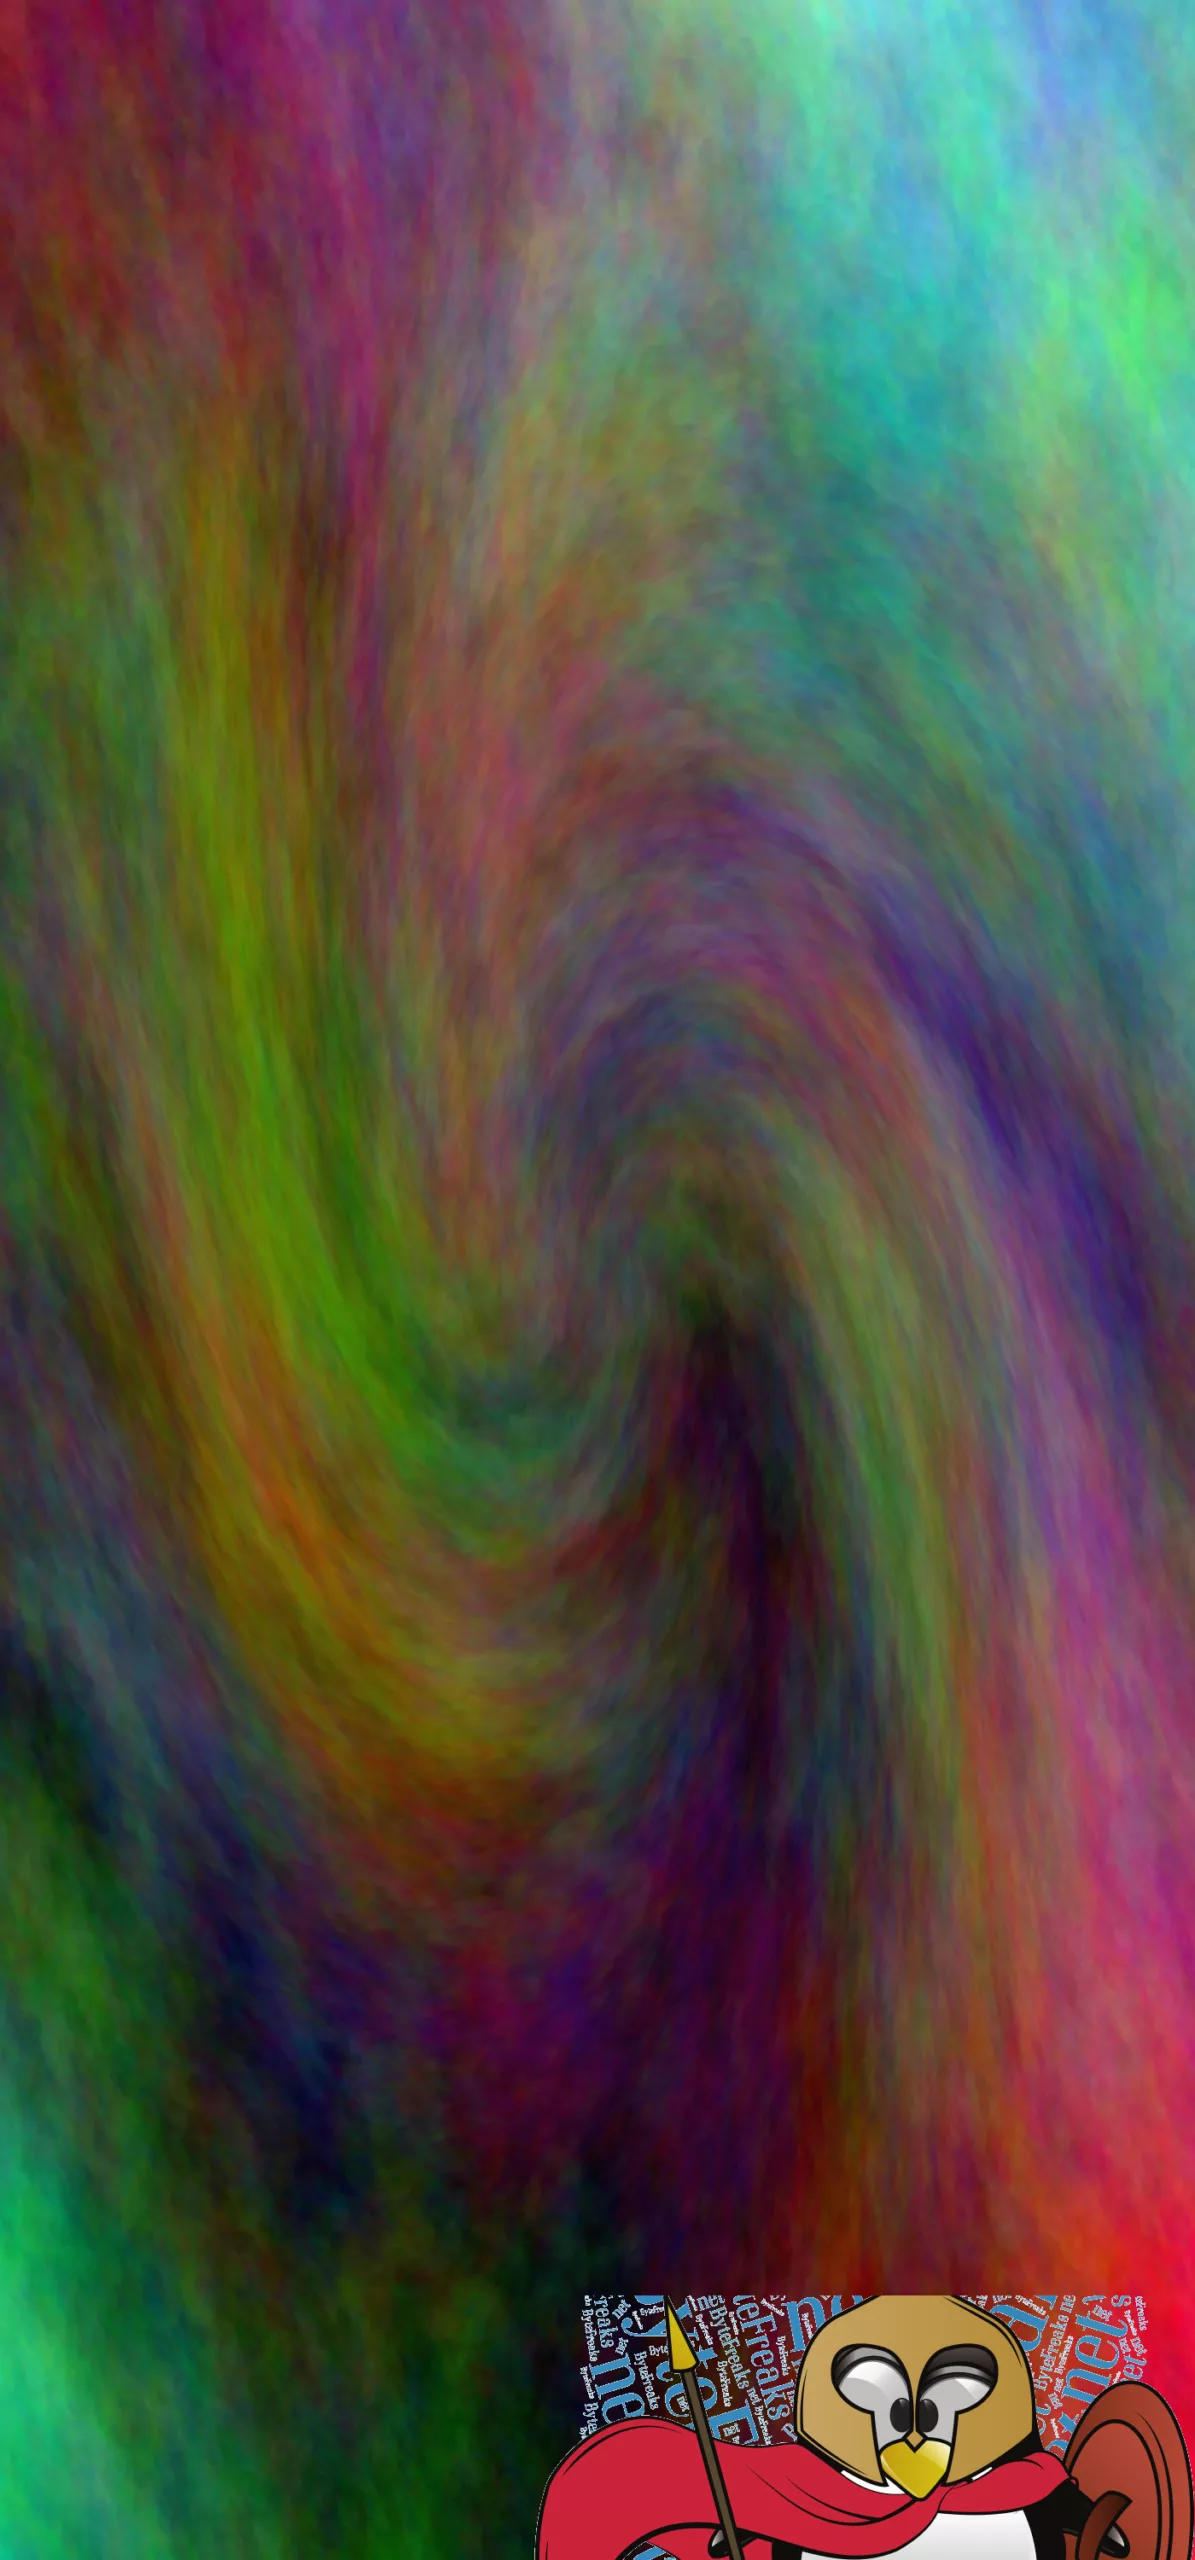
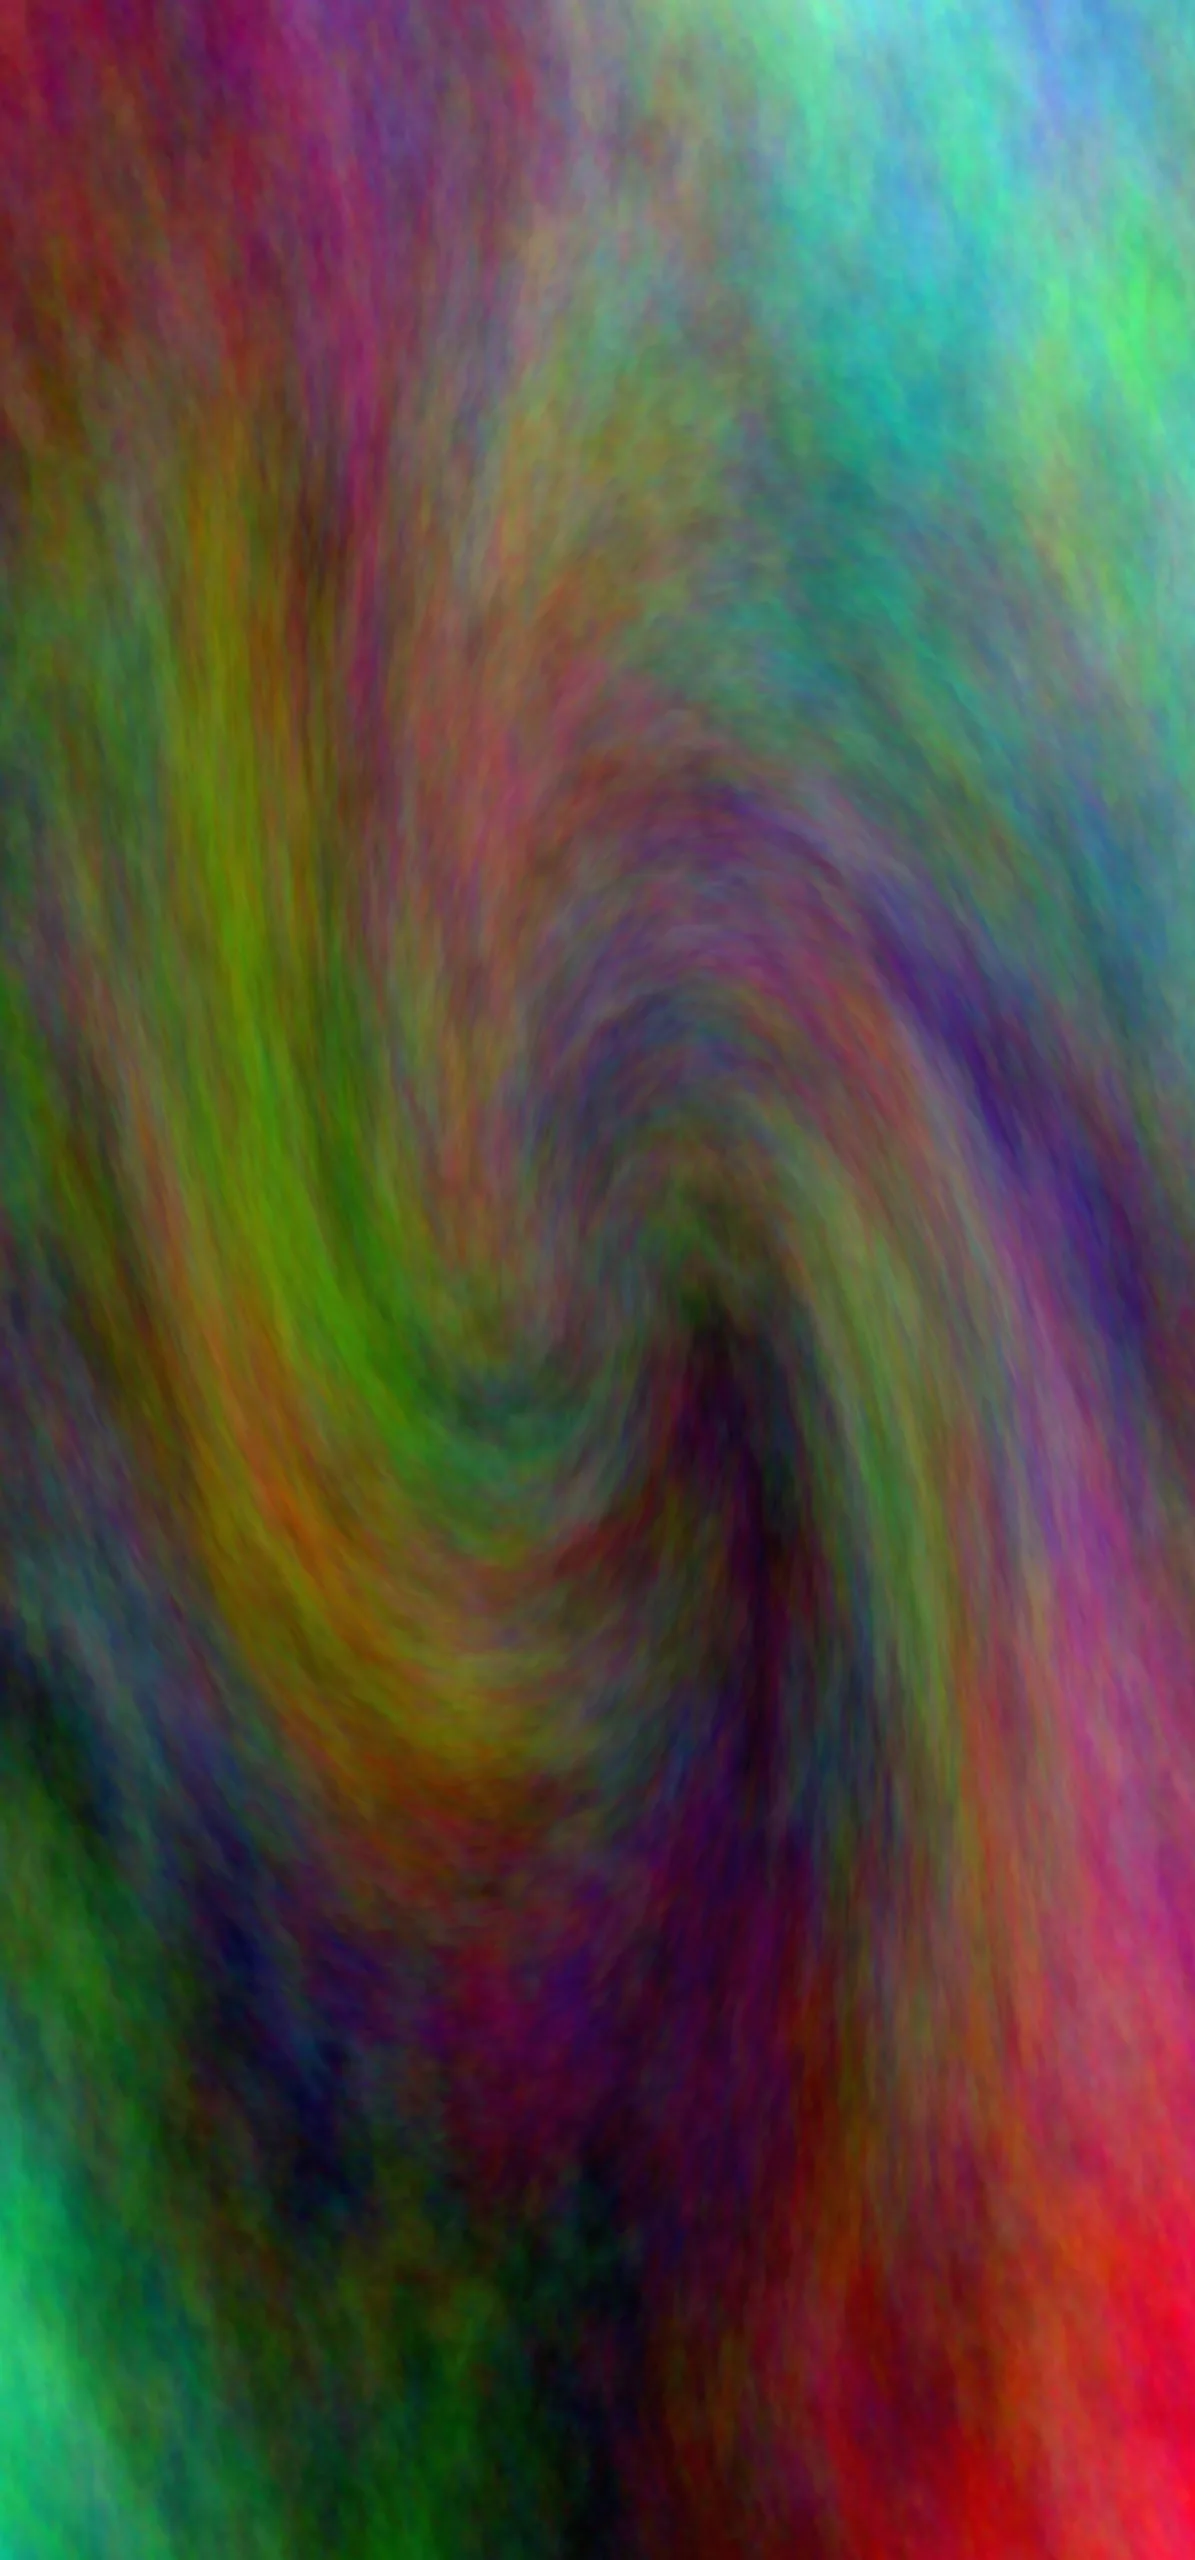
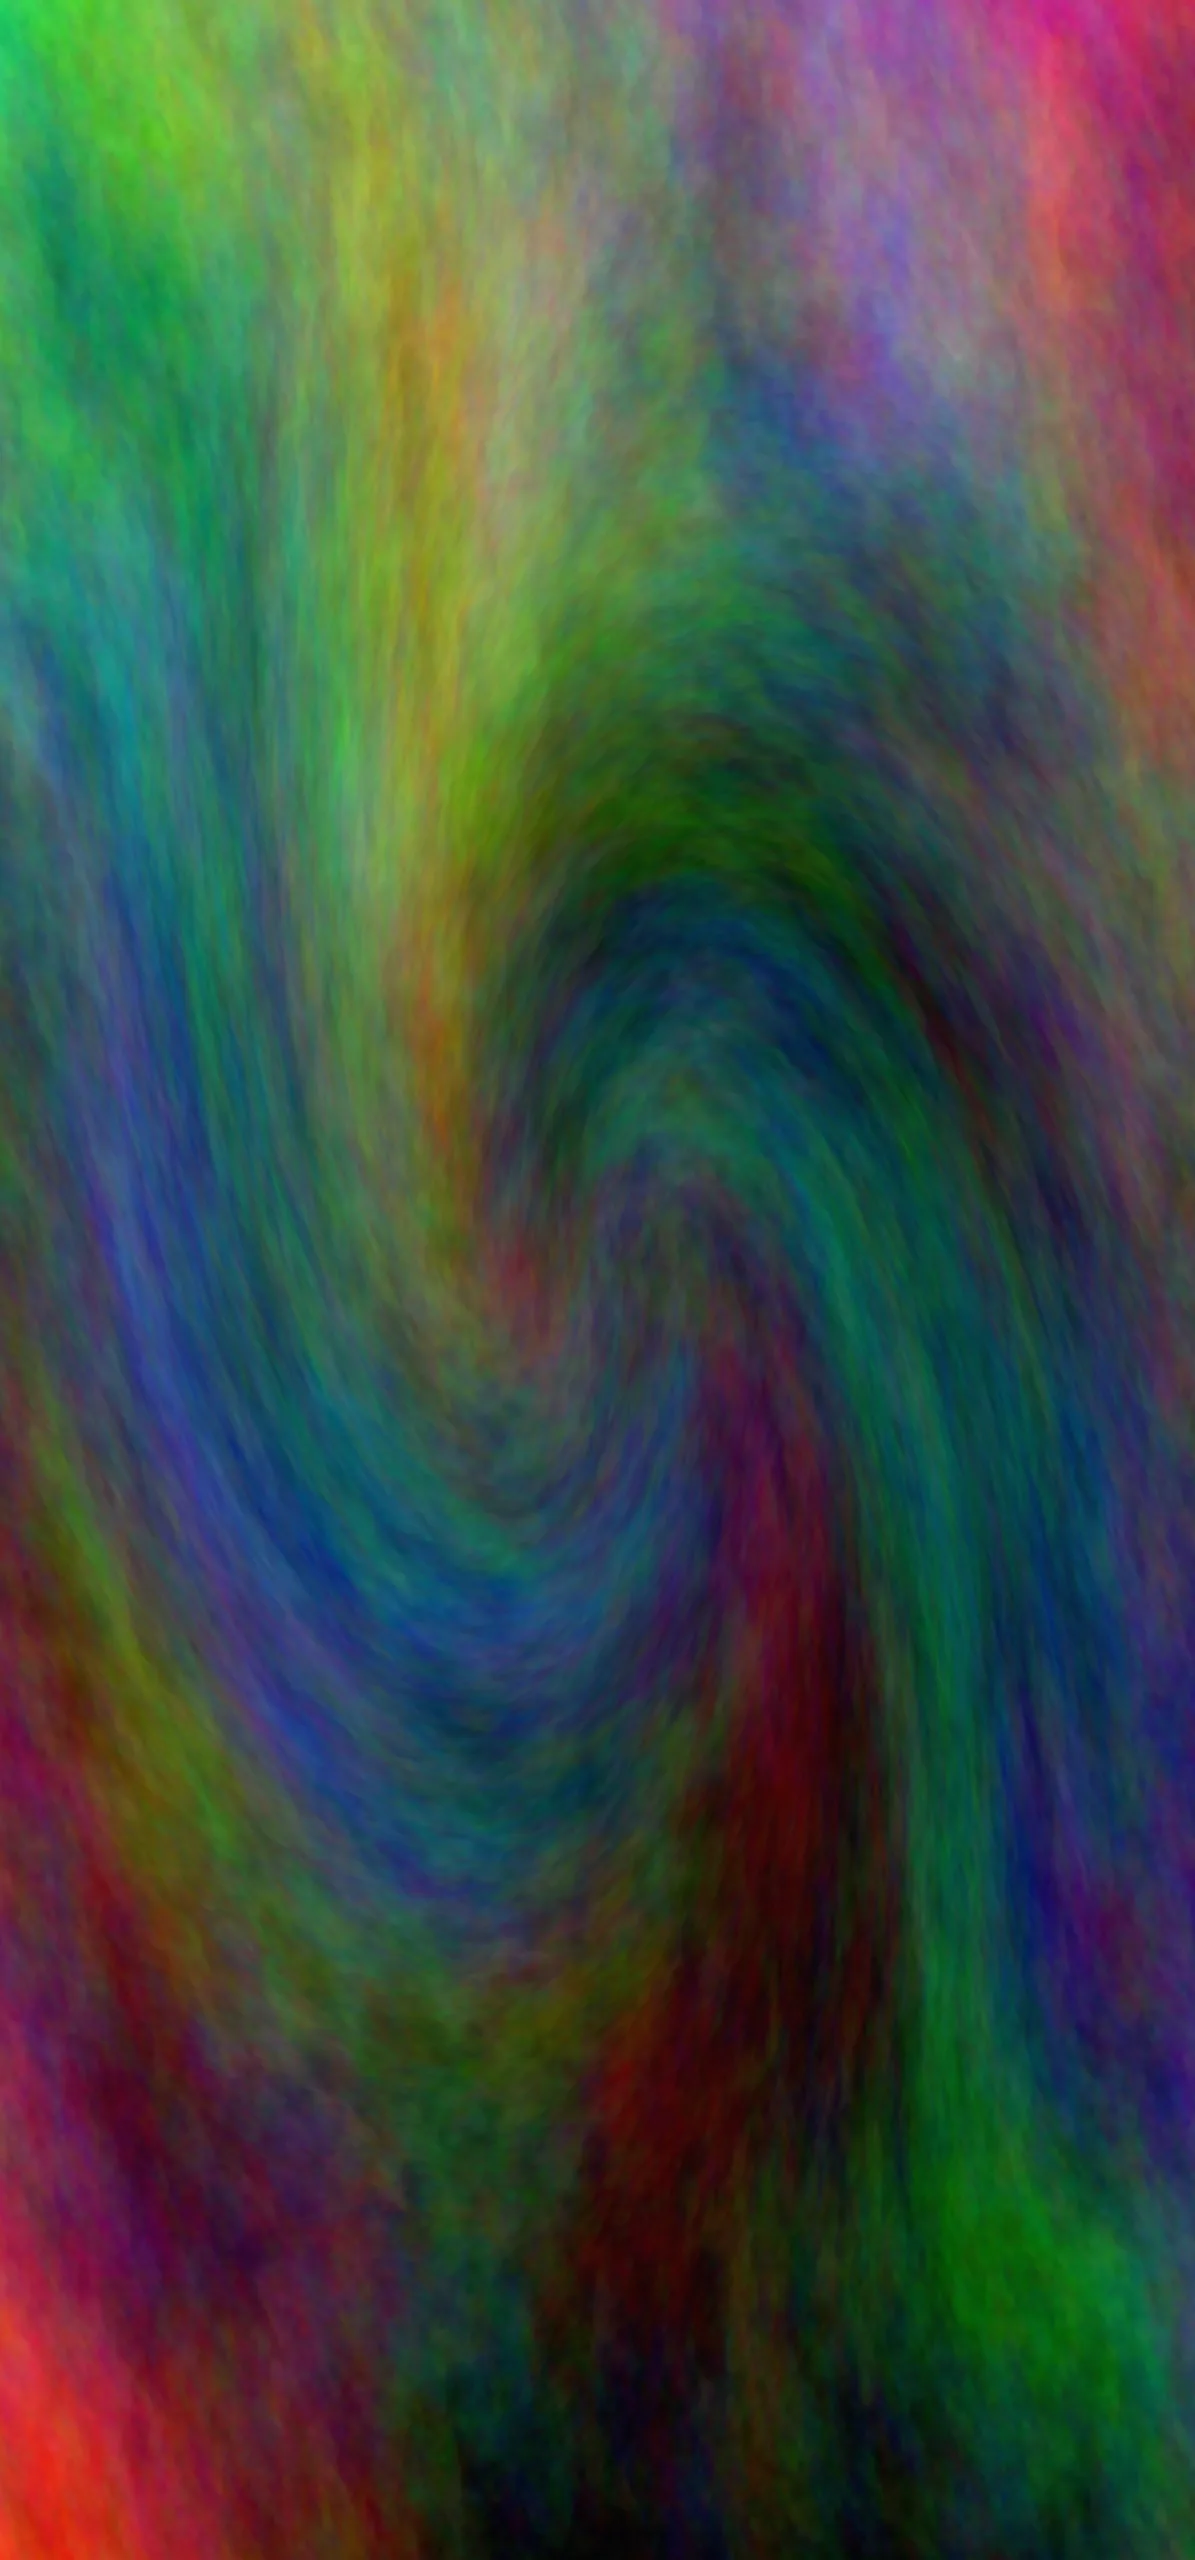
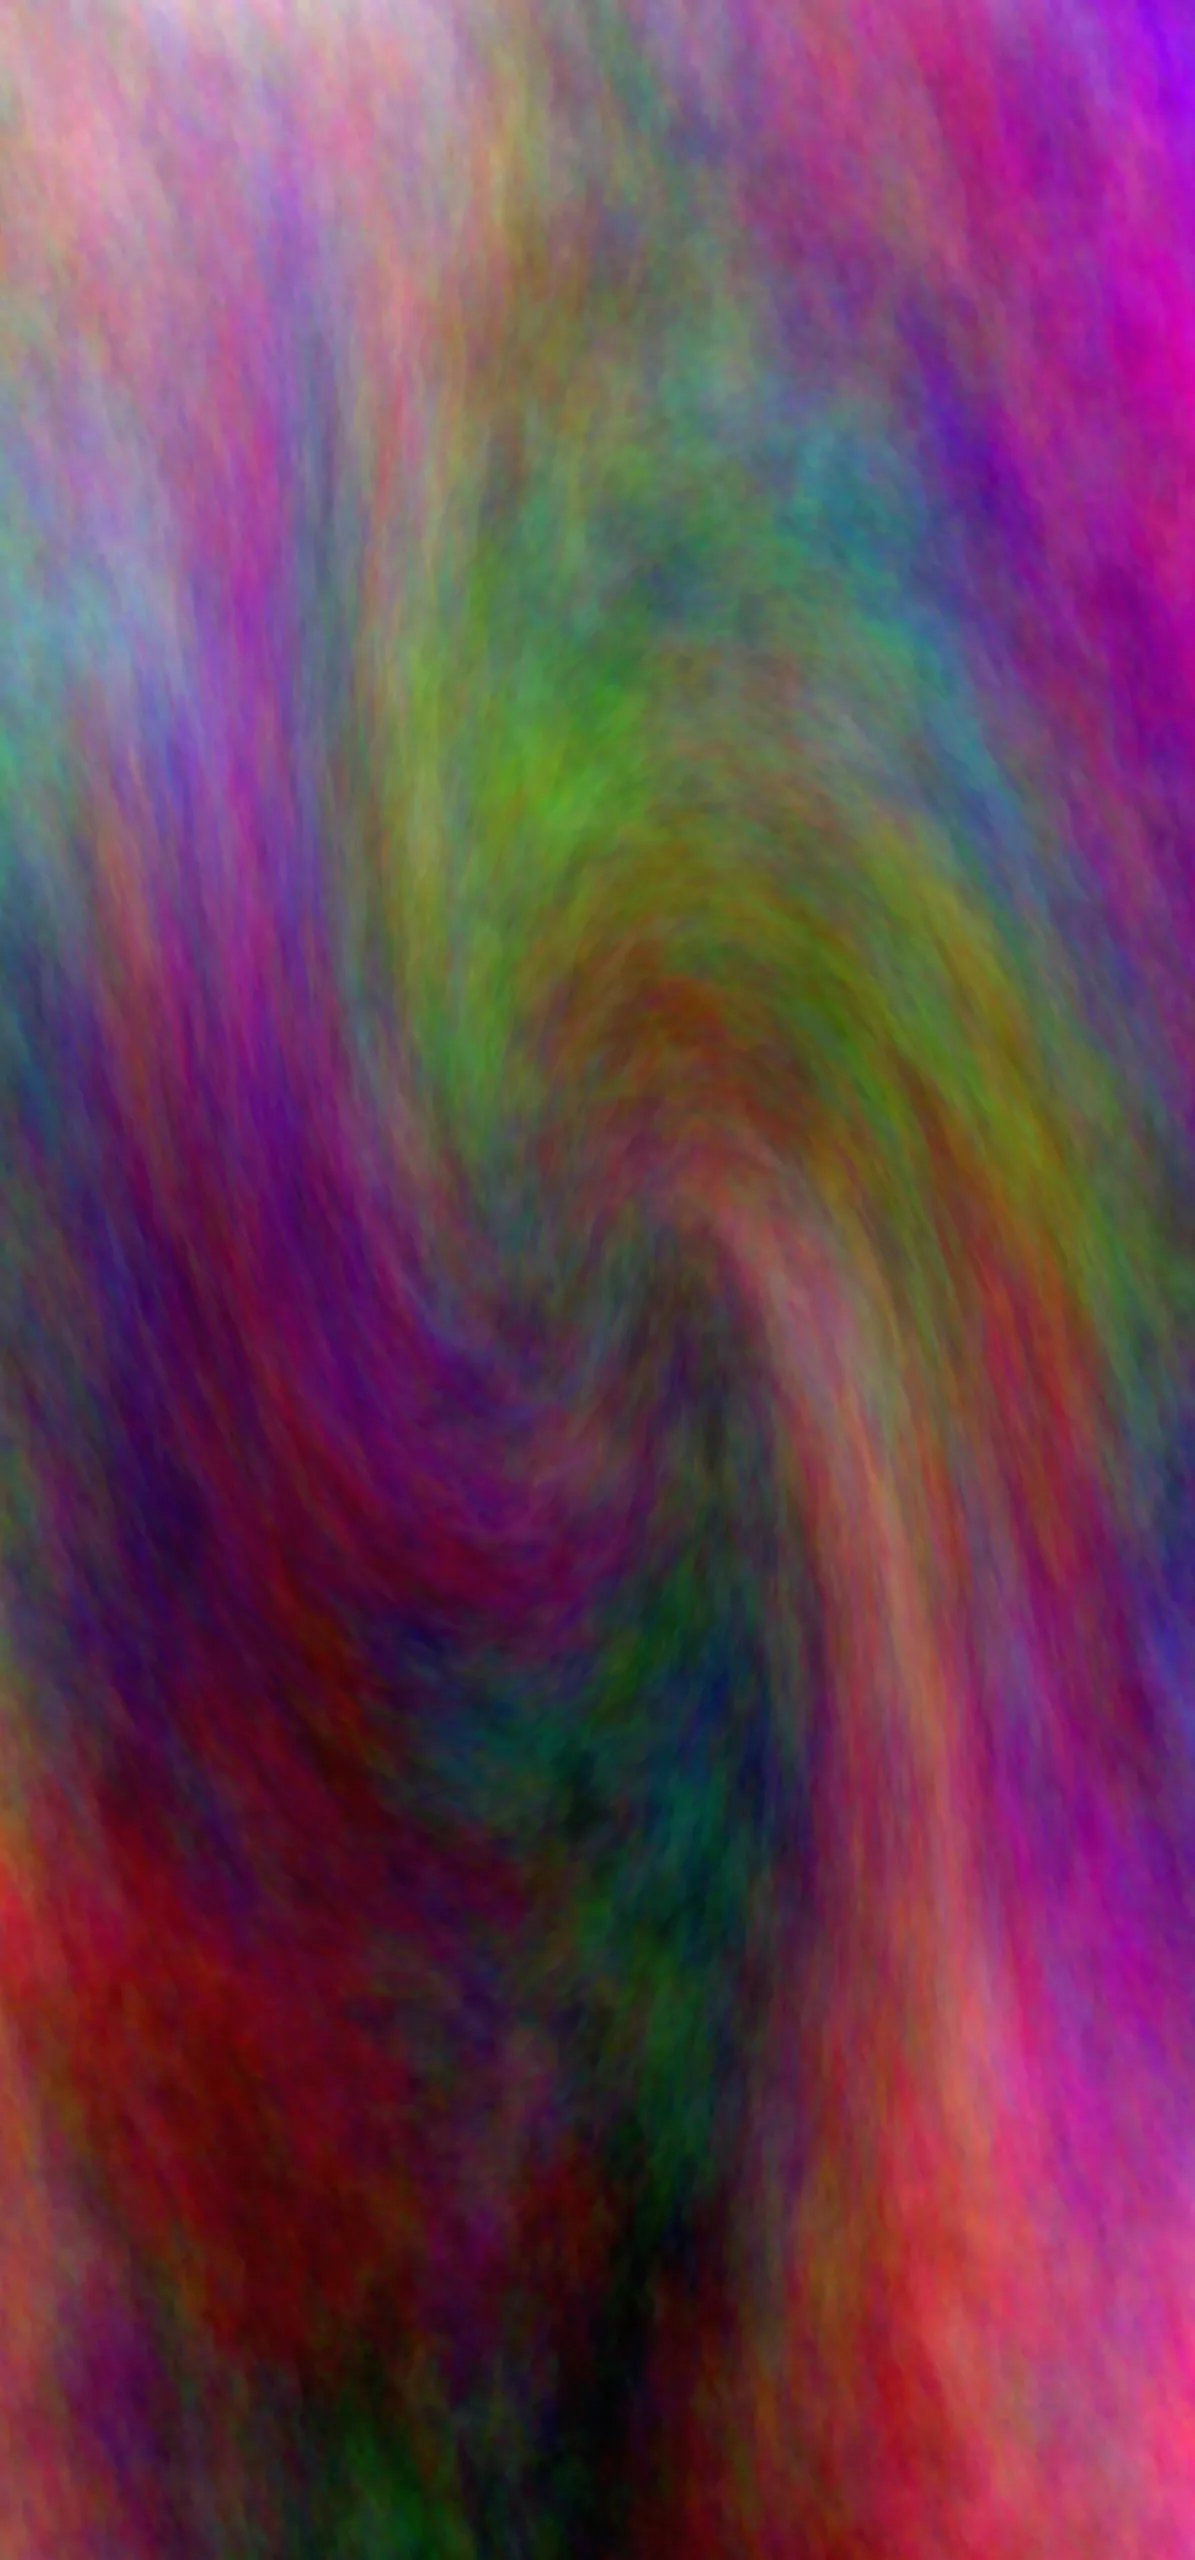
 #After all these calculations, the script uses the convert command from the ImageMagick suite to generate an image using the plasma:fractal with a blur of 0x2 and swirl of "RESULT" and shave 20x20 pixels from the edges. The generated image is saved to "$EXPORT_FOLDER/plasma_swirl_$i.jpg".
 convert -size "$WALLPAPER_WIDTH"x"$WALLPAPER_HEIGHT"  plasma:fractal -blur 0x2  -swirl $RESULT  -shave 20x20  "$EXPORT_FOLDER/plasma_swirl_$i.jpg";

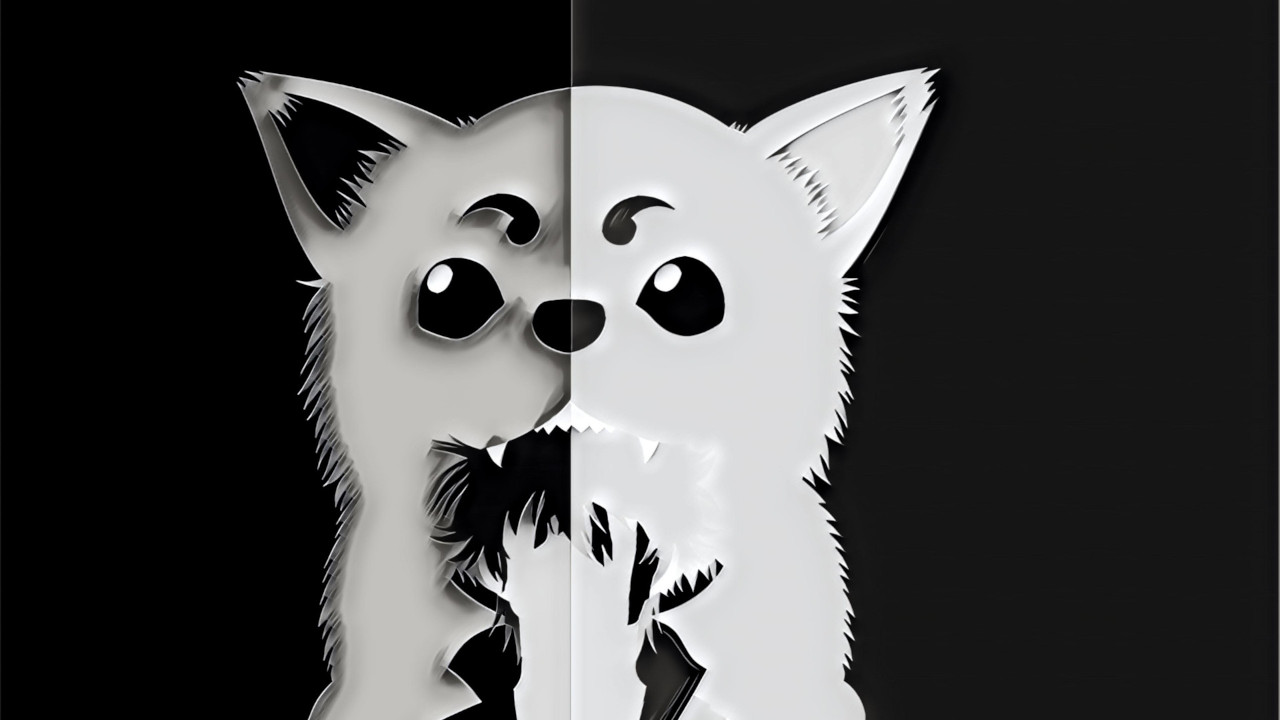
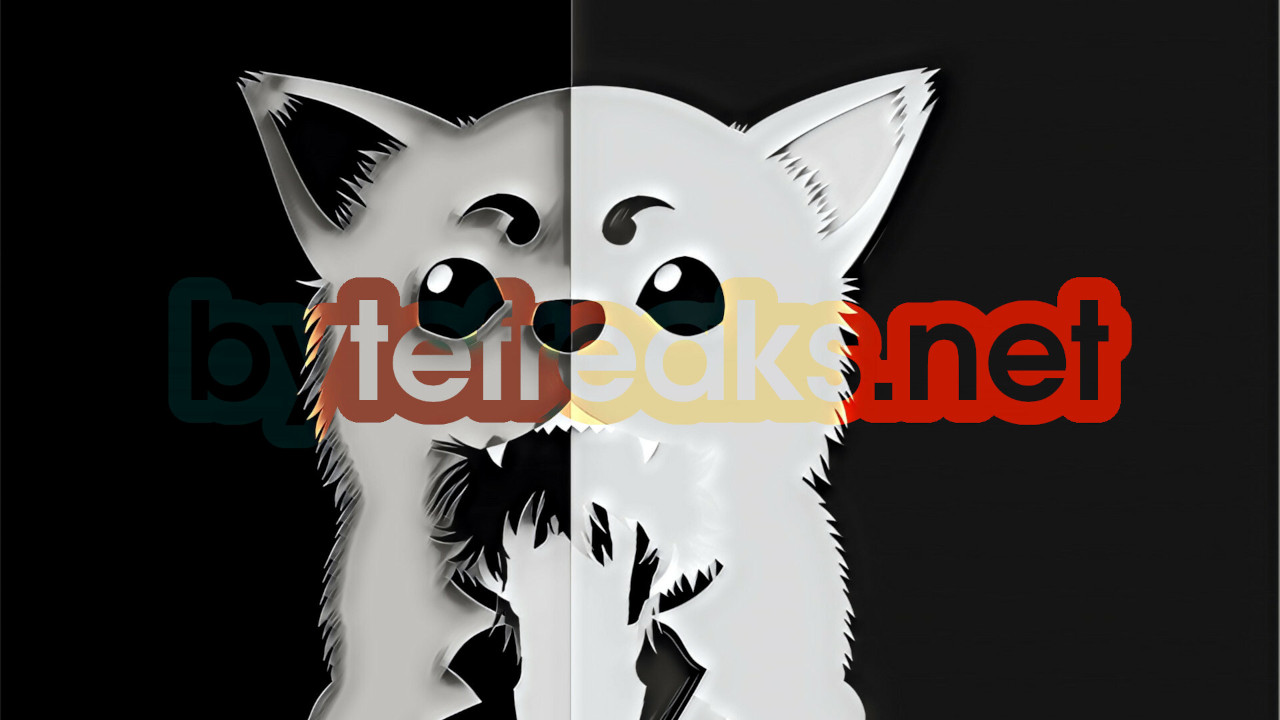
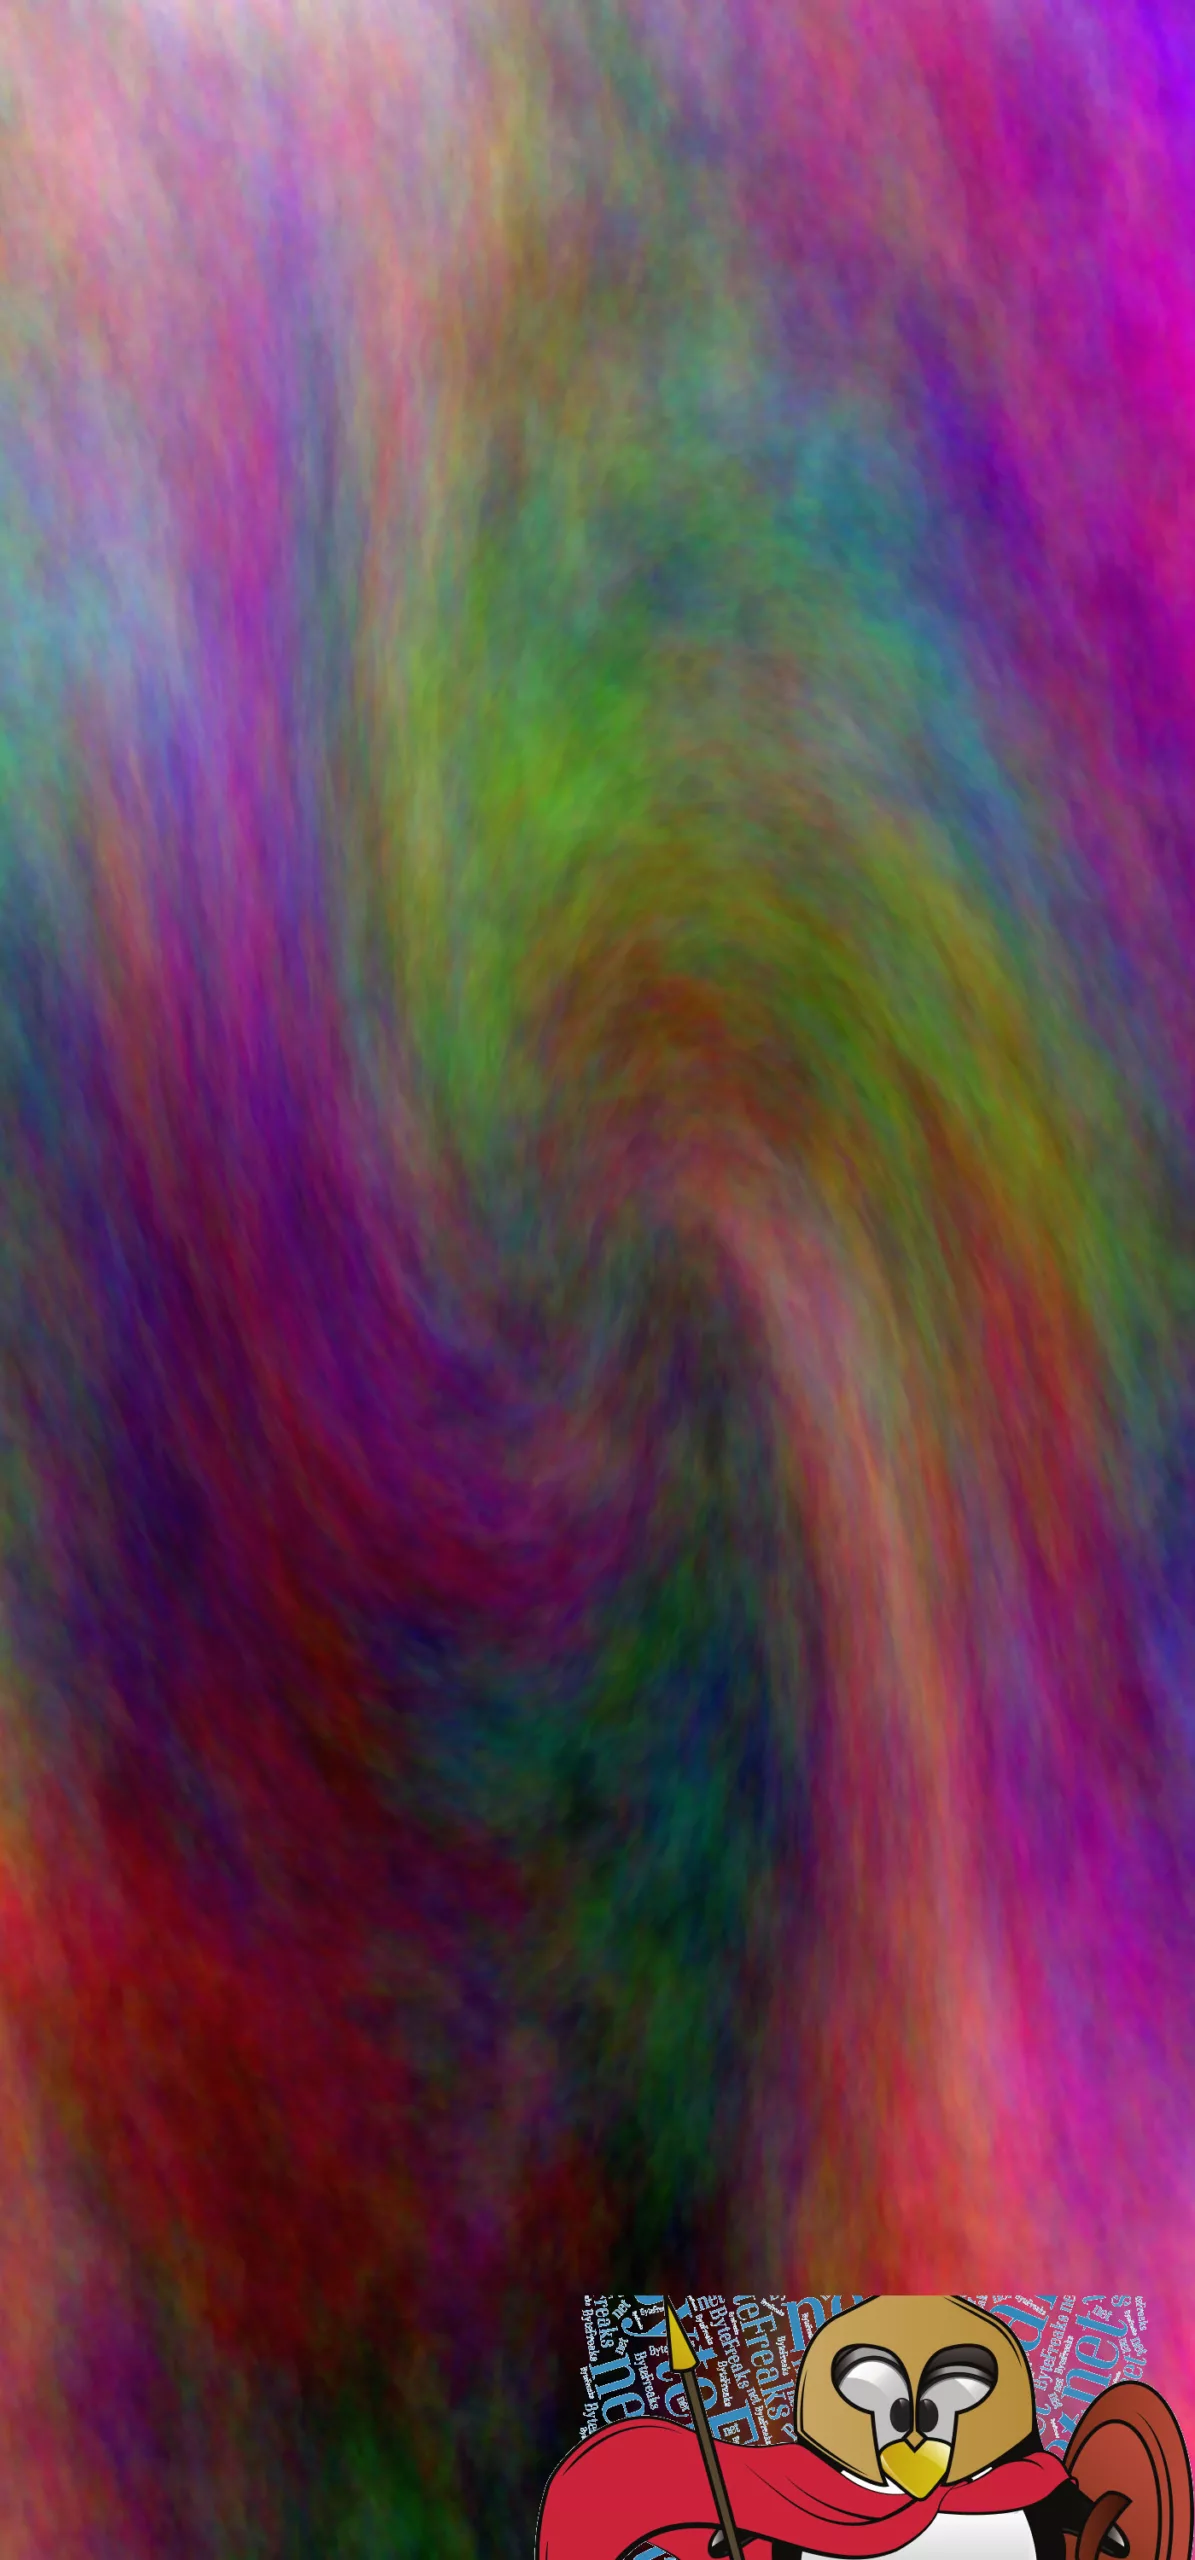
 #Finally, the script used the convert command again to composite two other images "ByteFreaks.net_.png" and "cropped-ByteFreaks.net_.png" onto the plasma_swirl_$i.jpg and saves the result as "lock_$i.jpg" and "home_$i.jpg". And after 10 loops of all these steps, the script had successfully created 10 unique and interesting wallpapers, saving them all in the "Wallpapers" folder. The script was proud of its accomplishment and the wallpapers were enjoyed by many.

 convert "$EXPORT_FOLDER/plasma_swirl_$i.jpg"  "ByteFreaks.net_.png" -gravity southeast -geometry +333+1600 -composite "$EXPORT_FOLDER/lock_$i.jpg";

 convert "$EXPORT_FOLDER/plasma_swirl_$i.jpg"  "cropped-ByteFreaks.net_.png" -gravity southeast -geometry +0+0 -composite "$EXPORT_FOLDER/home_$i.jpg";

done

This script is written in Bash and it does the following:

  1. It creates a variable called “EXPORT_FOLDER” and assigns it the value “Wallpapers”.
  2. It creates a directory with the name of the variable “EXPORT_FOLDER” (i.e. “Wallpapers”).
  3. It creates two variables, “FLOOR” and “CEILING” and assigns them the values of -180 and 180 respectively. It also creates a variable “RANGE” which is the difference between CEILING and FLOOR + 1.
  4. It creates two variables “WALLPAPER_WIDTH” and “WALLPAPER_HEIGHT” and assigns them 1440 and 3040 respectively.
  5. It starts a loop that runs 10 times. Within the loop, it does the following:
    • It creates a variable “RESULT” and assigns it a random number using the $RANDOM variable.
    • It uses the modulo operator to calculate the remainder of dividing “RESULT” by “RANGE”, and assigns the result back to “RESULT”.
    • It adds “FLOOR” to “RESULT” and assigns it back to “RESULT”
    • It uses the convert command from the ImageMagick suite to generate an image using the plasma:fractal with a blur of 0x2 and swirl of “RESULT” and shave 20×20 pixels from the edges. The generated image is saved to “$EXPORT_FOLDER/plasma_swirl_$i.jpg”
    • It then uses the convert command again to composite two other images “ByteFreaks.net_.png” and “cropped-ByteFreaks.net_.png” onto the plasma_swirl_$i.jpg and saves the result as “lock_$i.jpg” and “home_$i.jpg”

In short, this script creates 10 jpg images by applying a swirl effect on a fractal plasma image and compositing two other images onto it. These images are saved in the “Wallpapers” folder.


ImageMagick: merge two images using a black and white mask

Recently, we wanted to merge two images into one using a custom black and white mask. To avoid using heavy GUI-based software, we decided to do it using the composite command of the ImageMagick package. Using the composite program, you can overlap one image over another. The command used is straightforward once you get the order of the parameters in the command line.

convert black.jpg white.jpg mask.png -composite masked.jpg;

The above command accepts four parameters:

convert "${BLACK_PART}" "${WHITE_PART}" "${MASK}" -composite "${OUTPUT}";

The first parameter (${BLACK_PART}) is the input picture you want to be placed in all black parts of the mask. The second parameter (${WHITE_PART}) is the input photo you wish to use on all white parts of the mask. The third parameter (${MASK}) is the black and white image that you will be used to merge the previous two images. The final parameter (${OUTPUT}) is the filename to write the final results.

Below we present the results of a demo we created using the above command:

The first parameter (${BLACK_PART}) is the input picture you want to be placed in all black parts of the mask.
The second parameter (${WHITE_PART}) is the input photo you wish to use on all white parts of the mask.
The third parameter (${MASK}) is the black and white image that you will be used to merge the previous two images.
The final parameter (${OUTPUT}) is the filename to write the final results.

FFmpeg: Could find no file with path ‘%08d.ppm’ and index in the range 0-4 %08d.ppm: No such file or directory

During some work that we were doing, we used the following command to export the frames of a video using FFmpeg:

ffmpeg -v quiet -i "$video" "$input_frames_folder/%08d.ppm";

The above command exported the video frames into the selected folder and using eight digits zero-padding it named all the images in an increasing order starting from the number 00000001 (00000001.ppm).

Later on, we processed those frames and deleted some of the first ones (specifically, we deleted the first 61 frames, so the first available frame was named 00000062.ppm). When we tried to rebuild the video using the command below, we got the error that is listed after the command:

ffmpeg -framerate "25/1" -i "$input_frames_folder/%08d.ppm" -pix_fmt yuv420p -y processed.mkv;
Could find no file with path '%08d.ppm' and index in the range 0-4 %08d.ppm: No such file or directory

To fix the issue, we used the -start_number parameter with the value 62. The parameter sets the file starting index for the matched image files.

ffmpeg -start_number 62 -framerate "25/1" -i "$input_frames_folder/%08d.ppm" -pix_fmt yuv420p -y processed.mkv;

Please note that we also used -pix_fmt yuv420p as we were getting a video with black frames only, so we had to define the format of the pixels to use manually.


ImageMagick apply blur to photo using a black and white mask

Recently, we were trying to apply blurriness to the frames of a video using a custom mask. Our needs would not be short of describing using geometric shapes, so we created the following image (blur.png) as a template for the blurring effect:

The above mask applies a blur effect to all black pixels and leaves all white pixels in the original image intact.

The command that we used was the following:

convert "${FILE}" -mask blur.png -blur 0x8 +mask "blur/${FILE}";

This command creates a new copy of the input file and places it into the folder named blur, so be sure to make the folder before using the above command (e.g., using the command mkdir blur).

Parameters and other information

  • -mask this flag assosiates the filename that is given with the mask of the command.
  • -blur defines the geometry that is used reduce image noise and reduce detail levels.
    To increase the blurriness you can increase the number in this variable 0x8.
  • +mask The ‘plus’ form of the operator +mask removes the mask from the input image.

The version of convert that we used for this example was the following:

Version: ImageMagick 6.9.10-23 Q16 x86_64 20190101 https://imagemagick.org
Copyright: © 1999-2019 ImageMagick Studio LLC

Below is a result frame from a video that we processed:

Additional material

To apply it to all video frames in the folder, we used the following command to make our life easier:

find . -maxdepth 1 -type f -name "*.ppm" -exec bash -c 'FILE="$1"; convert "${FILE}" -mask blur.png -blur 0x8 +mask "blur/${FILE}";' _ '{}' \;

The above command finds all frames in the current folder and executes the convert command described above. Since FFmpeg names the frames as PPM, we used that to filter our search. The blur folder is in the same folder as the original images. To avoid processing the pictures in that folder again, we defined the -maxdepth parameter in find that prevents it from navigating into child folders of the one we are working in.